| DTQWT built by
Philippe/Trinidad M. GRAVESEN,
As my last email, the speakers are now working perfectly
and I have to admit that he quality of the sound is
pretty good!!! (And can also be pretty loud). This is my
report on this DIY project:
How
the idea starts:
As a big fan of rock music, I was thinking of buying a
good stereo equipment. The idea to build the speakers
came to me about 3 month ago when I have seen a very
powerful self made speaker at a very unbeatable price in
a night club here in Trinidad an Tobago(the sound and the
look were not that good) and I start looking on Internet
for designs and advices. When I have seen your website, I
know that I would like to try to do something like that.
I was
very impressed by the Poor Man’s Strad designs but I
decided to build the DTQWT for the following reasons:
- The design of the DTQWT is also awesome
- The DTQWT looks more powerful
- Woodword work look complicated for the Poor Man’s
Strad
- It will be impossible here in T&T to find some good
base plates
- For the DTQWT, your article is starting by “To
my ears, this is the best speaker I've ever made
- and the biggest!”
Our
skills:
I am usually not too bad at DIY project, But I require
help for the use of the router and some very sharp cuts.
Also I had a friend electrician that helps me to built
the circuits and proceed with the welding.
For the next Project: I am confident that I will be able
to realize all the project from A to Z on my own if I am
using MDF.
Materials:
As clearly explained on your website I get the kit by
Jantzen Audio (cf PDF attached) including the different
wools, the spikes and the solder tin. for the Eminence
Deltalite I get them by beach Audio in Miami and somebody
bring them back to me (95 USD the speakers). I also use
Cattylink to purchase a Jungson 88d and a cd player
Vincent S6 mk and the necessary cables).
For the wood, due to the necessity of 18mm board and my
limited time frame (I was supposed to go leave the
country earlier) I choose some Brazilian plywood treated
and waterproof (this is the first stupid thing that I
did which make a lot harder the building!!) Instead
of MDF that was not available at this time.
Difficulties
meet during the fabrication:
The plywood is good for straight cut, ok for 45
degrees cut but I totally don’t recommend it for
very sharp cut and for the use of the router, we succeed
to do it but due to the extreme difficulty to cut without
bursting the wood I had to use some professional friends
and wood filler.
The placing of the different wools is a piece of cake. To
build the circuit is also quite easy with the scheme and
picture that are available on your website.
The wiring is not difficult, however with the wire
delivered (7 meters of black “AWG 16 silver coated,
7 meters of red “AWG 16 silver coated” and 3
meters of white “2.5 mm^2, Supra white”) and
because we were afraid to don’t have enough cables
we bought some extra 2.5 mm^2 for the power supply. All
the cables are welded. We also regret that the section
of the cables does not appear on the drawings and we
used the white cables for the Eminence and the black and
red cables for the Jantzen.
The finishes are quite bad. I had the good idea to
completely cover them with body car filler, the result
was fantastic. However due to my moving to an another
country this week I decided to paint the speakers myself
with an acrylic roller instead of to send them to a
professional painter. (this is the second stupid thing
that make my speakers looks already 30 years old which is
not really a problem for me but this vintage touch
definitely upsets my girlfriend). As soon as I come
back in a develop country I will try or either to repaint
them or I will put some laminate on them.
Pictures:
(I had a lot more but they have been erased for ever
and never due to a computer problem).
1/
Wool fitting:
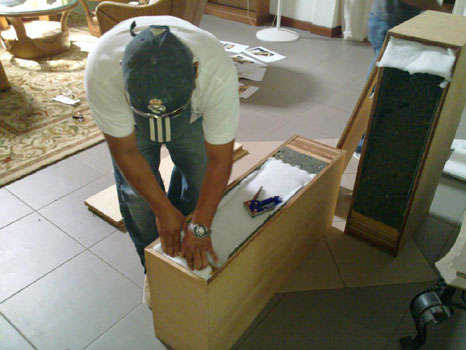
On this picture we can see the very sharp cut that I am
talking about at the bottom of the speakers and where we
can see all the different layers of the plywood.
2/
The wiring:
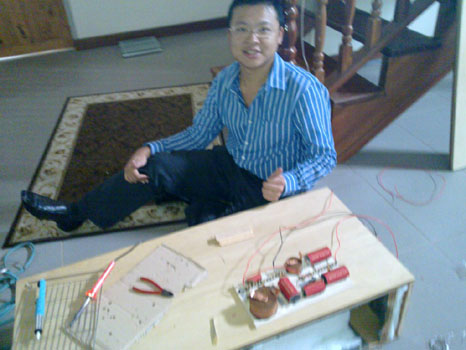
Not any special problem, As you recommend me use some
silicon to fix all the elements on the wood plate.
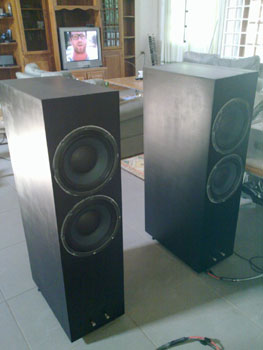
3/
The router:
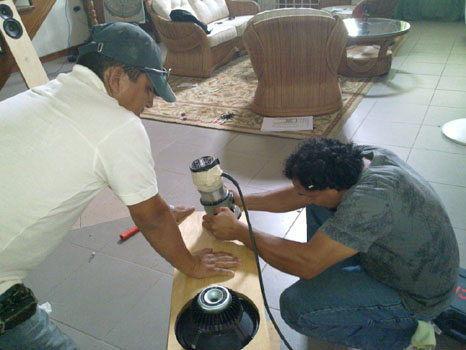
My skill friends did it, if you use MDF and if you
are patient it is not that hard. Al the holes have been
cut smaller but very close to the final dimension and
have been finalized with P60 sandpaper.
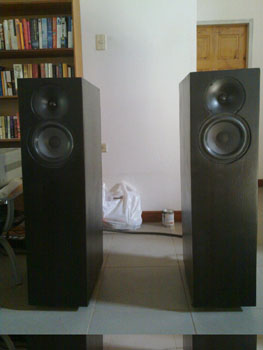
4/
The mounting:
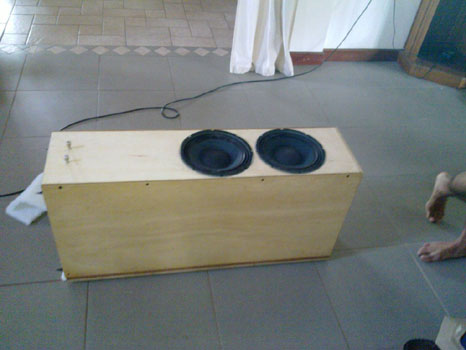
Box fitted on the floor.
5/
Body car filler:
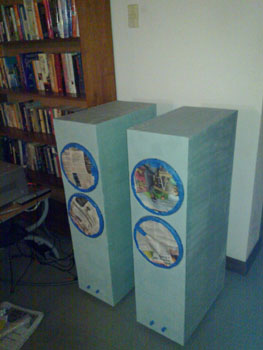
Some people on internet used body car filler for
speakers. The result is that they were smooth like
mirrors. I hope that I will not encounter any problem
with time passing and humidity (cracks or falling of the
filler).
6/
The mistake:
They don’t look that bad on the pictures but if
I am getting closer you will see some defects. I really
think that black mat automotive paint was a great finish
as to apply it with a roller was a stupid idea.
I
would like to thank you for:
Sharing on internet your concepts in a very detailed way
(plans, pictures, advice and prices).
Your advices on the wiring problems.
Give us the name of CATTYLINK which is for me the best
buying experience I had on internet (fast, reliable and
good advisors)
I know that I will try more projects and two of my
friends will also do the same very soon on other models
(QUATTRO)
Best regards
Philippe DA SILVA, TRINIDAD & TOBAGO
|