|
DIY Loudspeakers: HOME INDEX UPDATES RESPONSE WHAT'S NEW
Jenzen cabinets
Copyright 2011-18 © Troels Gravesen
FRONT
PANELS
CABINET
DAMPING
DRAWINGS
CABINET DAMPING
Click image to view
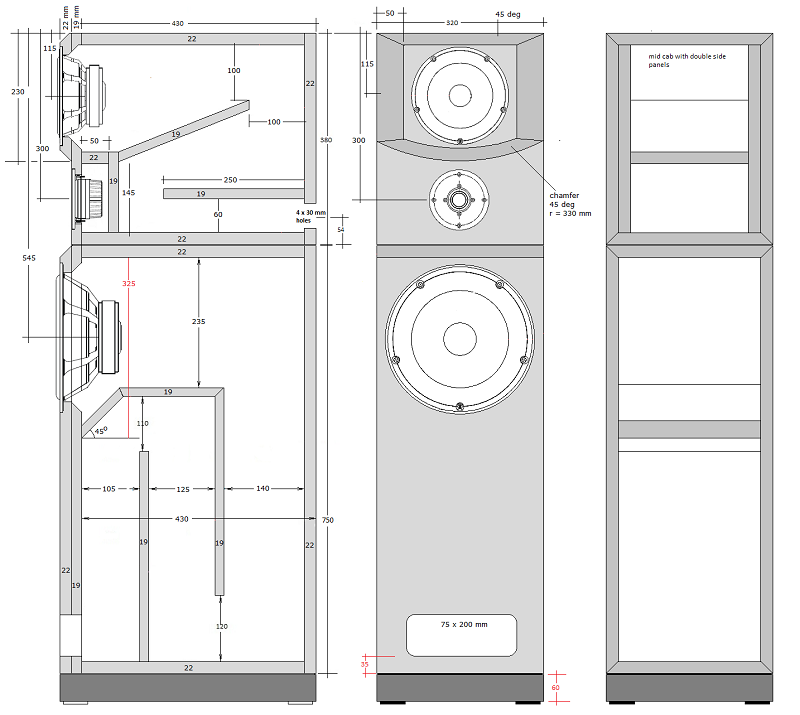
large SEAS CA/ER/NEXT cabinet
Download
TL cabinet drawing for:
Jenzen
Accu,
Jenzen
Illuminator,
Jenzen-D
mkII
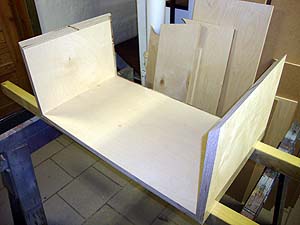
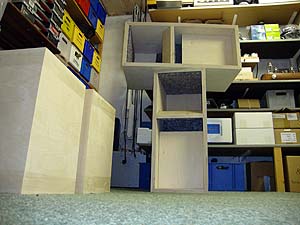
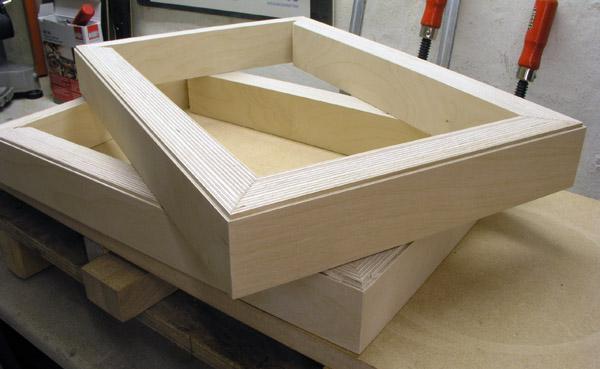
Pics from the workshop
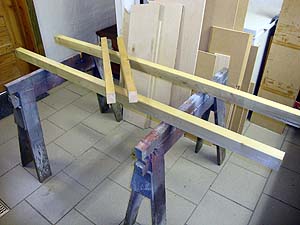
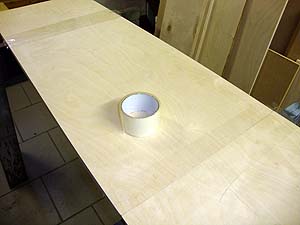
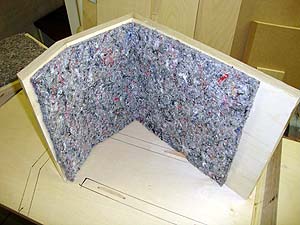
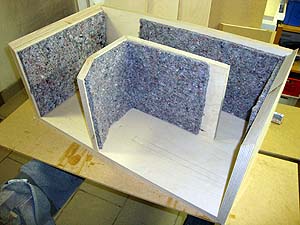
Left: Two bars are needed for initial gluing. Middle: Take one
side, top and botton and assemble with tape. Right: Turn around.
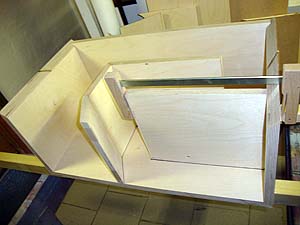
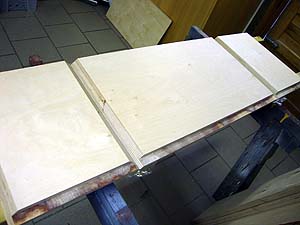
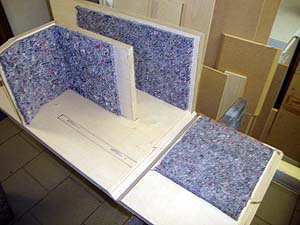
Left: Fold top and bottom. Middle:
Checking out internal panels for marking. Right: Use bisquits or
similar to keep internal panels in correct position.

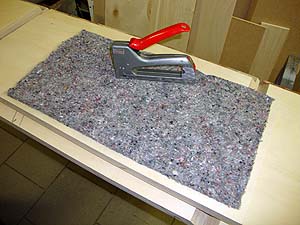
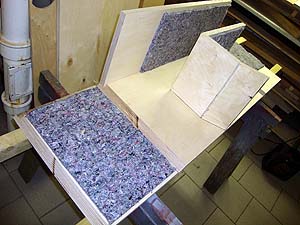
Left: Preliminary damping needed before gluing, here
rear panel. Middle: I use Superfix and staples. Right: damping of
internal panel.
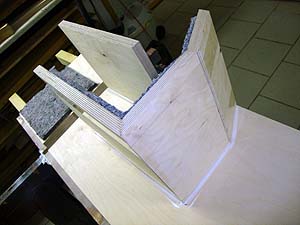
Left: Damping material in place in rear, bottom and
internal panels. Middle: Damping on top panel. Right: View from top.
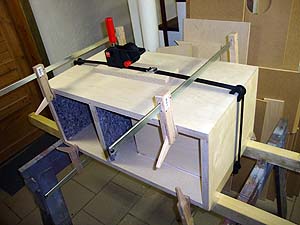
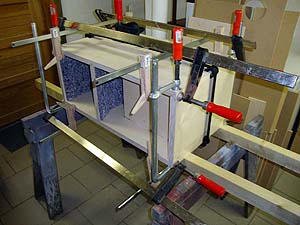
Left: All preliminary damping in place. Middle: I start
with applying the strap to keep all in place. Next four clamps secure
the rear panel.
Right: All straps and clamps in place. PVA glue used throughout.
For gluing the bass cabs I used one strap, 4 x 40 cm clamps, 4 x 60 cm
clamps and 4 x 80 cm clamps.
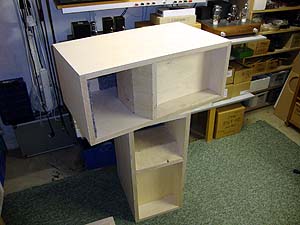
Both bass cabs glued and ready for sanding.
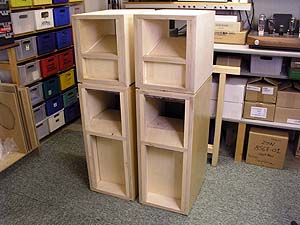
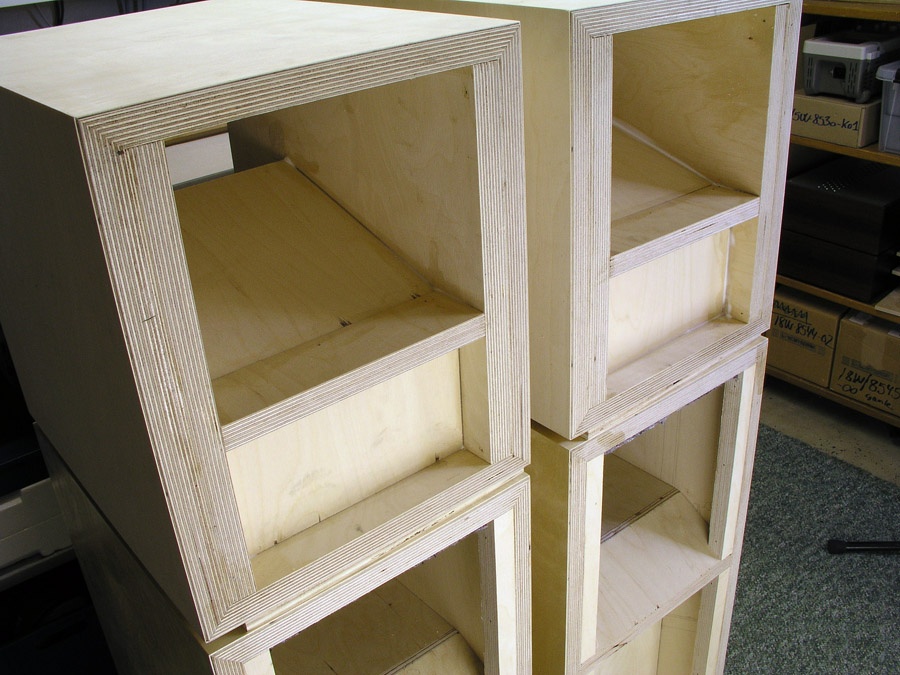
Left: Mid cab seen from rear without
rear panel. Middle: Mid cabs mounted with internal panels.
Right: Fillets has been added to side panels of bass cabs as front
panels are going to be detachable.
These are test cabs for a range
Jenzen speakers and obviously you don't have to add fillets to your
speakers.
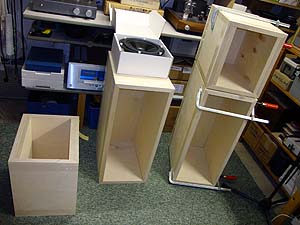
Soon ready for additional damping
material, final sanding, lacquer and front panels. These mid cabs are
heavy due to double side panels and internal panels!
I added one 4 mm bitumen pad to the top panel of the MT cabinet. Not
necessary, but further adds to dampen panel vibration. You may add a
vertical brace
to the upper mid cab if you want to do even better.
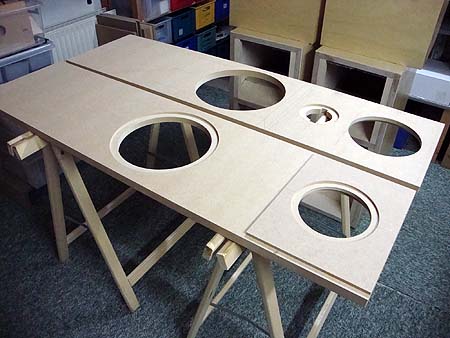
Jenzen front panels
BACK
TO TOP
For front panels I had
two sheets of 22 mm MDF and two sheets of 19 mm MDF cut to 32.5 x 122 cm at the local
home diy market.
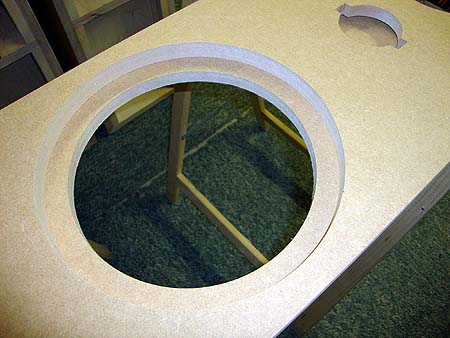
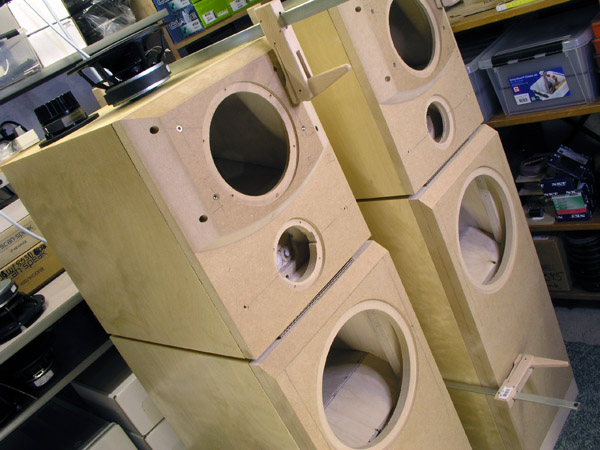
I started rounting for all drivers as can be seen from photos. The front
sub panel had holes of 28 and 19 cm diameter for bass and mid respectively.
The panels were then glued together.
After drying the bass
panels were cut to 320 x 750 mm to fit the bass cabinet and sides and
top were chamfered according to dimensions given on drawing. Tweeter/mid
panels were cut to 320 x 380 mm to fit MT cabs.
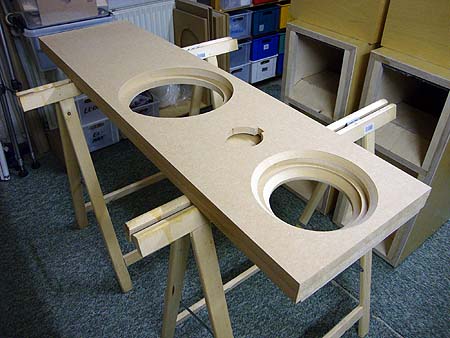
Disregards thin panel applyed to mid outer panel.
This was later changed.
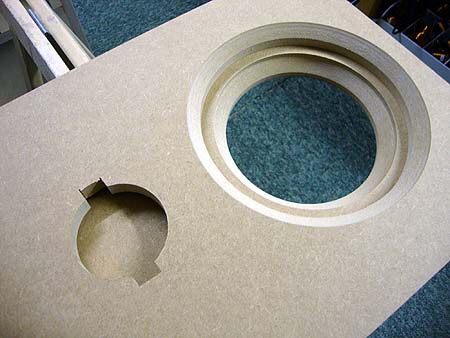
Holes for middriver was chamfered as seen above to
the left. No need to chamfer hole for bass driver due to overall diameter.
If you don't have 45o router bits for chamfering, make a stepped
expansion of the mid driver hole.
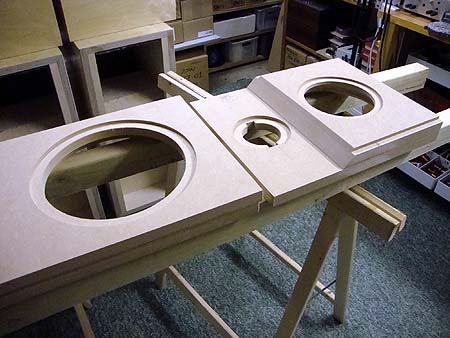
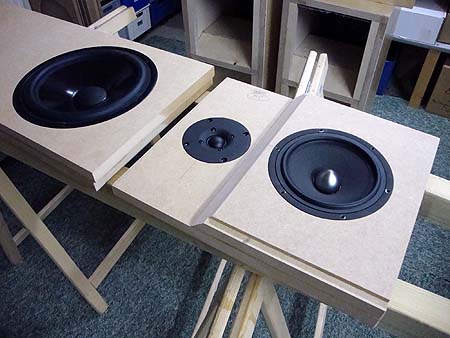
Left: panels here cut up /disregard mid outer
panel; was later changed for ER18 drivers.
Right: Checking drivers for fitting rebates.
Always make test routings to make as good as possible fit to drivers' diameter.
Base made from residues, 23 + 15 mm Baltic birch.
Only 23 mm Baltic birch used for rear panel to allow terminals. Crossover is going to be placed
here at speaker foot.
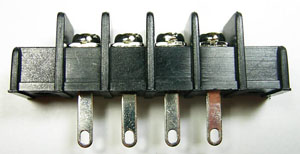
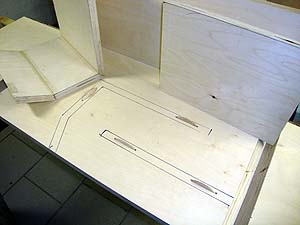
Between bass cab and mid cab these terminal blocks
will be used.
These are actually the same used by Vandersteen. Found on eBay from Taiwan.
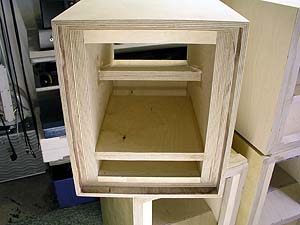
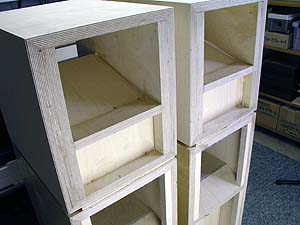
More felt damping before adding
front panels
BACK
TO TOP
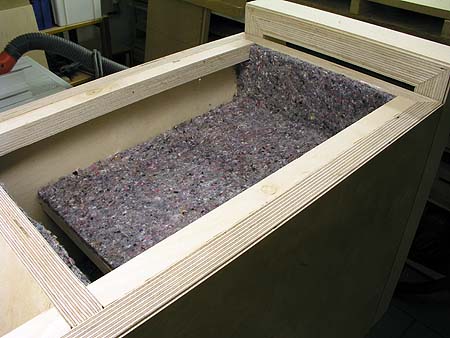
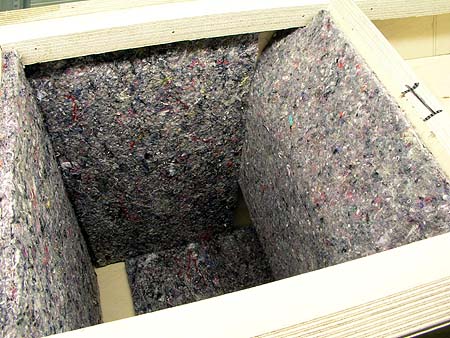
Bass cabs: In addition to the felt material seen
here, two sheets of 25 mm polyester damping is added. View drawing at bottom of
page for complete damping.
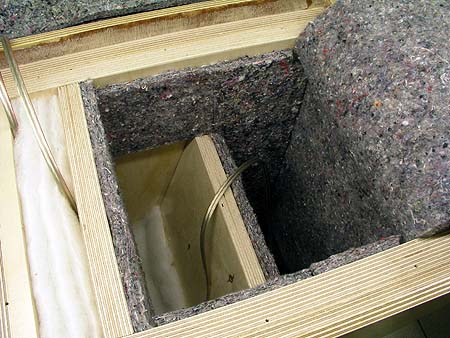
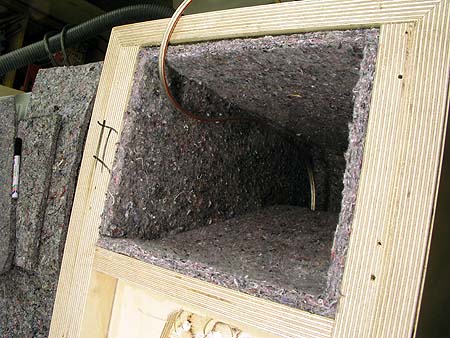
Mid cabs: Left: seen from rear. Right: Seen from
front. View drawing for further instruction on complete damping.
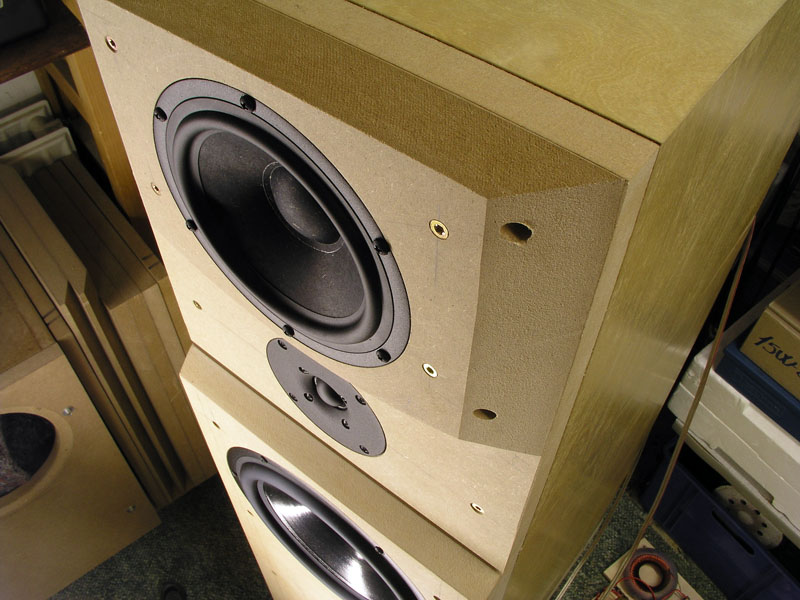
First time set-up! Still raw MDF finish.
Believe me, I was as exited as the first time I set up a speaker - many, many
speakers ago..
Apart from the bass TL needing more damping material, the sound was awesome!
Final damping of mid and bass cabinets
BACK
TO TOP
Click images to view large.
|


