|
First of all, a wealth of information on
the Lenco L75 can be found here at Lenco
Heaven.
I found my Lenco L75 on eBay,
Germany, and it arrived well-packed and undamaged. First thing to do was to
plug it in and start the turntable. Very, very quiet. Good!
Pulling off the platter including spindle takes loosening of the spindle
locking screw. Next some gentle tapping on top of spindle with a plastic
hammer and we can remove the spindle. Being stuck there for years a little
brute force is needed.
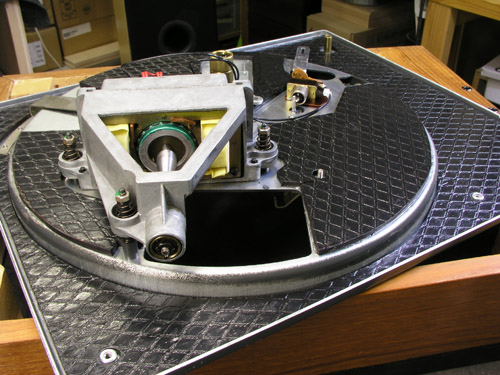
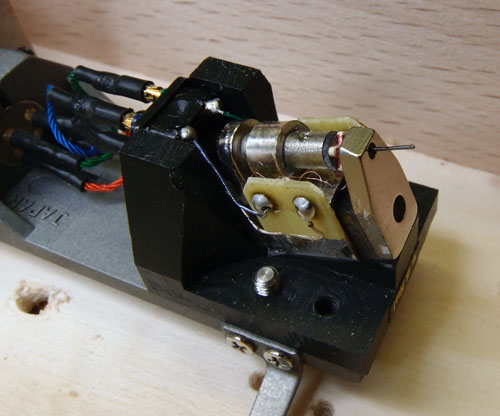
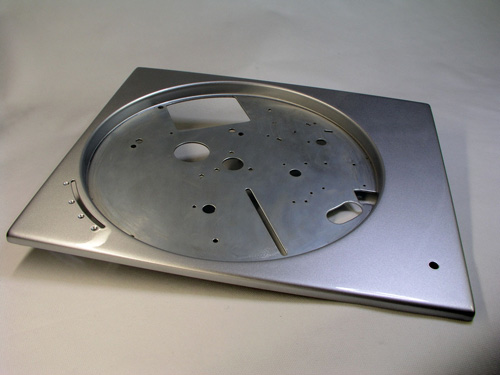
What interested me the most was the condition of the idler
wheel (1). After cleaning it looked like mint condition, showing the
turntable hadn't been used much. Thus, all things point to an easy rebuild
and google can present us with an abundant amount of inspiration on a new
plinth.
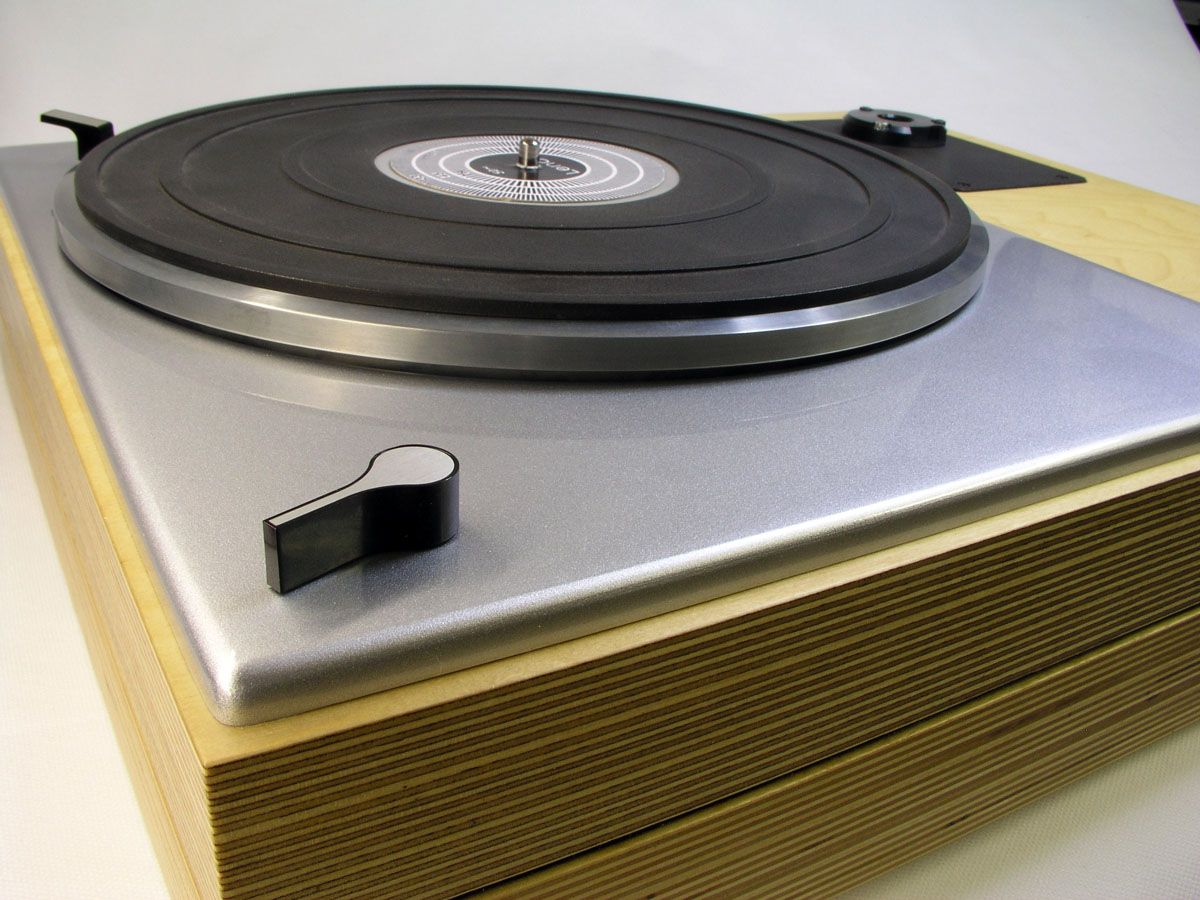
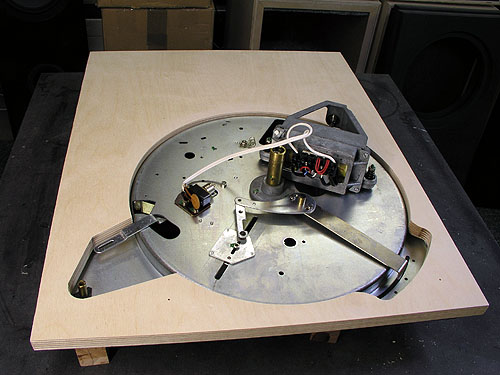
What seems to be the most likely reincanation is maintaining the base plate,
turn it 90o and cover the holes from the lift and tonearm. In this
way I can have the on-off on my left hand like the Garrard 401. The base plate
will be dampened by bitumen pads and a new plint made from Baltic birch,
again like the 401.
The platter bearing and motor was given the full cleaning procedure as
described at Lenco Heaven. Link
to bearing. Link
to motor.
I also tried out my stock mats, an old Thorens which I use for the 401, a 3
mm kork mat and a 3 mm silicone mat. Eventually I stayed with the old Lenco
mat - and I have found my old Michell record clamp again. This all work very
well.
So - post-honeymoon - how does
the Lenco L75/12" Jelko/Dynavector XX2 mkII sound compared to
Garrard
401/9" Jelko/Dyna XX2 mkII? It's better. It's sounds slightly darker,
which is always a good sign because it means reduced distortion. Turntable or
arm? I made a tonearm plinth for the 401 and mounted the 12" Jelko. The
Lenco/Jelko beats the 401/12" Jelko to cut a long story short. Hmm... I
never gave the 401 motor and overhaul. I will some day and repeat the test.
The arm was 449 £, the Lenco 47 € - and the cartridge is currently
available for 808 £ from Hong Kong, so this seems like a total misfit. It
isn't. The Lenco is up to the task.
May 2014: Turntable upgraded with
Moerch DP6 12" (red) tonearm. A perfect
match for the vdh cartridges. Images to come.
I strongly suggest reading comments to
the L75 here from Arthur
Salvadore. Go to part #3. This is one messy website, but worth reading.
One thing Mr. Salvadore emphasises is the unusual low noise floor of the
Lenco L75, on par with an air-borne Forsell turntable.
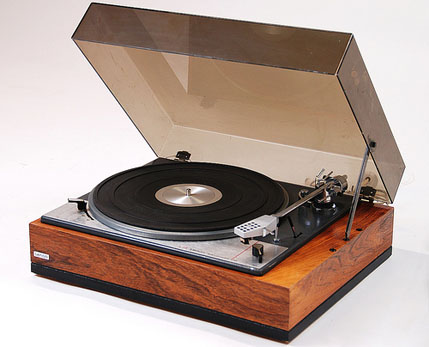
Left: The original look of the Lenco L75. Right: Exploded view; click image to view large.
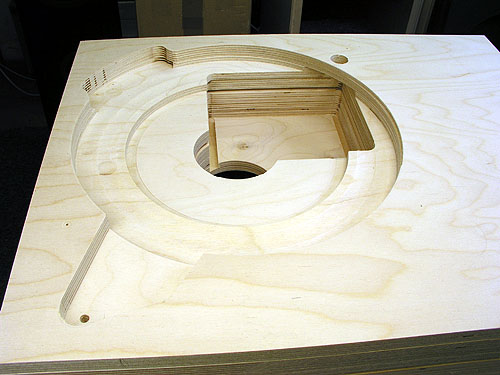
MAKING THE PLINTH
I
didn't record my plinth dimensions but I had this file from a respondent: L75_planv5_A1.pdf
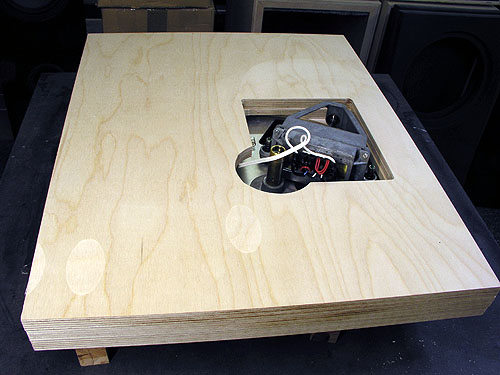
Left: Top layer. Right: 1st and 2nd layer.
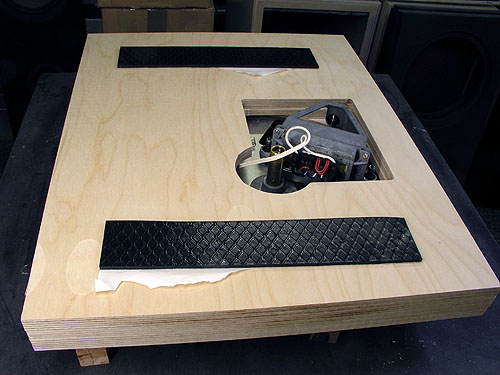
Left: Three layers. Right: Bitumen pad is
obviously going to cover the entire surface.
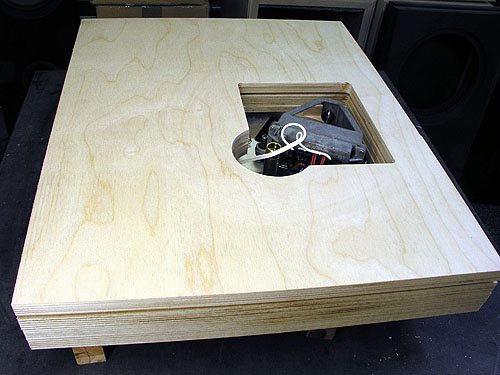

Left: 4 layers in place. Right: 5 layers. Later
3-4-5 have the same cutouts.
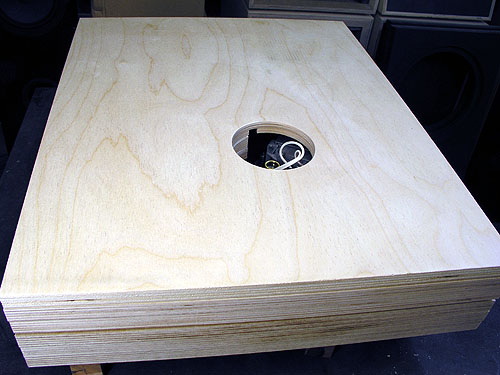
Left: Bottom layer. Right: The entire plinth
seen from top.
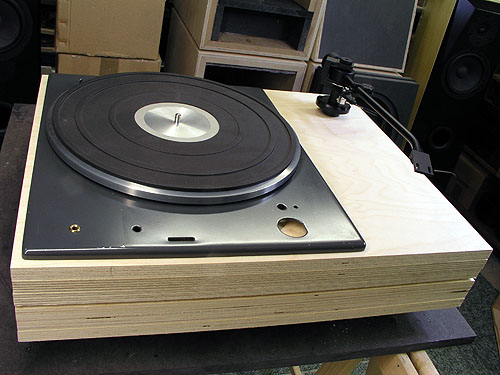
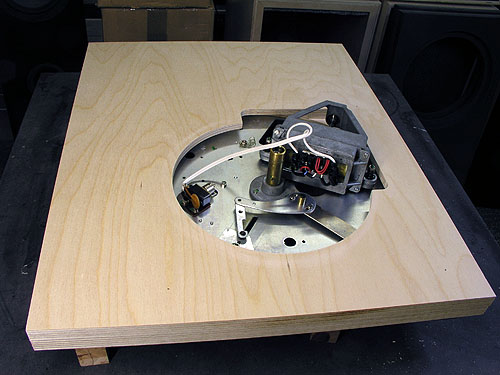
Left: Checking out if turntable fits plinth.
Right: Top plate damped with 4 mm bitumen pads.
This takes quite some time cutting all sorts of weird shapes.
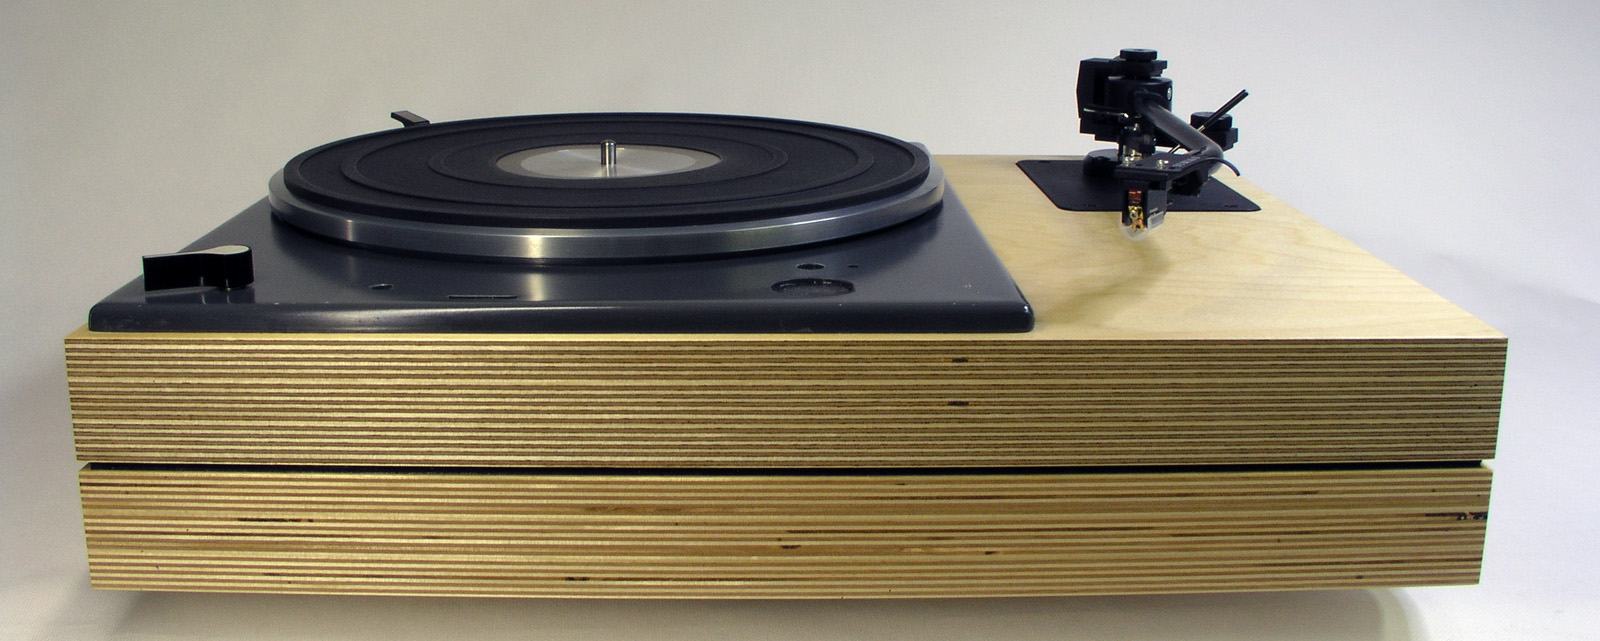
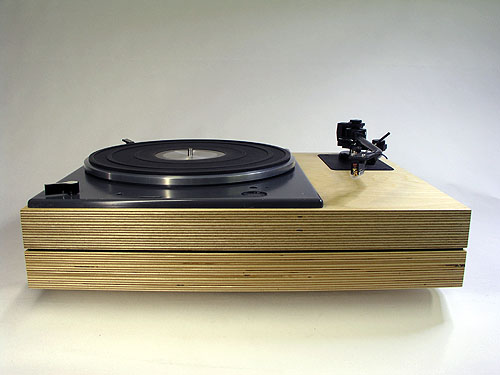
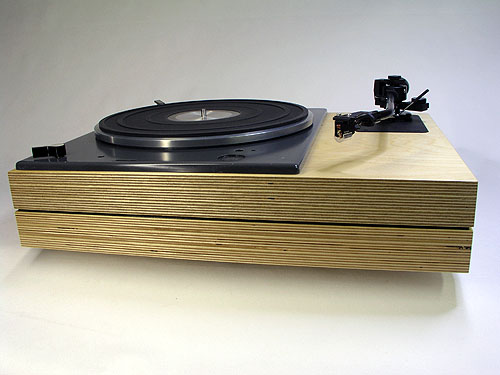
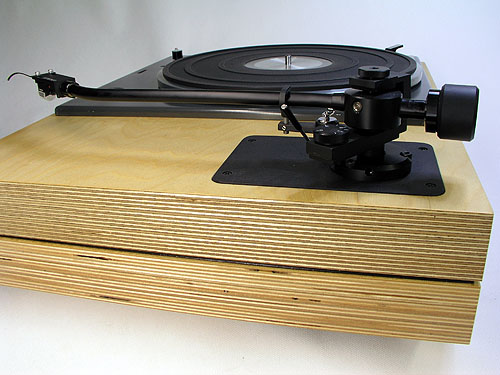
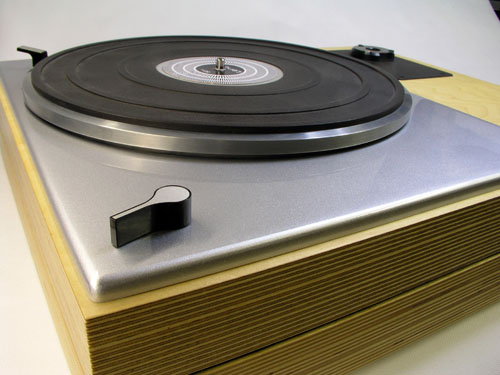
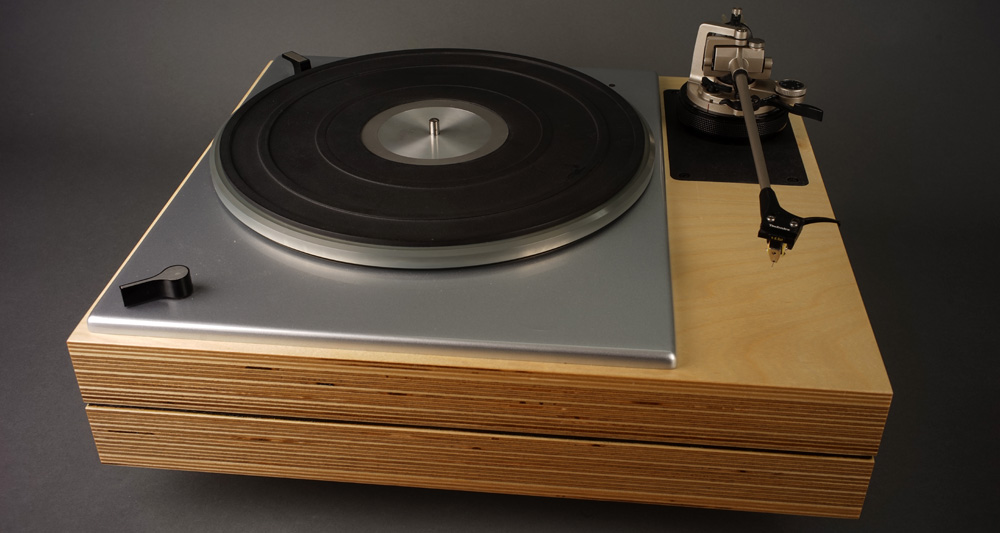
The
- almost - finished turntable I
made a thin panel for covering the former tonearm holes but it didn't look
good. Various things were tried with regard to shape and thickness, but
nothing looked good. Thus, some day I'll take the whole thing apart, sand the
top plate and fill the holes with a metal filler and have it spray-painted by
a professional.
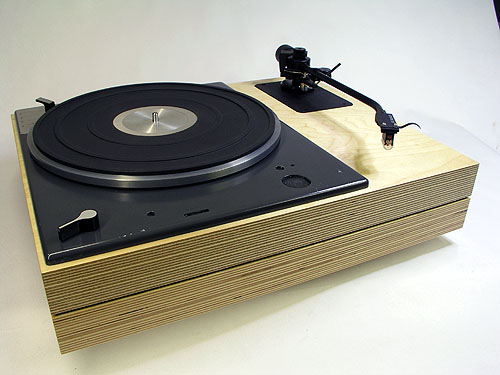
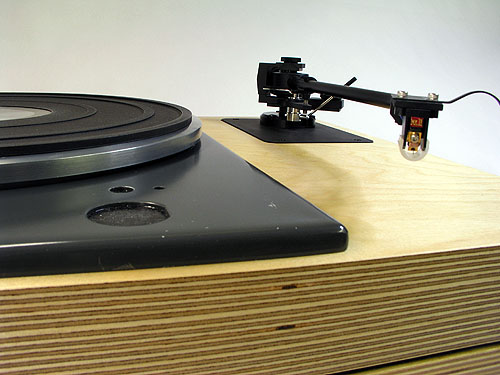
The latest addition is a van den Hul Canary
cartridge. More on this to come.
Click
image to view large.
More Lenco L75
Here a plinth made for my friend Michael. Plinth is
40 x 45 cm (D x W). 2 x (12+12+12+9 mm Baltic birch) + 4 mm bitumen pad.
9" Jelko arm rewired with ultrathin shielded silver wires and terminated with
Eichmann Bullet phono plugs.
Some day we'll get these top plates done;
filling the holes with metal filler and have them spray painted by a
professional.
FIXING THE TOP PLATE
14th December 2012
Michael has a spare Lenco and I had it for practicing filling the holes from
the original tonearm. It takes some metal sheets, Araldite and metal filler.
Follow images below.

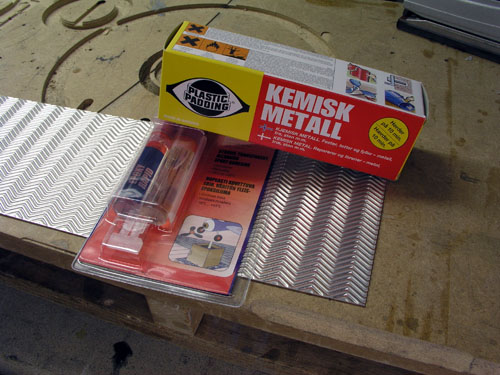
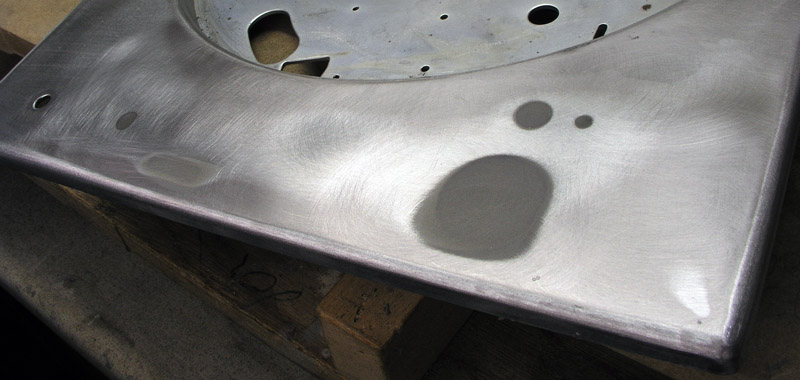
Left: The cleaned top plate. I used sand paper and
acetone to clean off any residual paint. The paint used by Lenco for these
turntables really wasn't good and is easily removed. Right: 1.5 mm alu sheet,
Araldite and metal filler.
The guy painting my Lento tops taught me a lesson as it turned out my
fillings weren't perfect. He had a tough job making the best of it.
The
learning goes like this: Do not use the metal filler seen above, rather
glassfiber filler and next: The holes must be made conical to make a
smooth transition from the filling to the metal. Thus, holes must be filed to
look like this before adding filler.

Well,
we must learn something new every day. I'll try this for my next Lenco top.

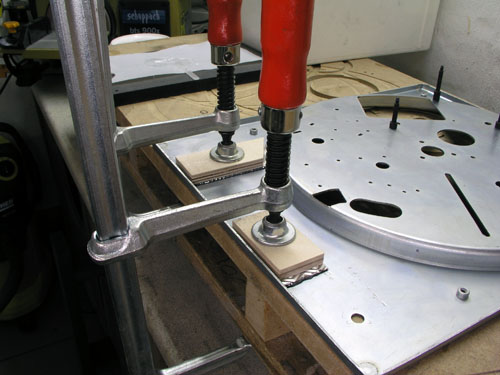
Metal sheets glued to the rear of top plate with Araldite.
Three times filler and sanding leaves a smooth surface ready for spray paint.
To be continued next year as I'll do the my own and Michael's top plates and
have them all spray painted at the same time.
26-Jan-2013
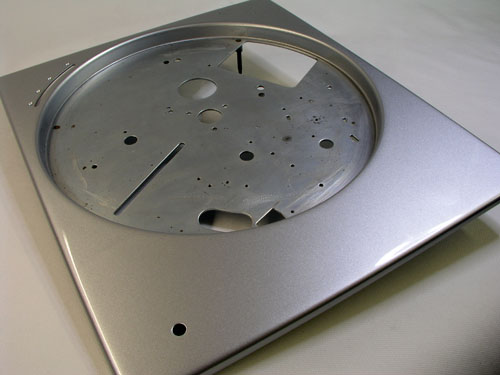
I asked my painter to do a Mercedes grey and he did
a very nice job!
Click images to view large.

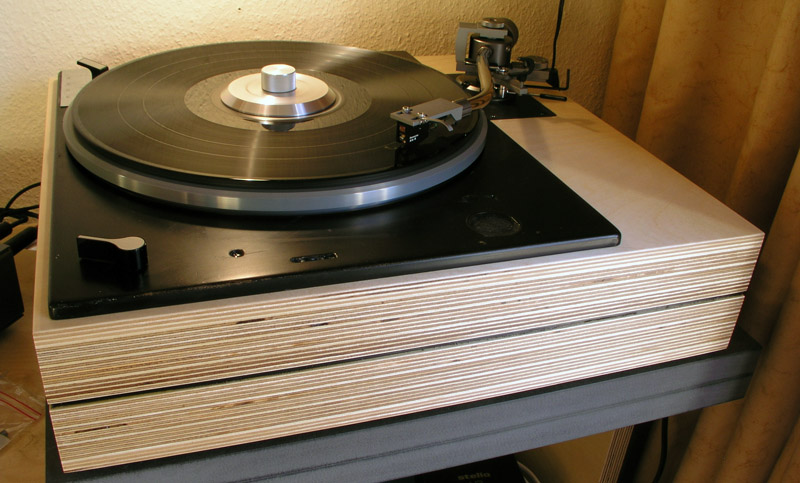
Here's the end result of the L75
Here's the L75 with Technics EPA 501H tonearm. The 501H really isn't suited
for the vdh Canary seen here, rather the Colibri LW cartridge having lower
weight compared to the Canary. I just put it on for the photo-shoot. Before
taking back the turntable I added some washers to the counterweight to
balance the Canary and had a quick listen. I fact I had several hours of
listening... darn good sound. The EPA arm is a gem; no wonder they reach high
prices on eBay. And you need a couple of extra arms to fit various
cartridges. The magnetic damping of the counter balance is excellent.
|