Lenco L78 renovation
Copyright 2015 © Troels Gravesen
Having done two Lenco
L75s*, I found this L78 on eBay. The Lenco L78 is
another idler-drive turntable in the Lenco range.
This eBay purchase turned out to be a
nice deck, apparently never stored in damp attics or garages and no
cigarette smoke either. Clean metal and easy to disassemble.
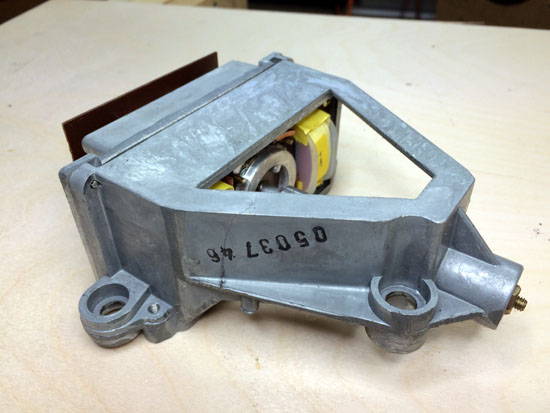
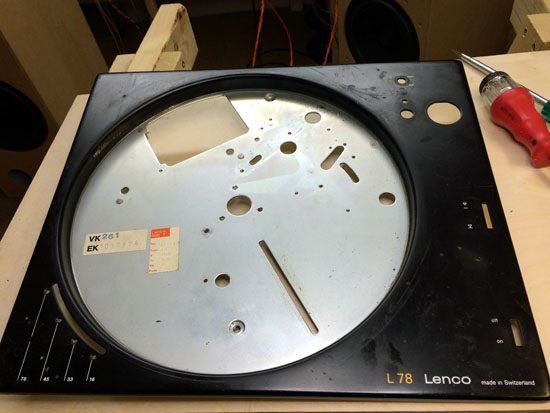
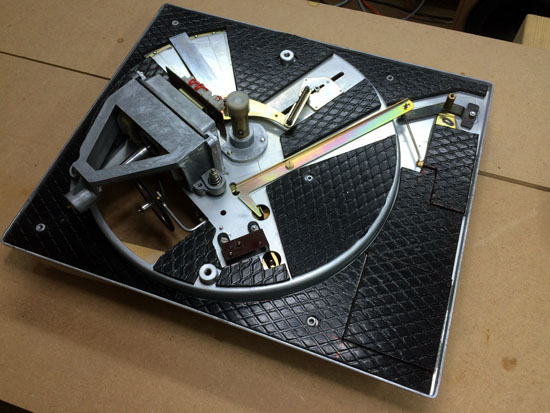
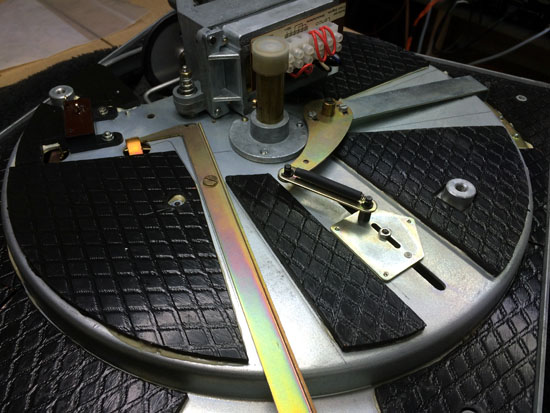
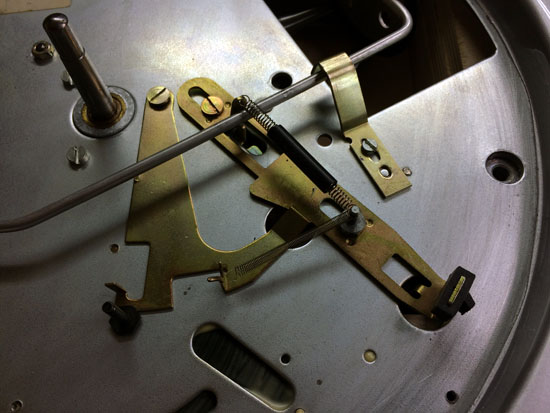
The on-off function of the L78 is changed compared to L75 and not quite
as easy to renovate. Some of the metal structure around the tonearm
needs to be kept to hold the spring connected to the on-off arm doing a
little more than pushing the on-off switch (first two images below).
During disassembling I try to keep functions apart and I use a lot of
plastic bags to store screws and metal parts for the same function. And
I make a lot if images to help memory, because we think we'll remember
the placement of every single screw while we disassemble - and for those
of us not having photographic memory, we don't. So, use your mobile as
I did below to record how it was all put together.
*: Also check this
page on L75 featuring Moerch tonearms.
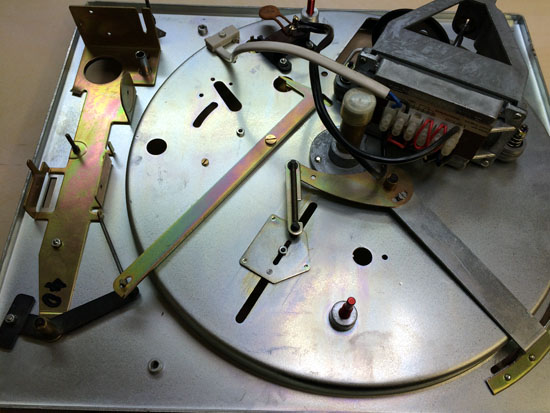
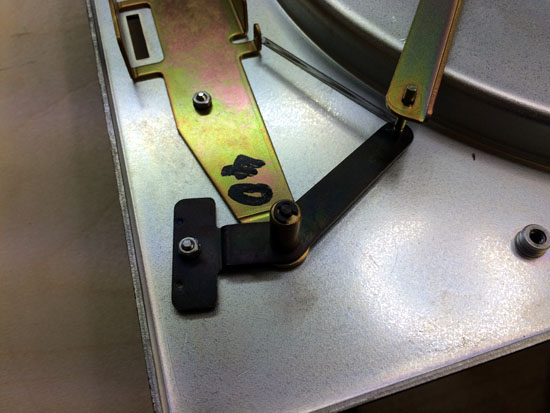
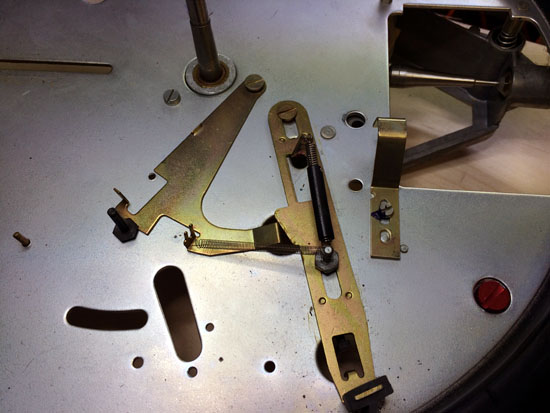
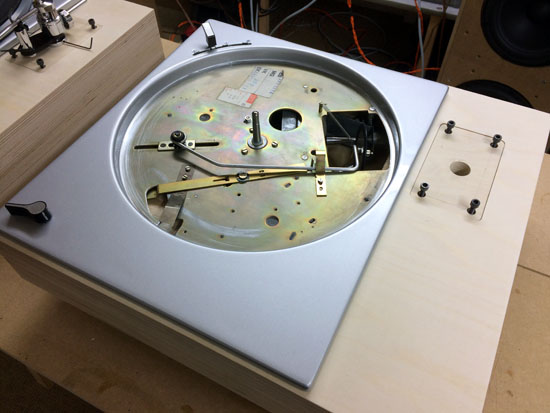
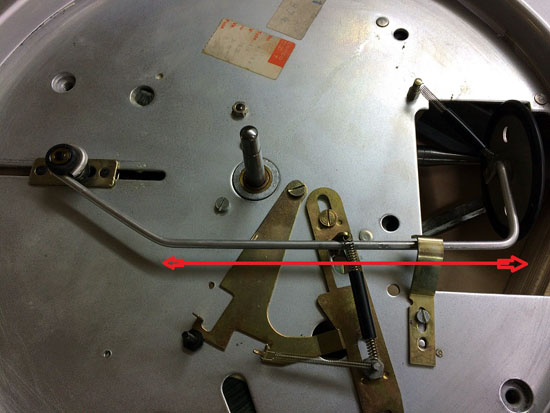
Above: Starting with the on-off function.
The metal parts above red line can be omitted but we need the tap
holding the spring to the on-off arm.
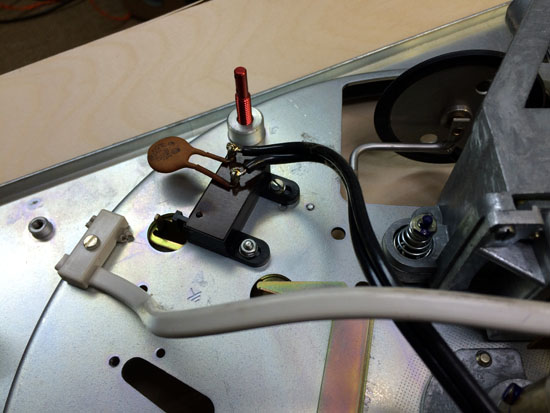
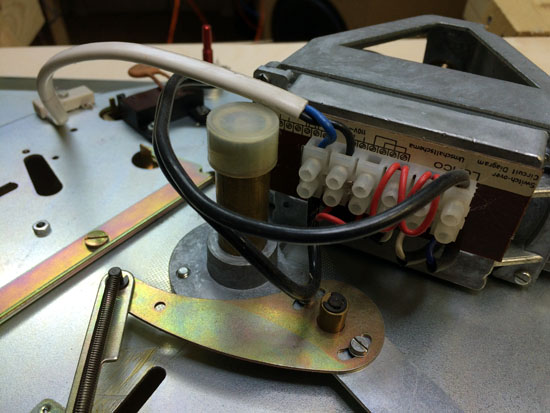
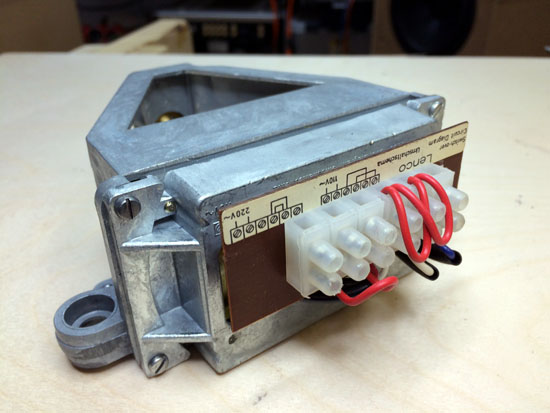
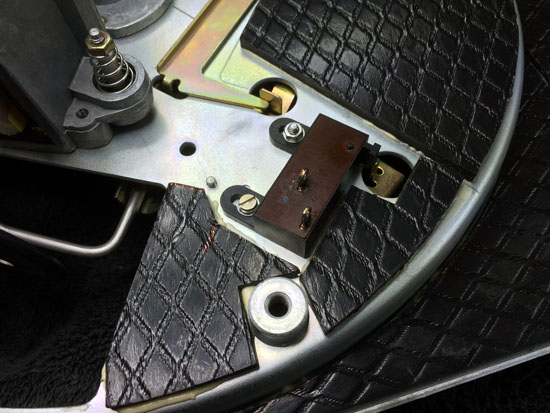
On-off switch to the left. To the right the wiring. Better take a photo
on that part too.
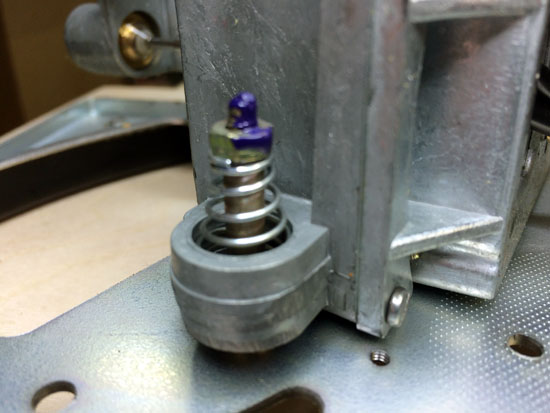
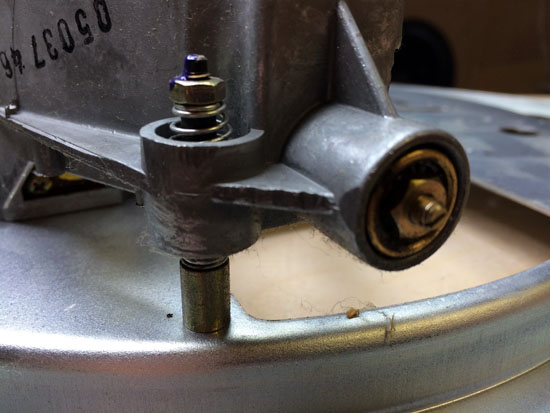
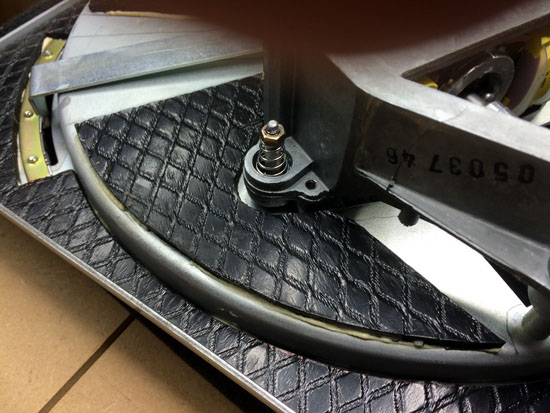
Left: Platter brake, a little more complicated compared to L75.
Nice clean motor! Ready for fresh lubricants. Read
here
what must be done.
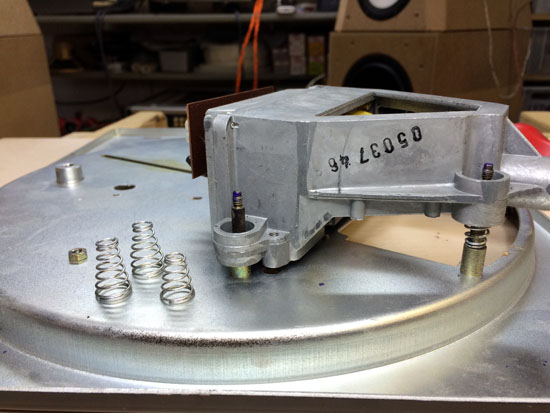
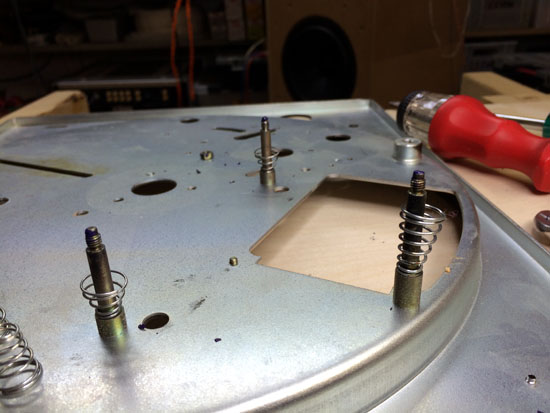
Make sure you know which spring goes where. They're different.
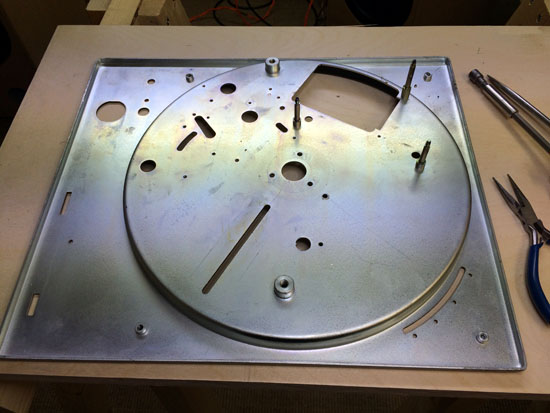
To the right the stripped deck.
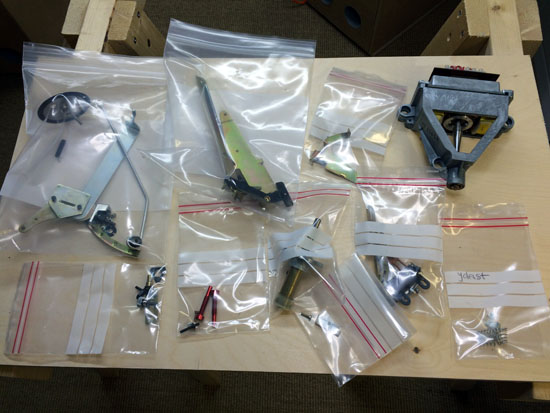
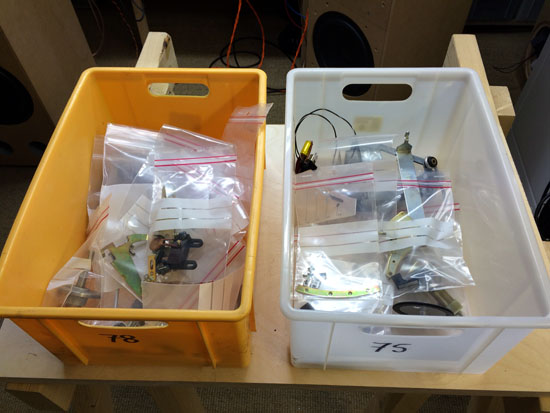
Put everything into plastic bags.

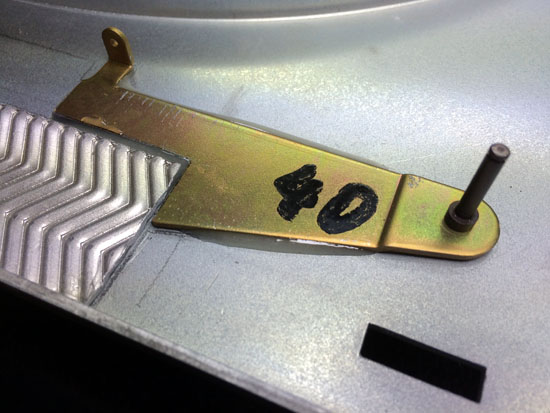
Left: Mark these tiny metal parts for the speed settings. They're not
identical. Right: All parts for L78 and an L75.
Renovation
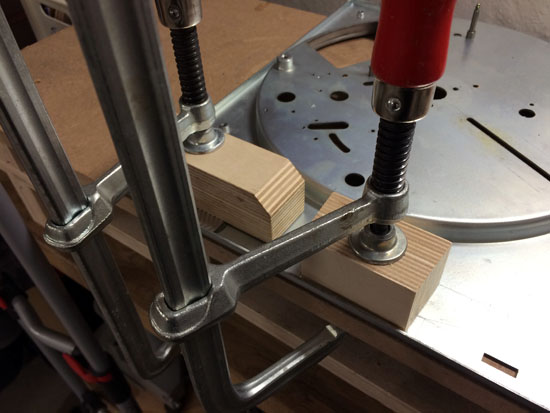
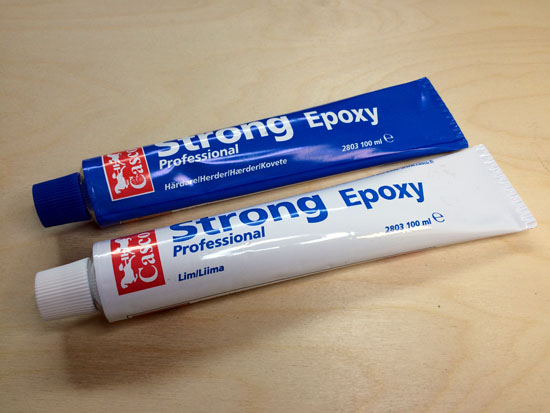
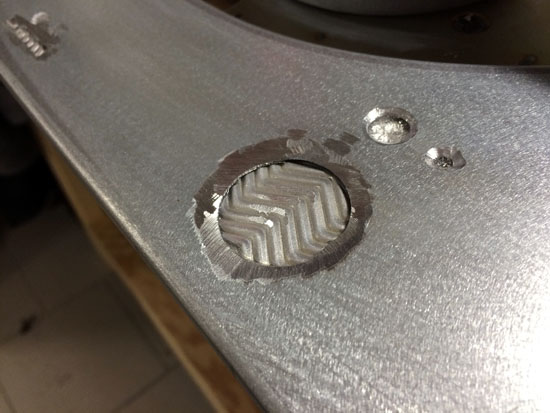
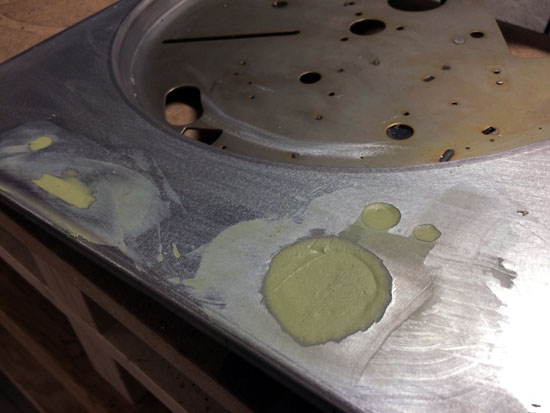
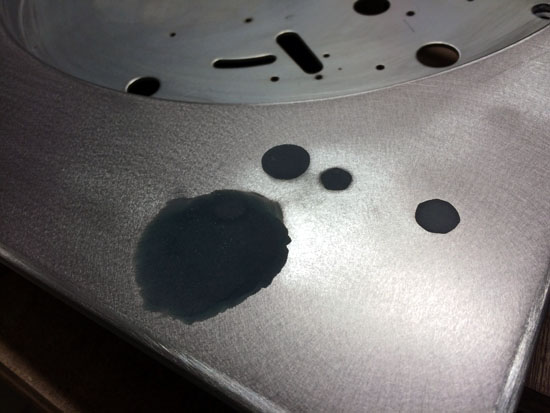
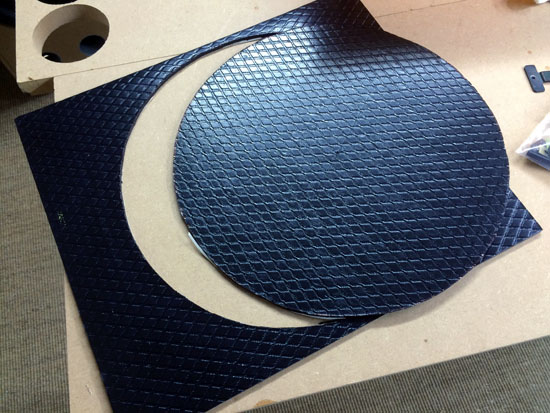
I use some herringbone aluminum sheets to cover the deck holes. Glue is
pro epoxy and do not fill the holes with glue!
The metal filler is supposed to do this.
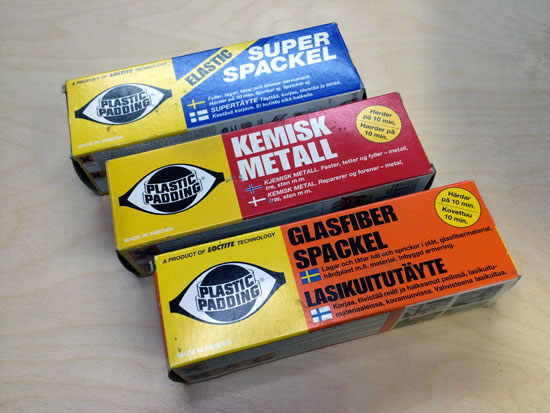
Metal cement (plastic filler) to the left. For these experiments I
left out the red.
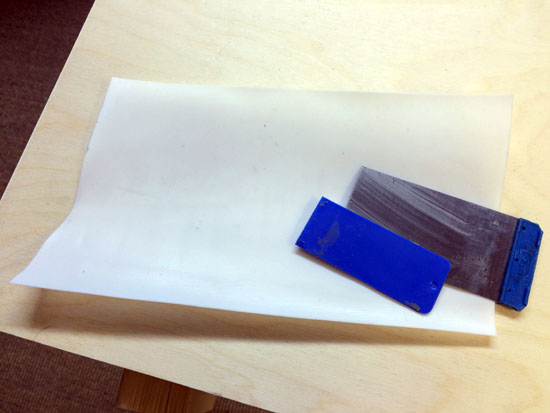
To the right a sheet of Teflon and spatulas.
Actually my pro car painter suggested I used the "glasfiber spackel"
seen above. Little more flexible than some of the other Plastic
Paddings. I'll use the Super Spackel and Glasfiber Spackel to compare.
The "Kemisk Metall" is extremely hard and not recommended. I have a 2
digit balance and usually weigh out 10 grams filler and 0.40 gram
hardener (4%). After mixing we have some 5-10 minutes before it starts
hardening. Mixing is done on a sheet of Teflon seen to the right. Clean
spatulas and Teflon sheet with acetone and make sure to do all this in a
ventilated room. The filler smells really poisonous and acetone is not
good for our brain cells!
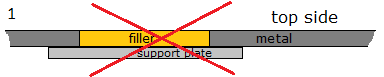
Before starting with the filler, this is what I learned from my pro car
painter. If we do #1 above, the filling will eventually be seen through
even a thorough primer, paint and coat treatment. And his right. I did
#1 on my first L75 and although not clearly visible, it's there. We can
see where the tonearm mounting hole was, even though I was very careful
with the filler and sanding, filler and sanding, over and over again.
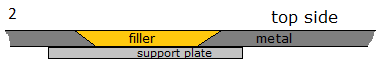
#2 is the way to go and this is what I'll try on the L78. To chamfer the
holes like seen on drawing I use either drills for small holes or angle
grinder for larger holes.
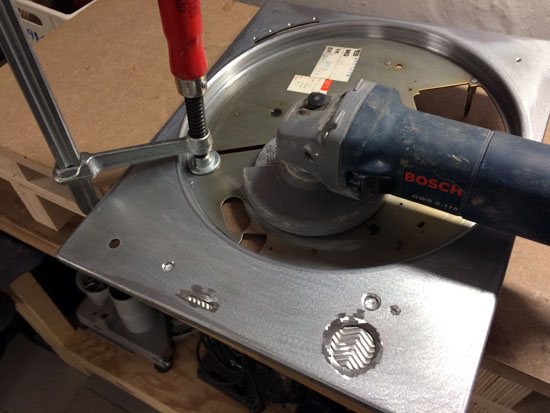
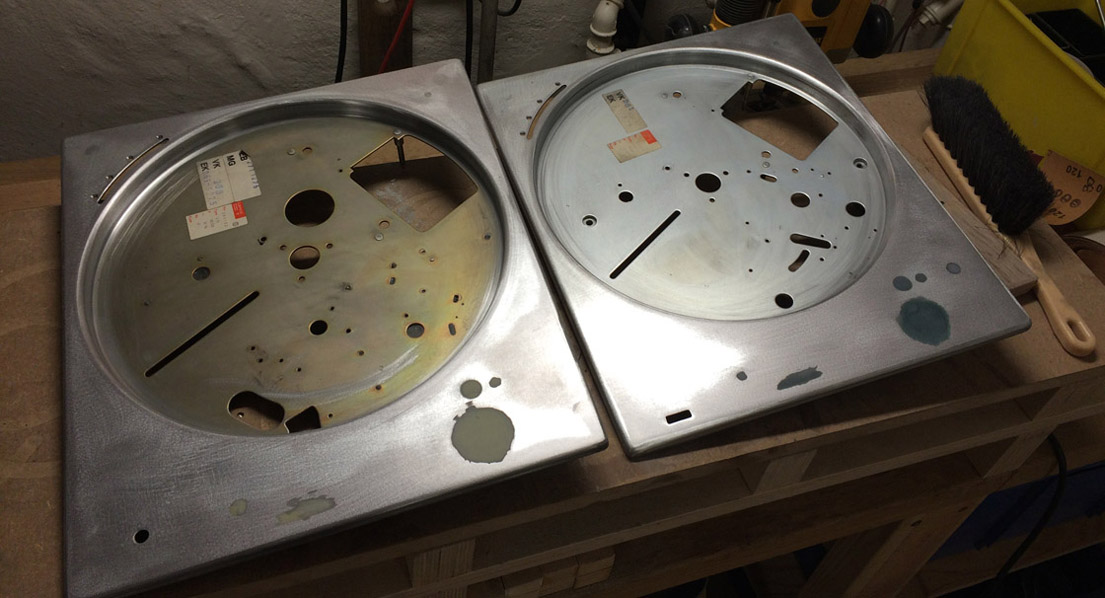
Use drill and angle grinder to chamfer holes.
Right: The glass fiber filler. Left: The "Super Spackel" (the deck to
the right is an L75 deck made together with the L78).
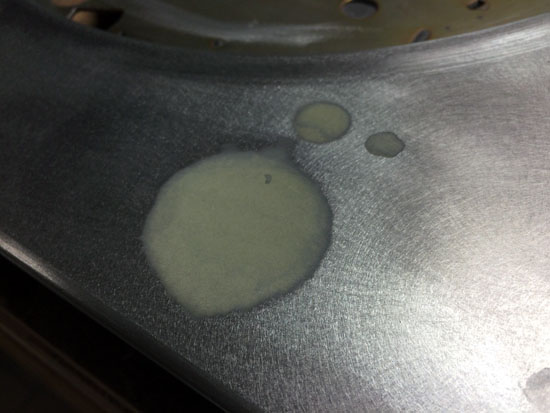
Now, this glass fiber filler is tricky! Like working with chewing gum
almost. At first I didn't like it, but after sanding the first fillings
I realised the smooth properties of this filler.
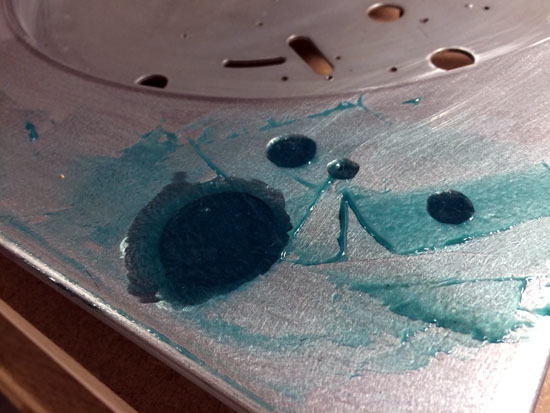
So, putting ended and time for some spray paint. To the right the glass
fiber filler, to the left the "Super Spackel".
Time will tell which is best.
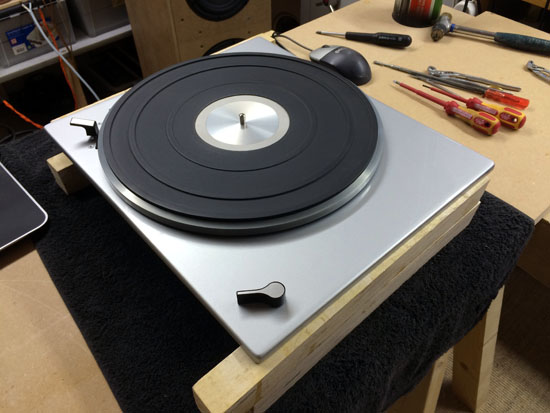
The paint work just turned out the way I wanted and here's the L75.
It really didn't make any difference what type of filler was used, but
the Super Spackel was the easiest to apply.
Left: For the L78, this needs to be glued to the chassis. Right: First
cutting of the 4 mm bitumen pad.
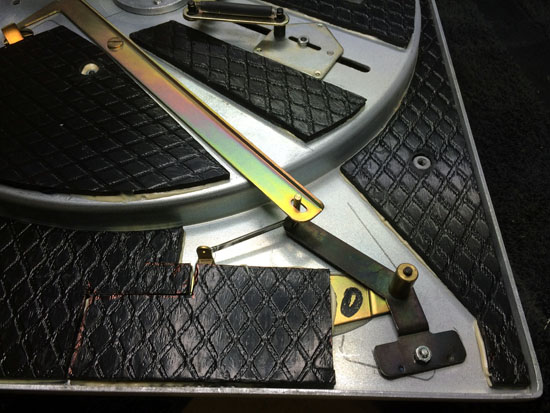
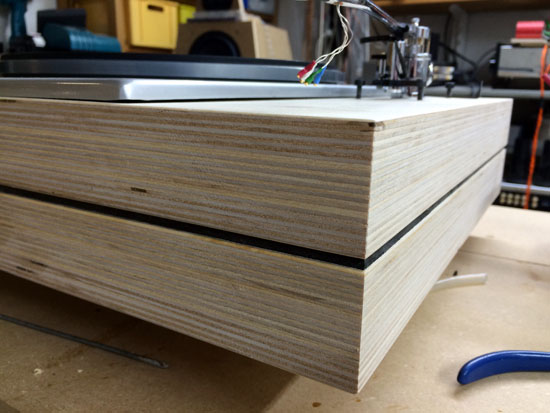
I vital step in the restoration of any Lenco deck: Bitumen pads!
Here 4 mm is glued to the chassis for damping - and it works wonder.
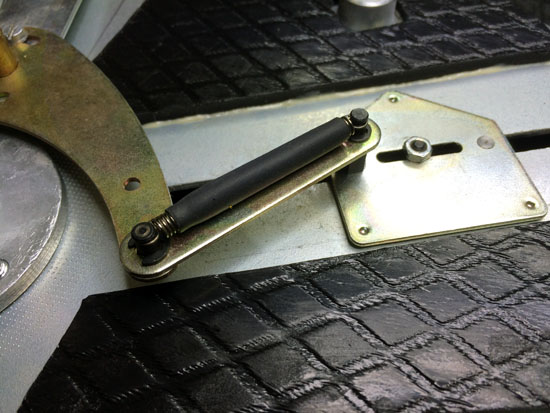
To the right damping of one of the springs. This is important to reduce
the noise from turning on the turntable.
The sound must be slick and smooth and not hard and resonant.
Glue used? Look here.
So, bitumen work finalised.
Making the plinths, go to this page.
L75 and L78 shaping up. Next is the bitumen layer between plint sections
and gluing it all into one block.
L78 with preliminary DP6 arm. DP8 will be final.
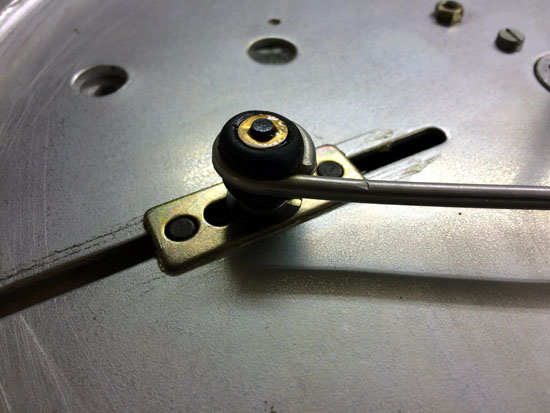
The arm that holds the driver wheel is rather flexible and something
will be done to
strengthen the rod and dampen possible vibration. To come.
The two yellow metal parts is primary source of on-of noise and
something will be done about it. To come.
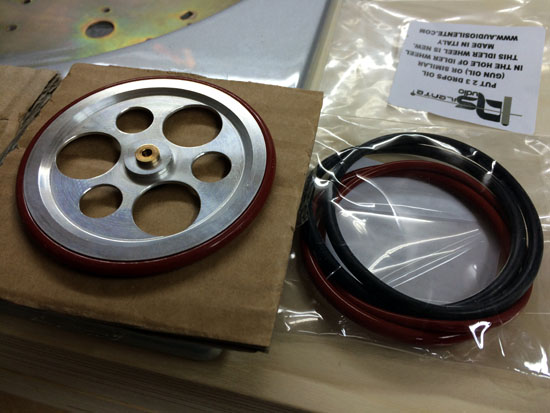
Right: New driver wheel. Very nice work by an Italian craftsman.
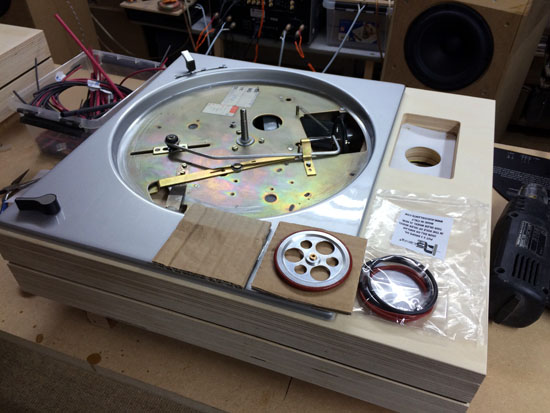

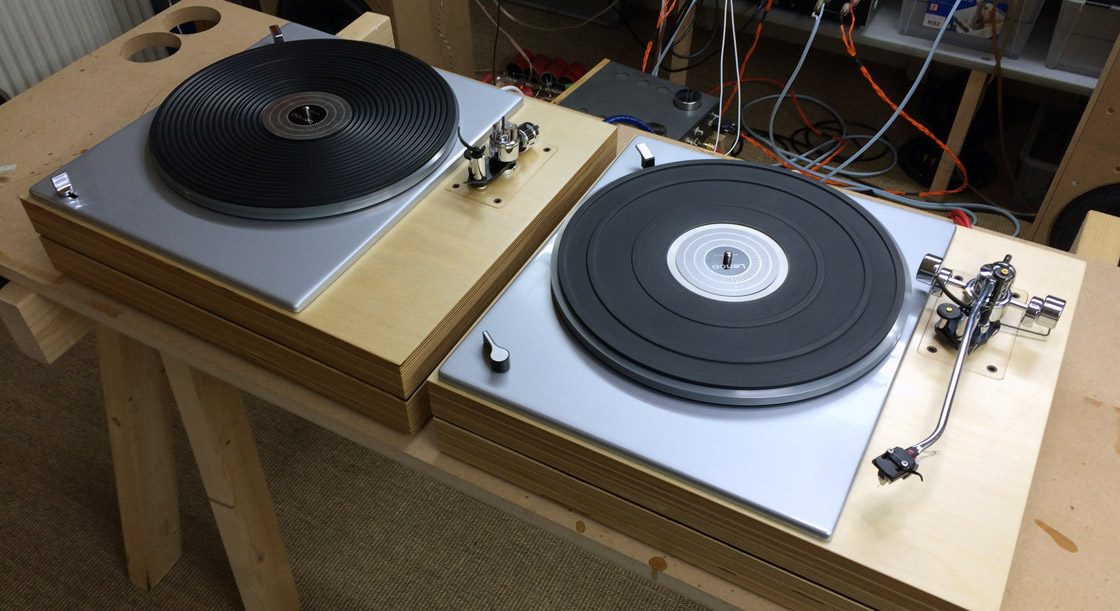
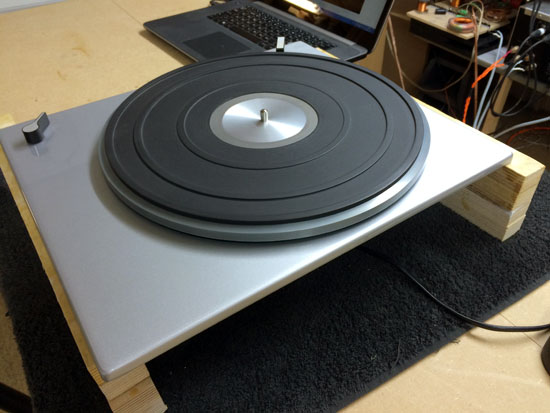
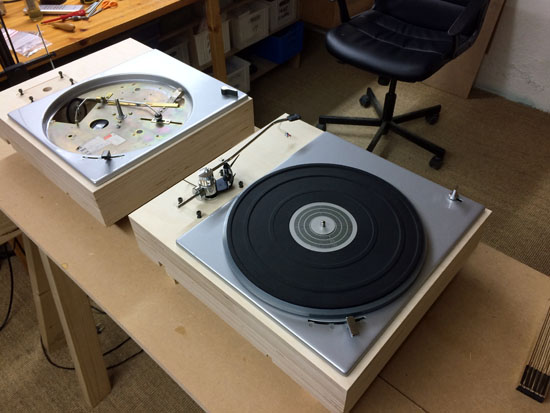
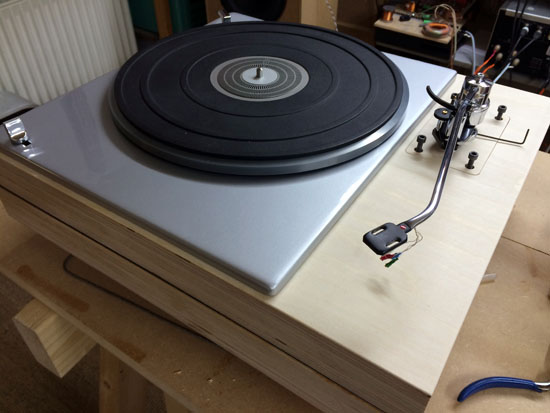
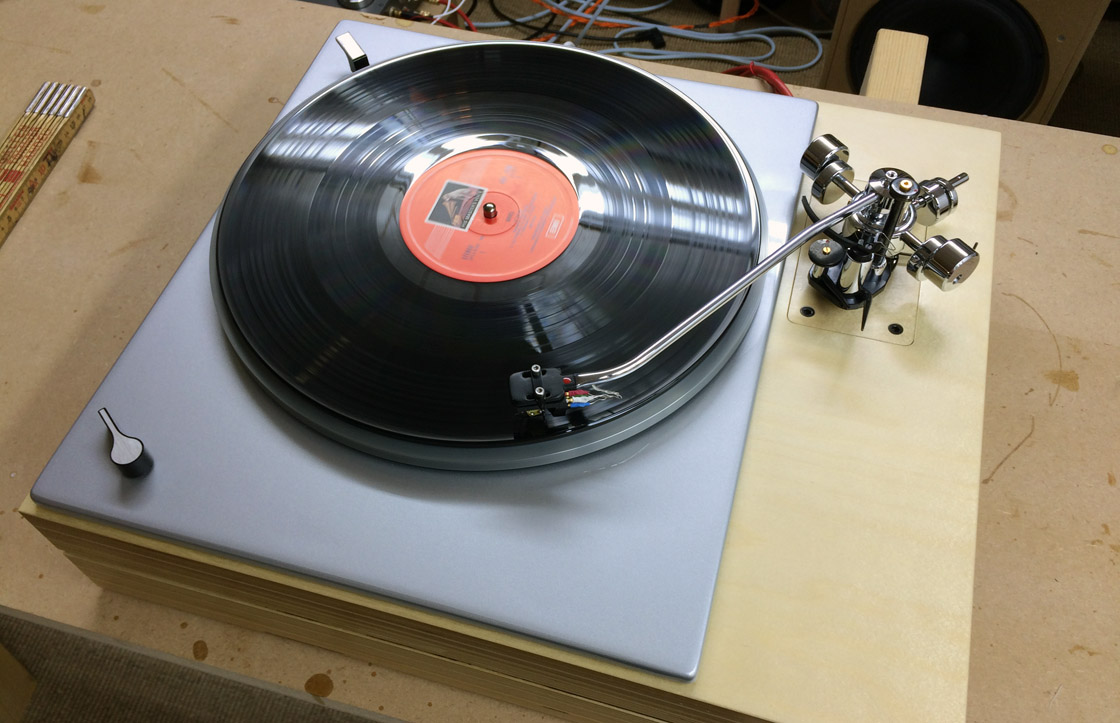
Left: Finally! Lacquer dry and both decks mounted. Time to replace the
old idler wheel.
Finally the Lencos are ready for music.
The DP8 outriggers are getting real close to the platter from a 9"
tonearm, but it works.
A quick set-up of the L75 with vdh CANARY, my old riaa and a Ravel
concerto.
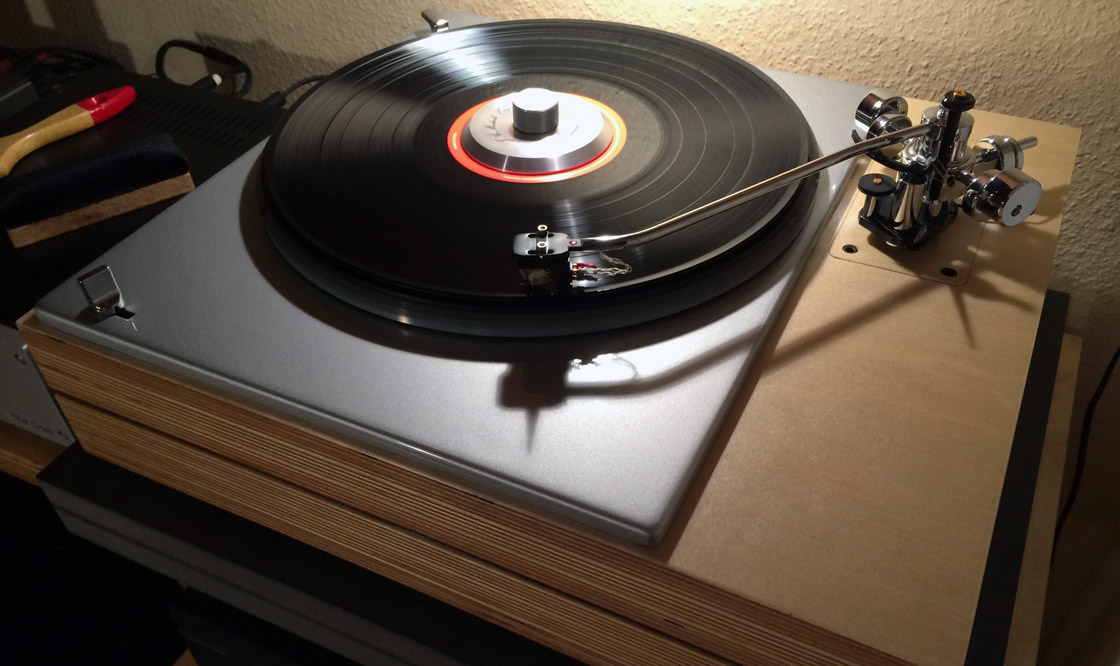
The L78/Moerch DP8/vdh Canary in place with my
main system.
With regard to the things that matter, the L75 and L78 are no different.
These two decks provide the same basic qualities.
Buying an old Lenco isn't just plug'n play! Many hours of work - but the deck can match the finest of tonearms and cartridges available. Hope you enjoyed the ride.