NOMEX164, built by
John, Australia
Copyright 2014 © Troels Gravesen
Dear Troels,
I have now built two of your designs and
greatly appreciate your work. If it is helpful please feel free to add
any of this to your builders response pages. Please let me know if the
photo resolution is too low and I can resend any that you might want to
use.
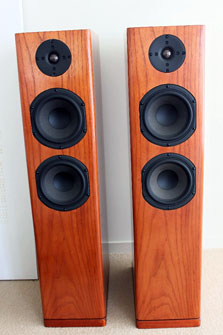
Nomex
164
These were my first foray into speaker
building and serious woodworking full stop. The Nomex 164 seemed like a
good starting point as it was relatively simple, economical and big
enough to make some impact. So I dusted off my old circular saw, made a
couple of cutting jigs and bought myself a router and soldering iron.
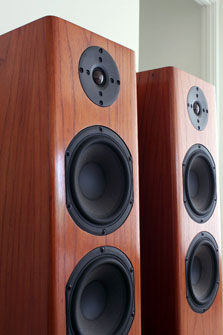
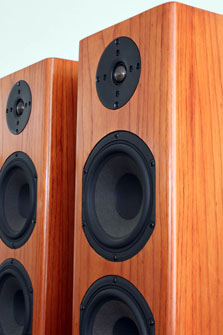
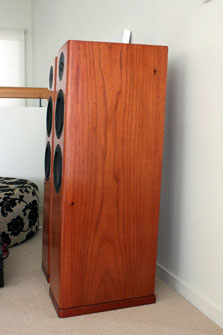
The cabinet was built with 25mm Hoop Pine
plywood which I then veneered with 0.6mm Australian Red Cedar (Toona
Ciliata). Although the Hoop Pine is relatively light the cabinets are
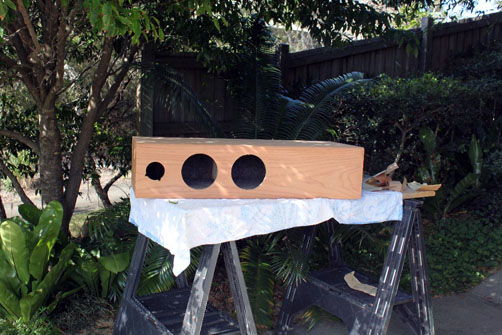
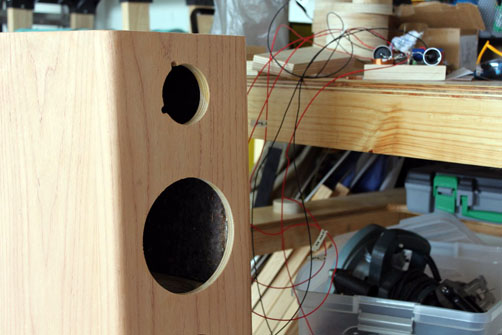
rock solid. To achieve a seamless veneer I routed the driver holes,
fully assembled and glued the cabinets, applied the veneer and then
routed the rebates for the drivers using some templates I made. This
could have ended in tears if I messed up the driver rebates, but luckily
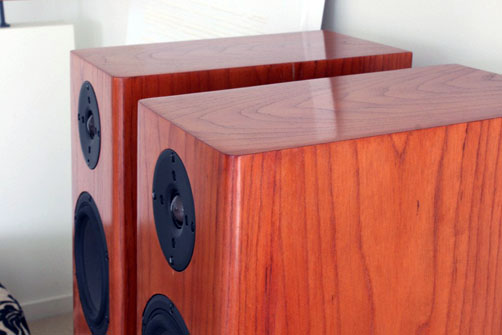
all went well. I also decided to follow your tip on tilting the
cabinets. I cut the cabinet panels to get a 4 degree tilt and flat
cabinet top. This helped with WAF. Oh and I made the cabinet deeper to
increase the volume, although I misread the instructions and thought I
was aiming for dimensions that gave me 45 litres. I assume this did no
harm.
The Jantzen parts were purchased from
Brisbane based Speaker Bug. I did upgrade a couple of the capacitors to
the Silver Z caps. The damping is a commercial felt carpet underlay
that from memory was 11mm thick. After some searching I found a carpet
store that had some leftover from a job and picked up heaps for $20.
The bitumen padding was a little trickier to find and I ended up buying
some from that huge US online shop. Later on I found a distributor in
Sydney for a Bostik product that seemed good, next time maybe.
I was a little slack with taking photos
during the build so there is not a lot to see. I do the messy work out
in the garden in a nice shady spot out of the Queensland sun.
The Nomex 164 replaced some Quad 12L's. It
is not a fair comparison to compare a 12 litre speaker to a 45 litre but
I certainly noticed a huge difference, not just in bass but across the
board. They did take a while to run in. My daughters 18th birthday
party certainly finished off this process and they did the job
admirably. With the previous speakers I had to heavily use the
equalizer in J River Media Centre to compensate for deficiencies, with
the Nomex 164 I have all frequencies set flat and it sounds great. For
the $1,000 AUD in parts and materials that these cost me they are
fantastic speakers. It certainly reinforced to me that DIY loudspeaker
building is enjoyable, rewarding and very good value for money, assuming
you have the time!
These speakers were a warm up for me and I
have now also made your DTQWT's. I will send you some photos also.
Thank you so much for making your designs
available to everyone.
Kind regards, John, Australia