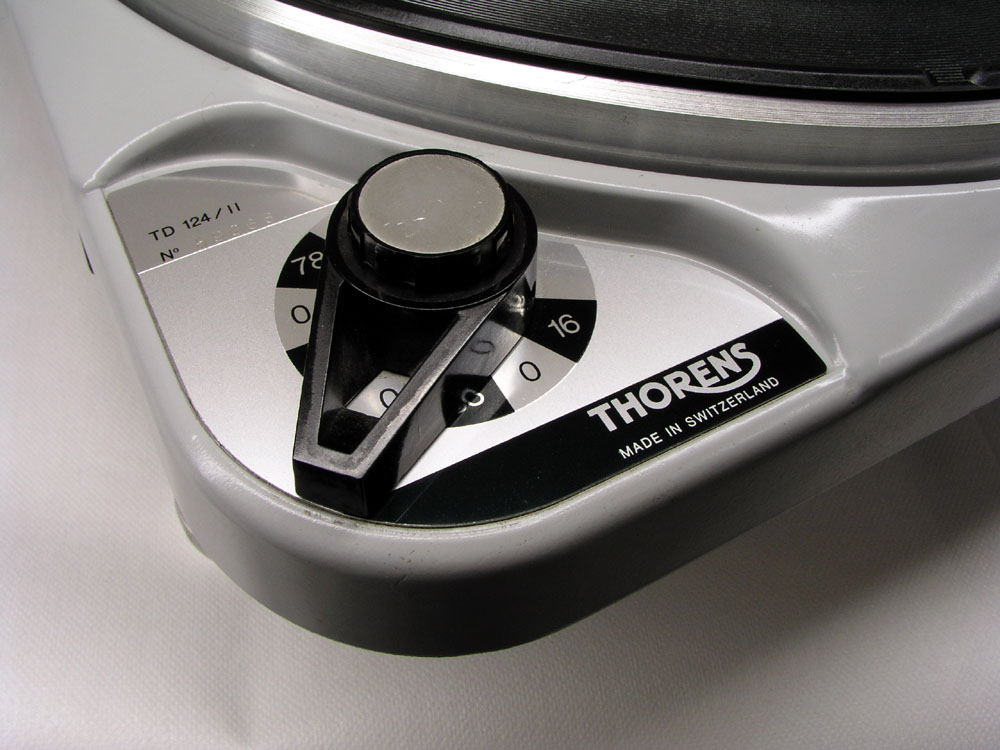
Thorens TD124 mkII
Copyright
2010 © Troels Gravesen

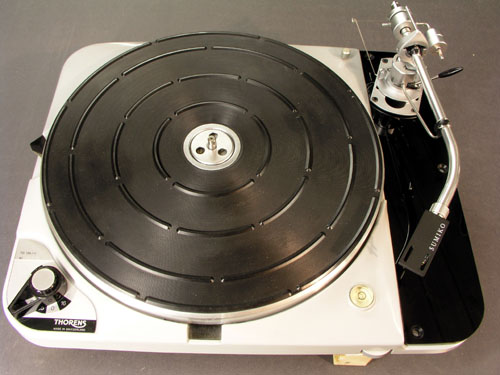
The Thorens TD124 mkII is
a classic and ever since I first spotted the TD124 deck
on the B&O Beogram 3000 turntable back in the late
Sixties, I wanted one.
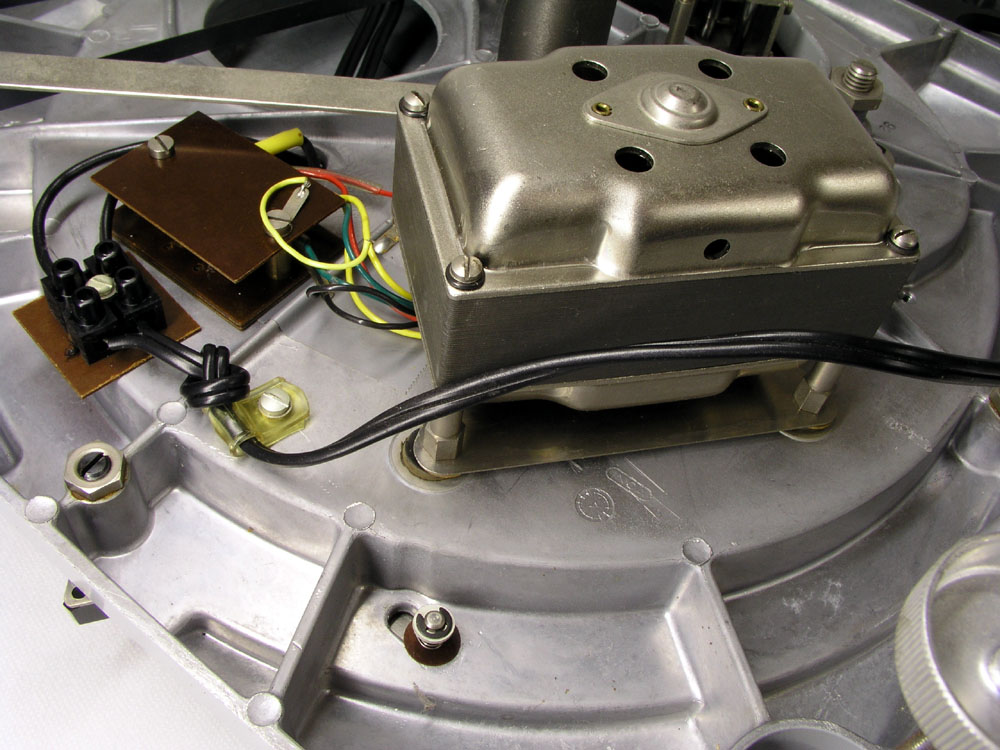
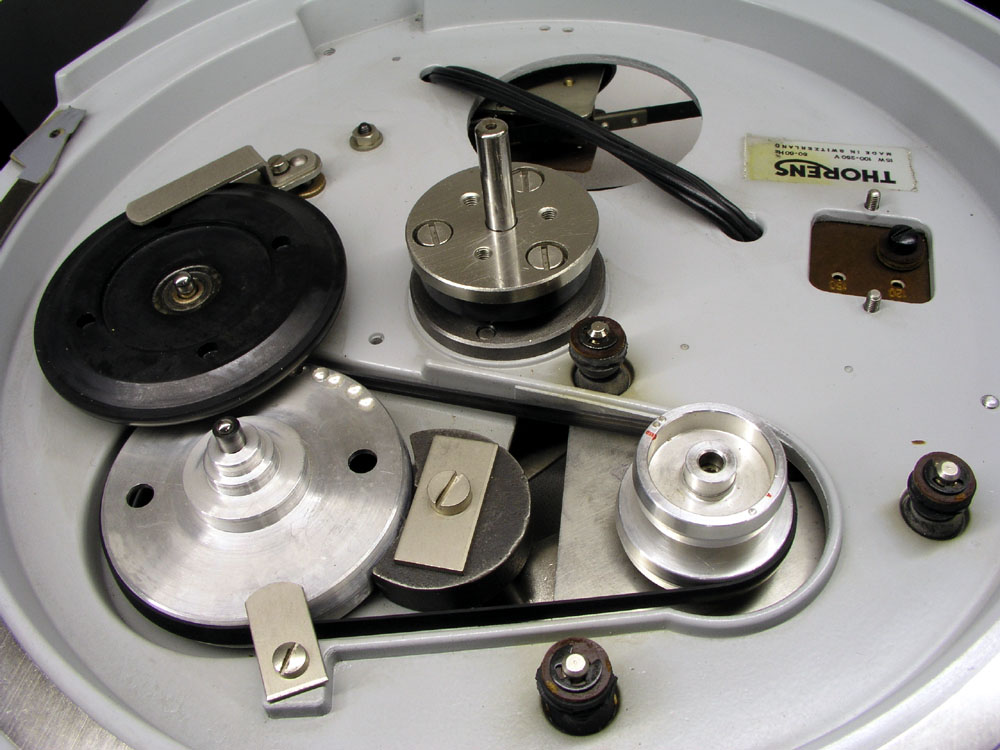
The TD124 mkII goes fairly high on eBay these days and I
recently came across this one from Germany. Seller's pics
were rather poor, but what I could see was the
motor looking absolutely clean so I took my chances and
was prepared to go high on bidding. I got it at a very
resonable price and was more than pleased to see this
deck being close to mint condition. It actually looks
like it hasn't been used very much at all, and may even
run the original rubber belt.
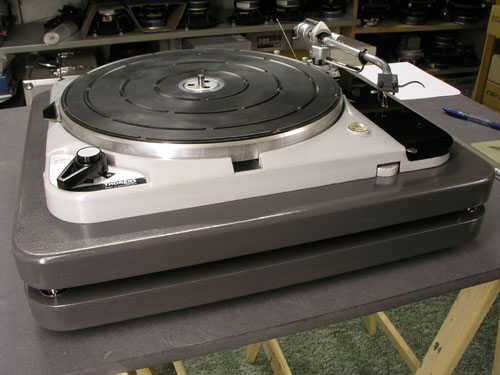
Having temporarily installed an
SME Series III arm, it now runs smoothly as
coming fresh from the box. A dirty 9" SME SII
tonearm followed the deck and it took a lot of
hours and quite some spare parts to get it up and
running. Fully renovated with a SUMIKO headshell and
Dynavector DV20X, I think this arm is better than its
reputation. However, a new tonearm was on the wishlist
and eventually became the Jelko S 750D arm, which I got
on eBay (new) for 315£, quite a steel I think. See
later.
The TD124 has cult status amongst Thorens
aficionados and numerous pages on this spinner can be
found on the web:
http://www.thorens-td124.dk/,
http://www.soundfountain.com/amb/td124page.html,
http://homepage2.nifty.com/pantone/thorens/index.htm
http://www.schopper.ch/static/services/z_top_audio/Neutrik/Thorens_Uebersicht.html,
- or simply google "thorens
td124" - and you'll be flooded.
Making a
plinth
Left: Plinth under construction from two panels of 30 mm
MDF, kept apart by three 15 mm spikes. Rubber feet for
the bottom panel. The panels will be painted black. New
tonearm board will be made from 10-12 mm solid wood.
Final tonearm not decided yet.
Right: After first layer of paint. Next is sanding,
painting, sanding, painting,........
 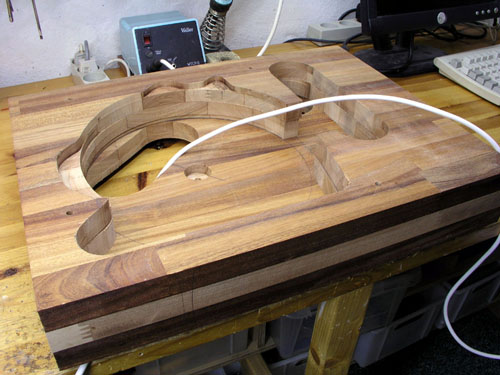
The paintwork just simply didn't turn out the way I
wanted it! Leave spray painting to the pros.
Thus, some hardwood panels were glued and routed for the
TD124. Only needs oil or wax. That I can do!
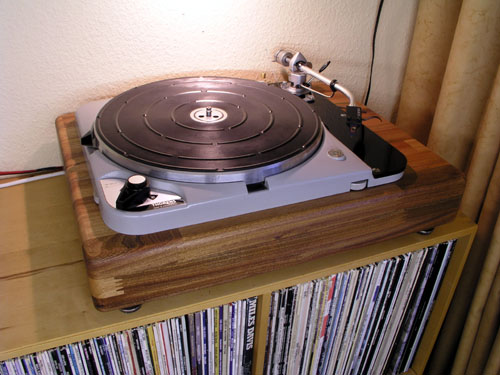 
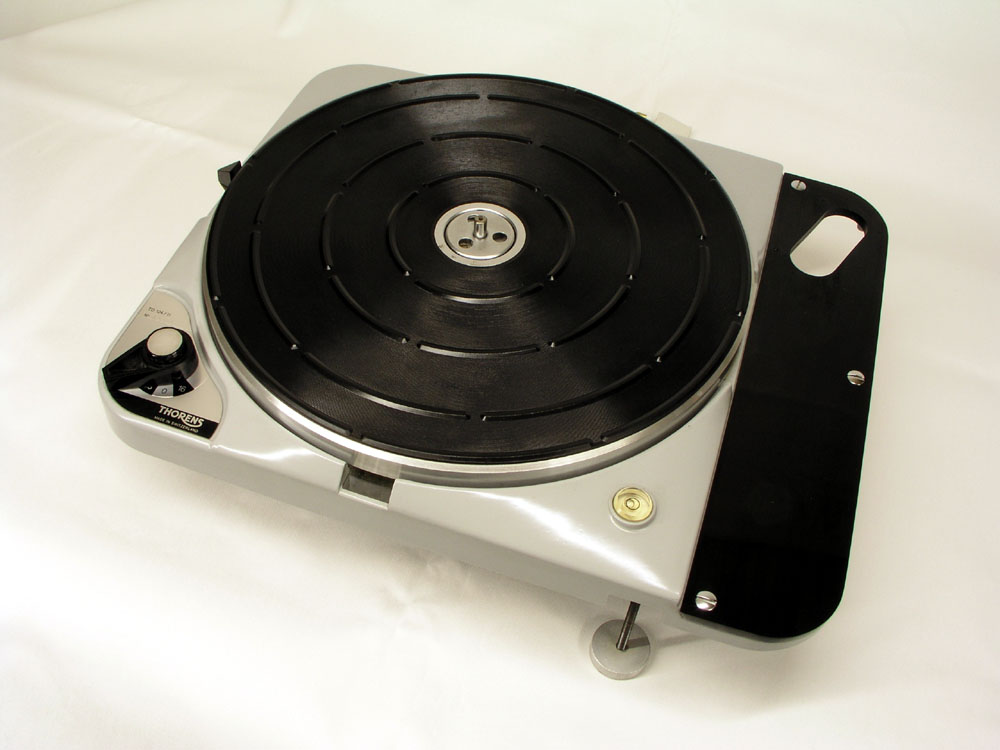
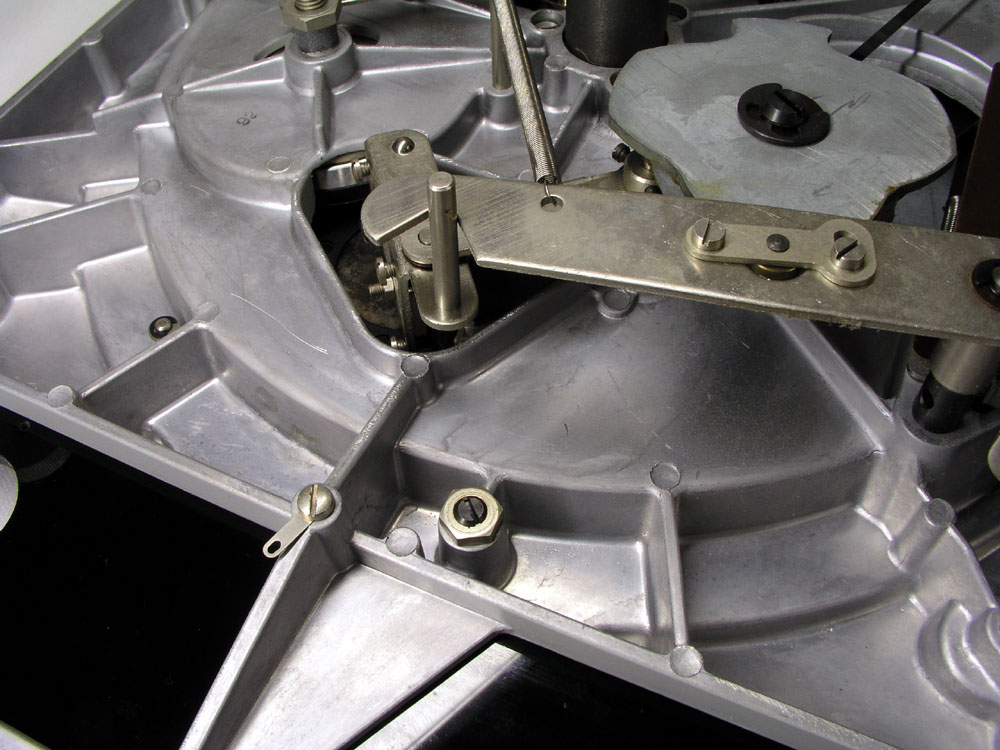
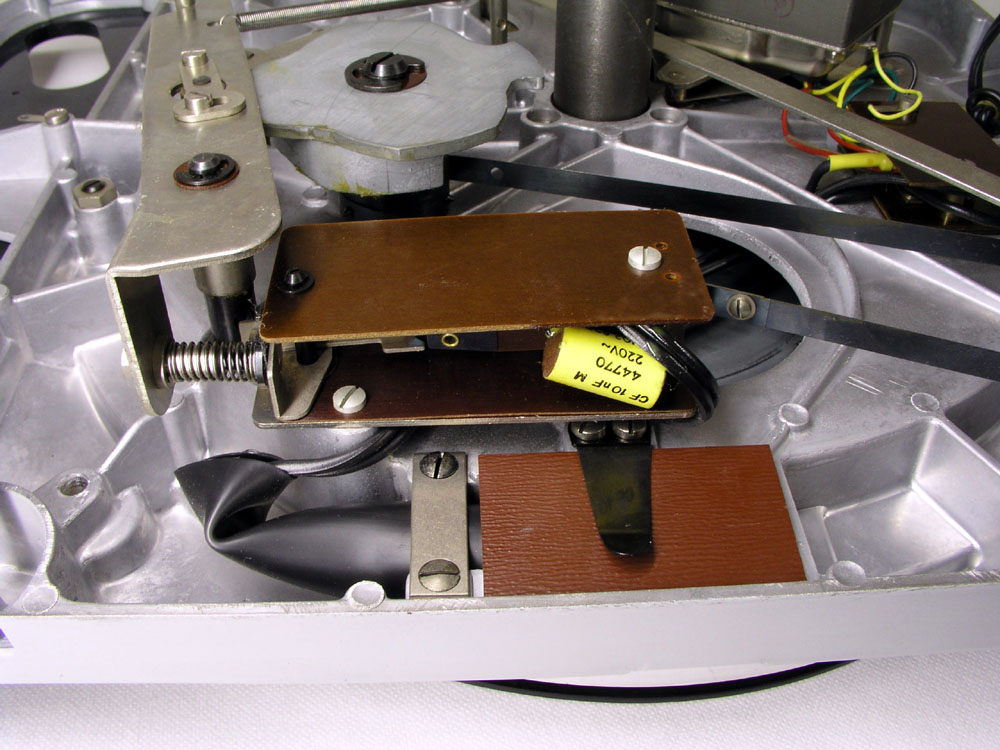
Running!
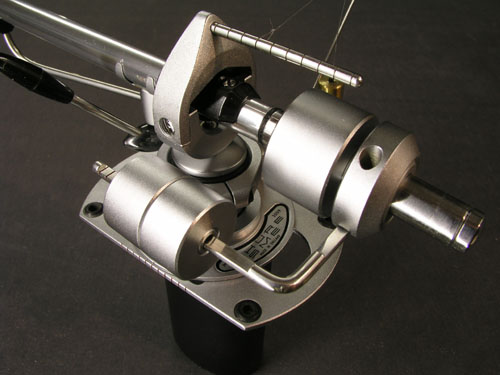
SME
tonearm following TD124 mkII
The SME Series II arm that followed the
TD124 mkII deck was one dirty fellow! Looked like it had
been placed next to a chain-smoker for decades. The arm
was totally dismantled and except for the bearings and
balsa wood (in arm tube), all parts were cleaned in a
sonicator, submerged in distilled water added detergent
and a bit of alcohol. This got it clean.
New coupling rubbers were bought and ideally a new
headshell socket was needed too. No headshell followed,
thus a Sumiko was bought. Originals go for ~50£, too
much I think. A new anti-scating weight was bought too,
replacing a homemade brass weight that doesn't look too
good.
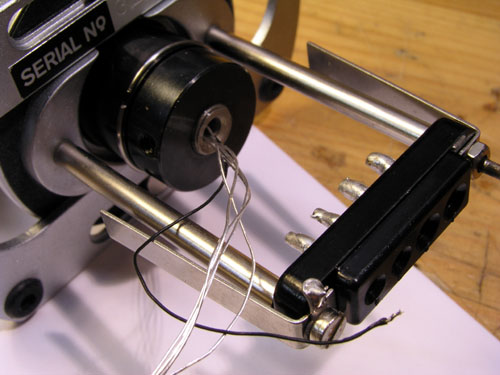
The arm has been rewired with shielded
tonearm cable.
These are some tiny cables! Takes extreme care splitting
core cable and shield.
Actually I removed two of the cables again and used the
screen for ground. Works perfect.
Later I'll replace the original SME connection with two
phono sockets like seen here:
 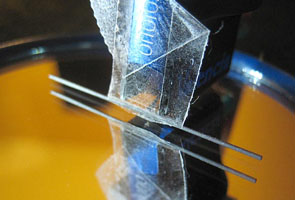
Left: SME base with new phono sockets.
Right: Smart, isn't it? Found this on the web. Pencil
graphite used to ease azimuth adjustment. Mirror
underneath, brilliant!
- new
arm and armboard -
Jelko
SA 750D
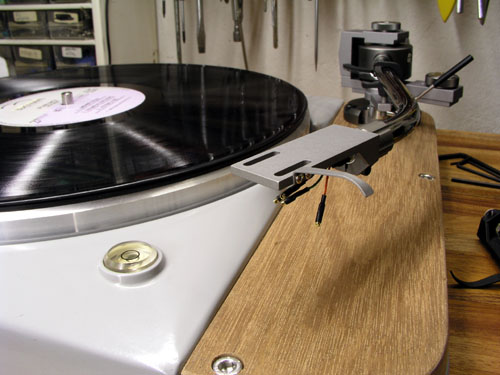 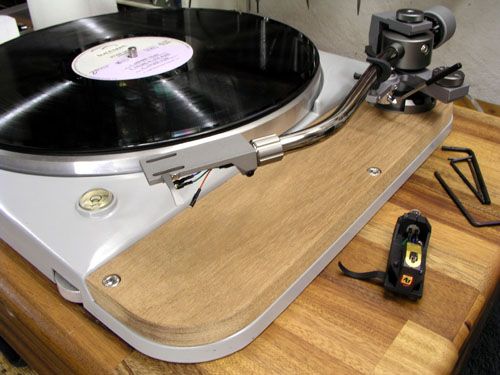
A slant of mahogany was cut, drilled and
sanded to make a new armboard for the Jelko.
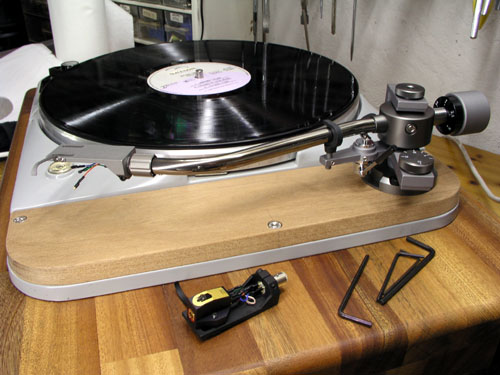 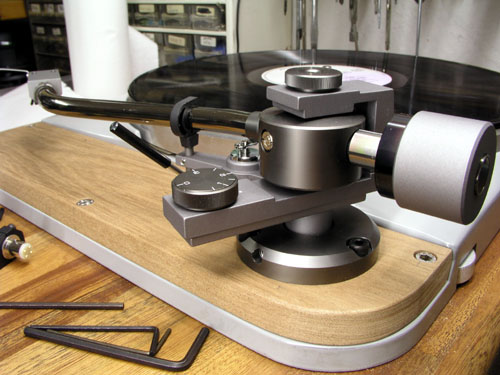

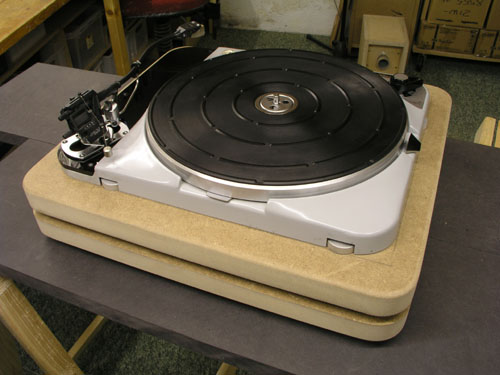
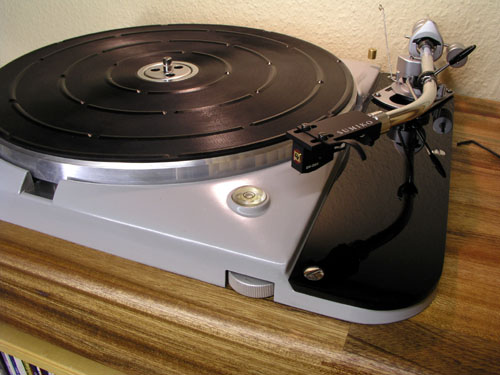
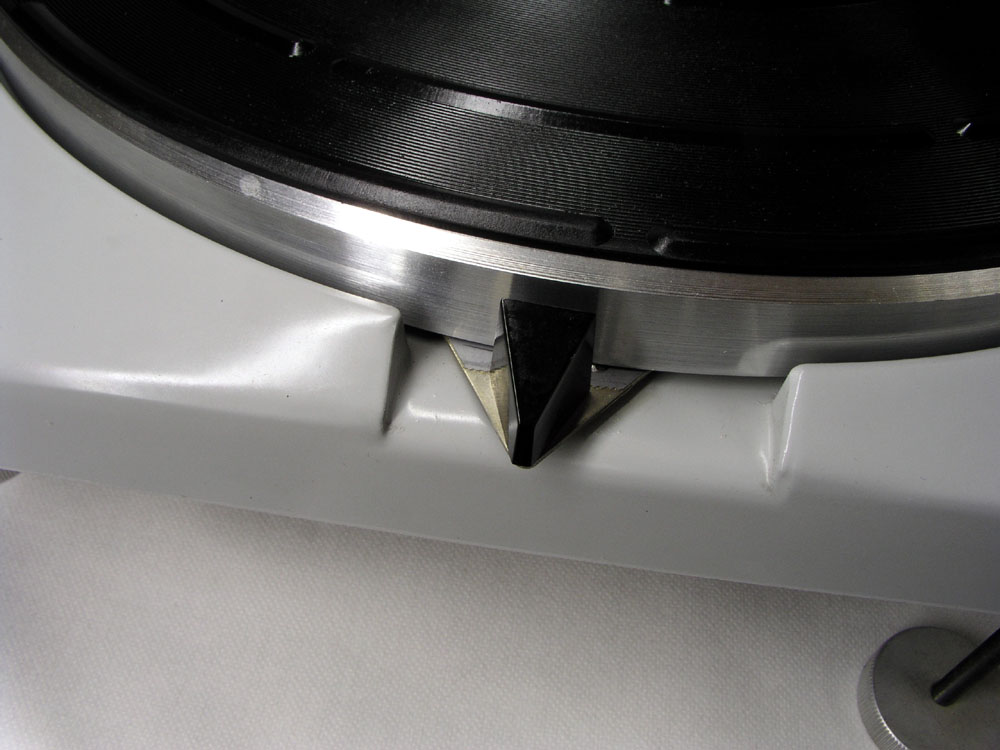
The
TD124 mkII deck
After
cleaning the deck and treating the rubber mat with
silicone, it looks like this.
|