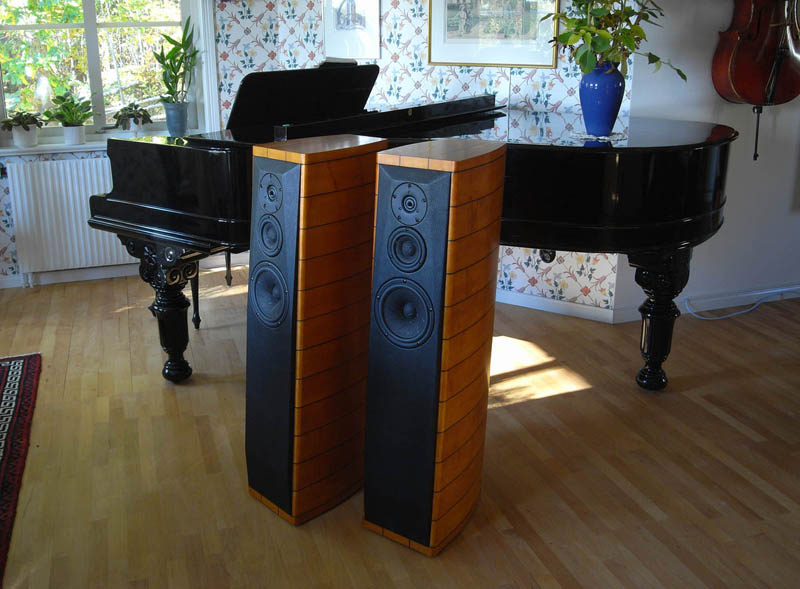
Ekta-XT
built byBjoern/Sweden
Hejsan
Troels,
Har nu färdigställt mina Ekta och känner mig
till sist mycket nöjd med slutresultatet, både
gällande utseende och ljudkvalitet! Fick justera
en del med mellanregistret innan det blev
perfekt. Hade problem med resonanser främst
gällande pianoanslag som visade sig bero på att
jag inte hade fasat tillräckligt i baffelhålet
direkt bakom 12M-elementet… Noterade tidigt
att du påtalat om detta men förstod inte att
det är så extremt känsligt. Mycket viktigt att
göra detta med omsorg. Efter denna justering
blev pianoljudet perfekt!
Har även laborerat med olika mängder av
dämpmaterial (vi har två st egna får på
tomten så får-ull blev det givna valet)
resultatet blev relativt lite ull som ger ett mer
distinkt/klarare mellanregister. Mycket
imponerande djupbas, går lågt samt rent
ljud.Stort tack för byggbeskrivningar samt för
all hjälp! Finns det plats på din
web-sida” för ytterligare Ekta-bilder?
Mvh Björn Jägerstedt
In English:
Have finally finished my Ektas and I'm very
pleased with the result, both in terms of
appearance and the quality of the sound. Had to
adjust the mid a bit before it turned out right
due to resonances apparent on piano recordings.
This turned out to be related to not chamfering
the mid driver hole properly. Very important to
do this correctly. After this, piano sound was
just perfect. I have also tried various amounts
of damping material (I happen to have two sheep
on the estate, so sheep's wool was the thing to
use), and the result was a fairly small amount of
wool for the mid chamber, providing a more
focused and clear midrange. The bottom octave is
very impressive; this speaker goes deep and it's
clean. Thanks for the article and help during
construction. Maybe you have room for more Ektas
on your website? Best regards Björn Jägerstedt.
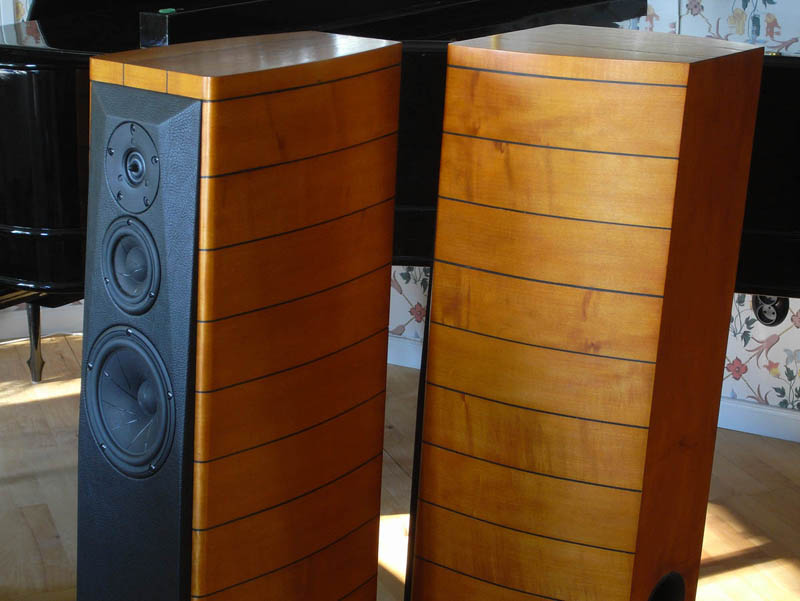
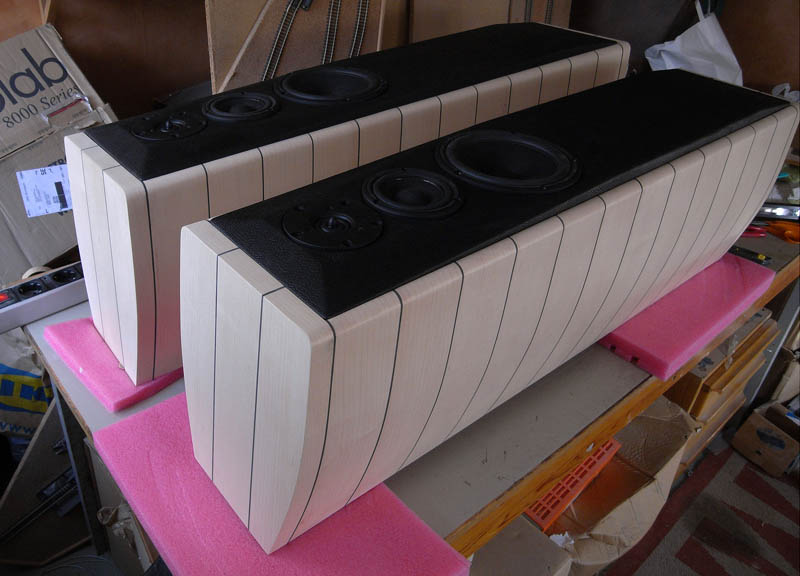
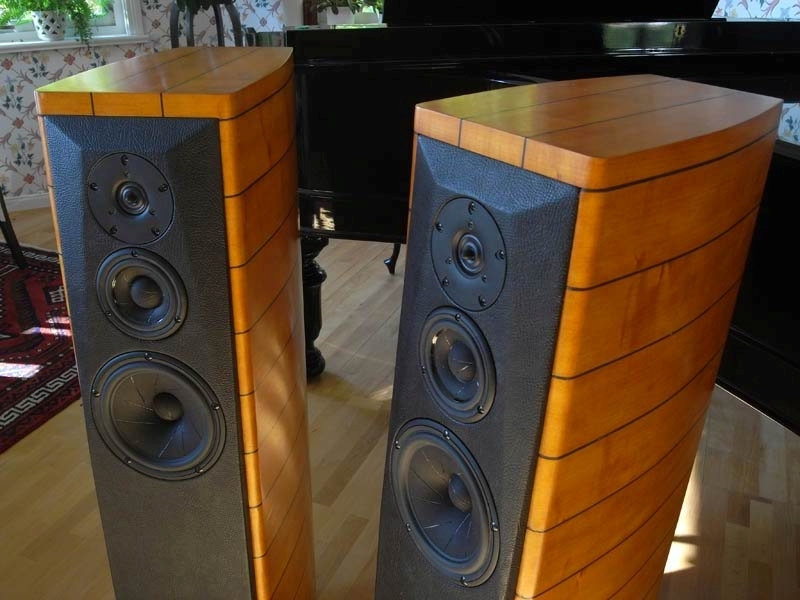
Thanks Björn for the kind words
and lovely pics. I'm amazed by the quality of
your cabinet work. A masterpiece it is!
I can't imagine the many hours that has gone into
making these cabs.
I'm particularly pleased by your comments to the
need for chamfering the driver holes, not least
from a small driver like the 12M. Having a rather
thick front panel, a small mid easily gets stuck
in a deep hole, not having enough space for
breathing. I know I'm reiterating this to the
point where people get sick, but the energy from
the rear of a driver is exactly the same as that
released from the front, and it's of no use
driver manufacturers do all they can to make
driver chassis as ventilated as possible when all
we do in return is suffocating their drivers by
not ensuring proper ventilation at the rear. I'll
make a small study of this some day and do try to
see if cumulative spectral decay (CSD/waterfall
plots) can reveal the problem.
Kind regards, Troels
|
Summary from my experiences building
the “Ekta”,
(Inspiration from Sonus faber)
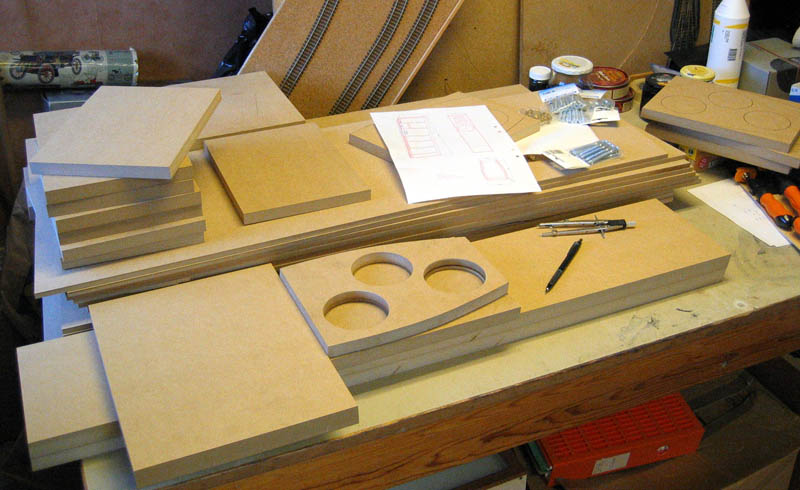
| Take your
time and make a detailed drawing, which will save
you a lot of time in the end. After several hours
behind the CAD, time to practices!! |
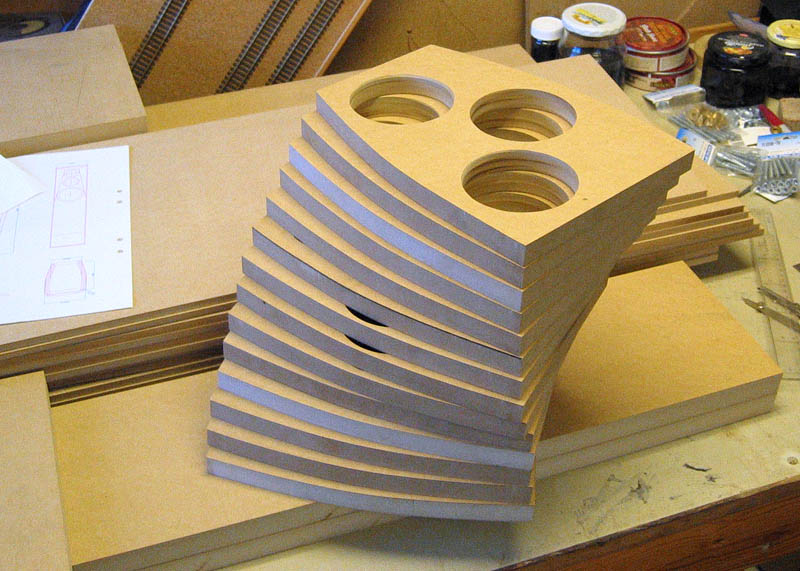
All curved parts
were made by hand, using a band sawing machine,
and then adjusted to exact form with help of a
vertically sand papering machine. (tallriksslip)
|
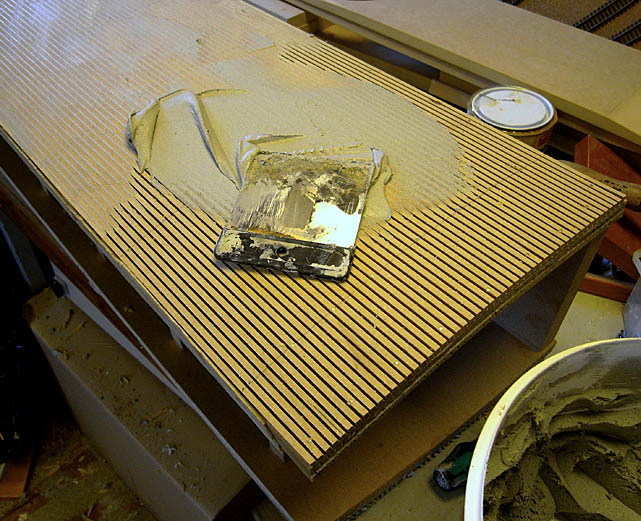
| Side panels:3 x 9mm MDF = tot 27mm, all slots
filled with sand putty. (sandspackel). Weight of
each finished speaker: 34kg |
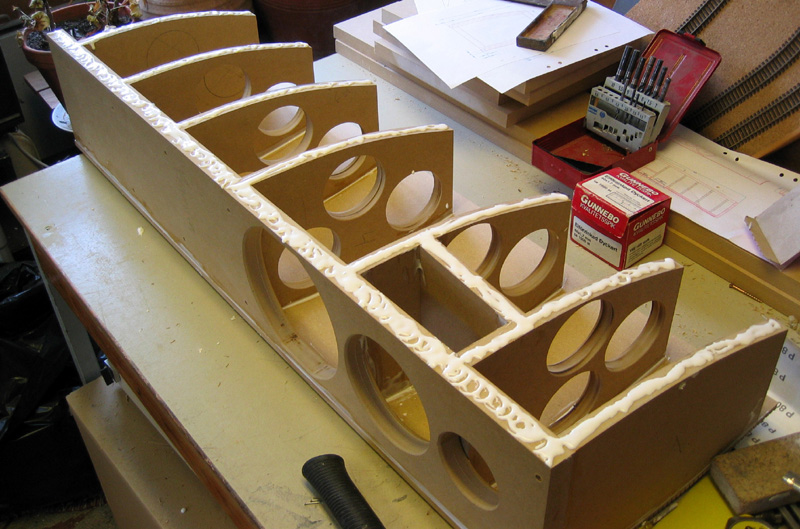
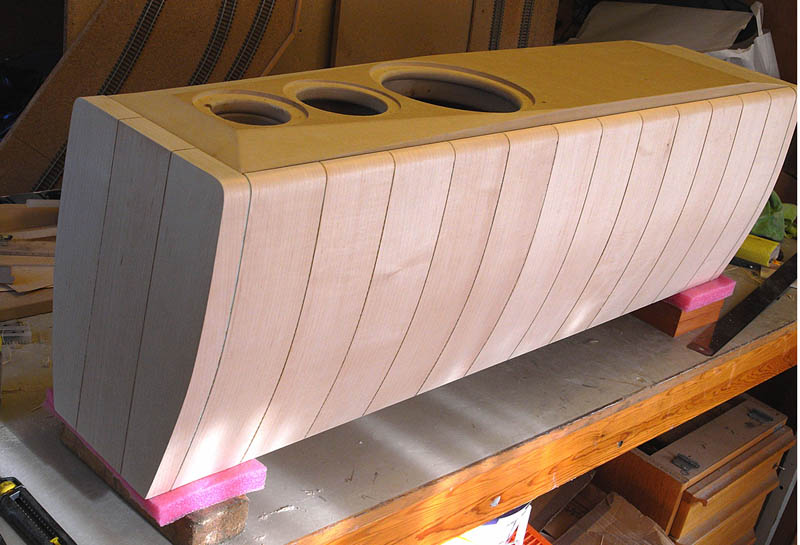
| "Cremona”
chamfered front baffle, later on covered with
”leather”. And please have a look at
the midrange opening, you need to work more with
the inside chamfering then showed here! |
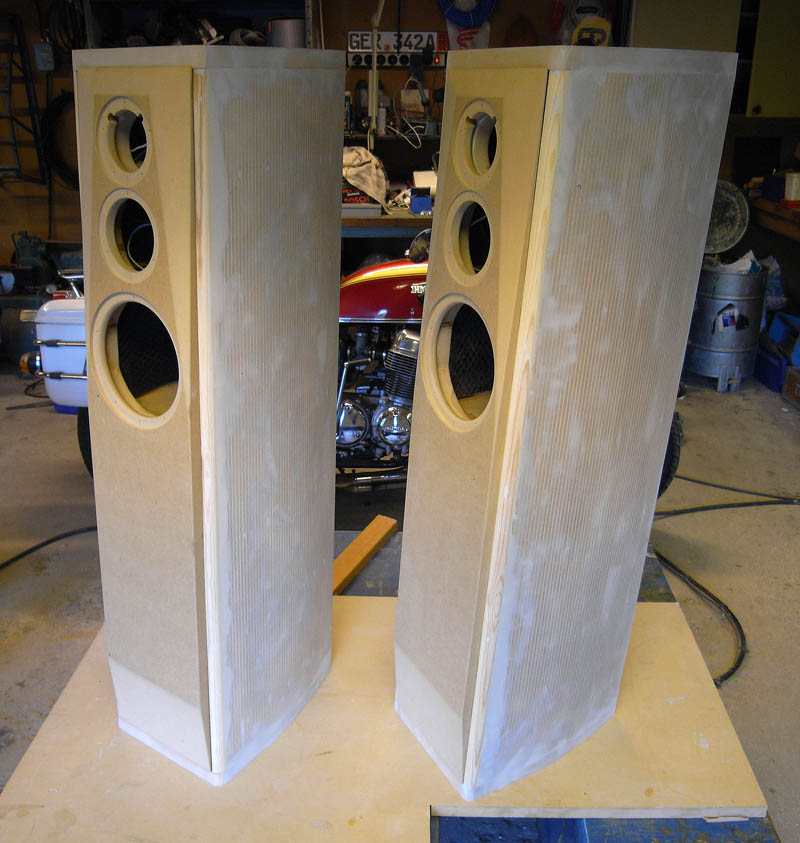
| Finally
ready for veneering!! Used Plastic Padding as
putty (Yes, it’s my old Honda CB-750 in the
background..) |
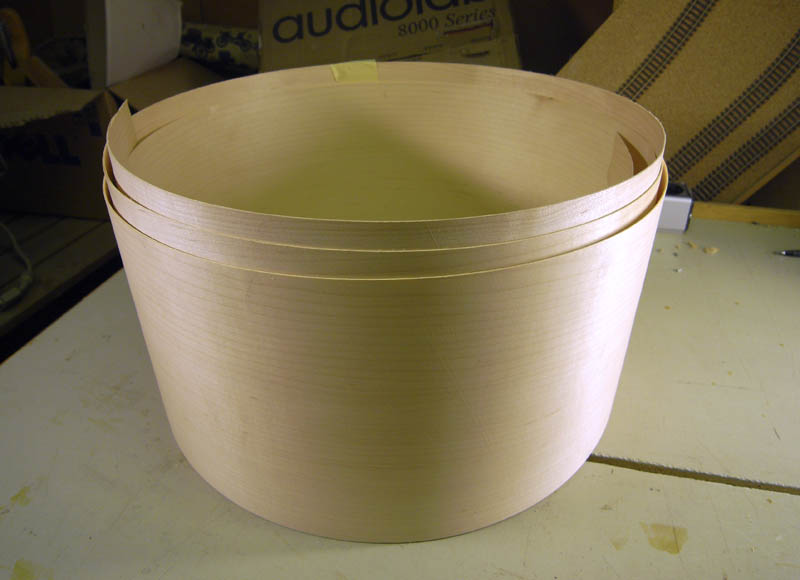
| Maple
veneer thickness 0,5mm from
“Fanerkompaniet” Stockholm. Relative
easy to bend over the front radius (R15mm) |
| I used
contact adhesive, and placed the pieces of veneer
roughly 1mm in between (later on you have to cut
clean the slots). I can’t really recommend
using this type of glue, it’s hard to get a
perfect and strong adherence (later on I found
some small “non glued” areas..). |
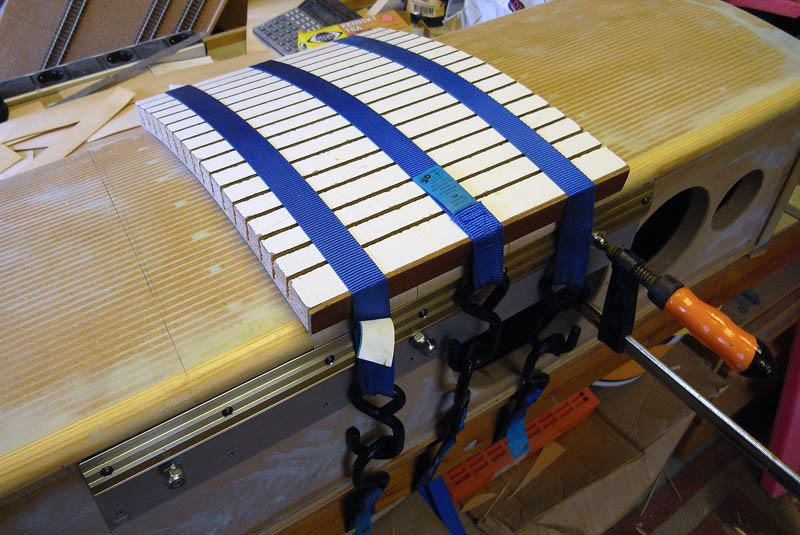
Worked with 3
strips at the time (yes, it takes time..).
|

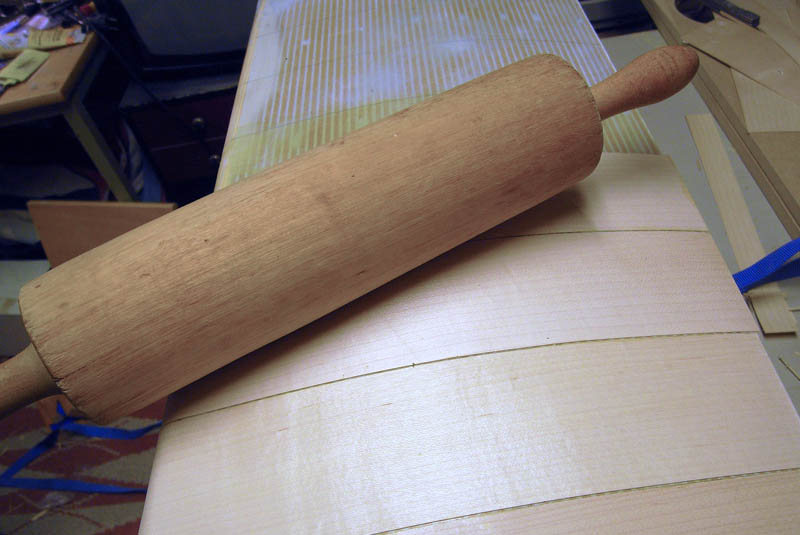
I made a simple
fixture plate for pressing the veneer close to
the radius. Later on cut cleaned the excesses
material using the steel rule and sharp knife.
|
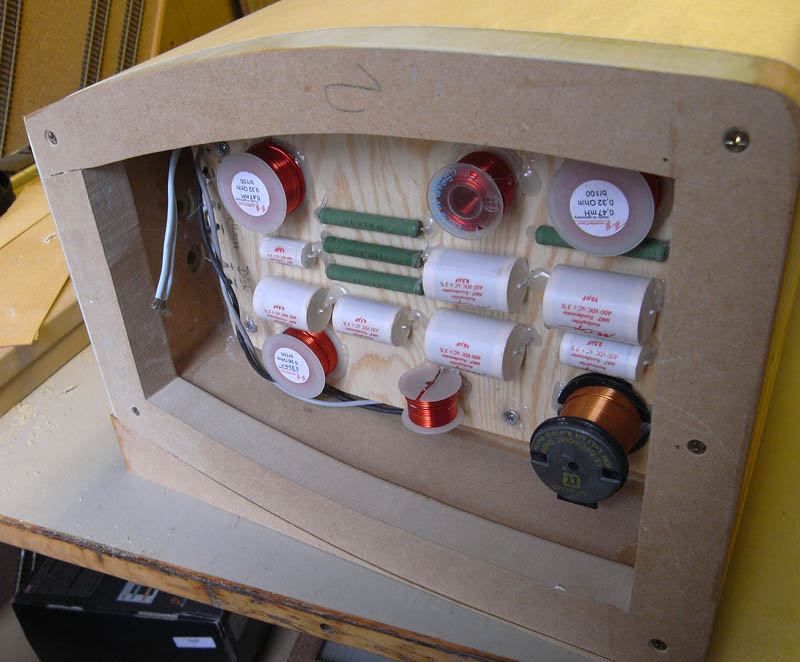
Crossover for
mid/treble in bottom under the cabinet.
|
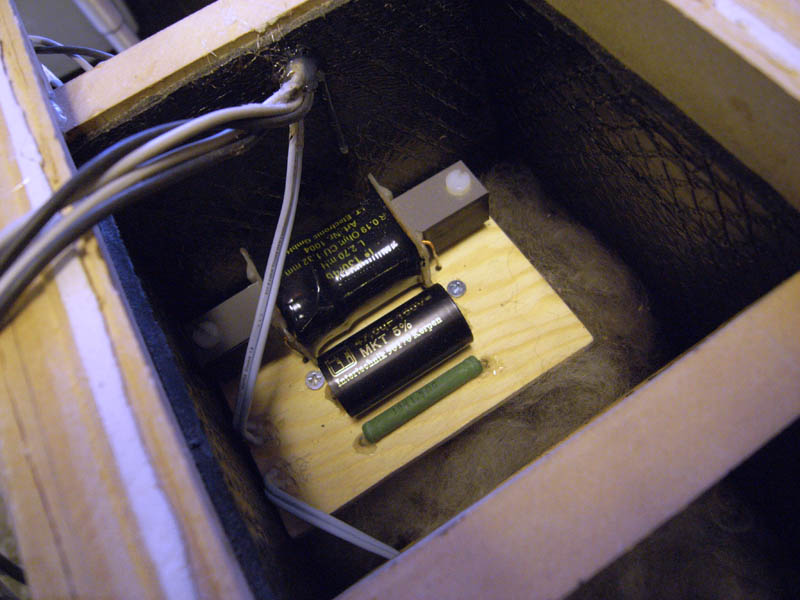
Cross-over for bass
inside.
|
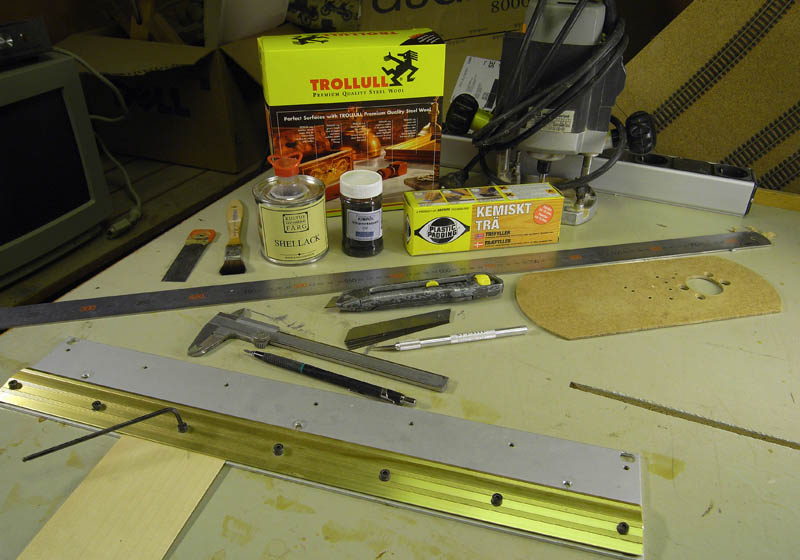
Some of my tools.
No special tools or machines were used.
|
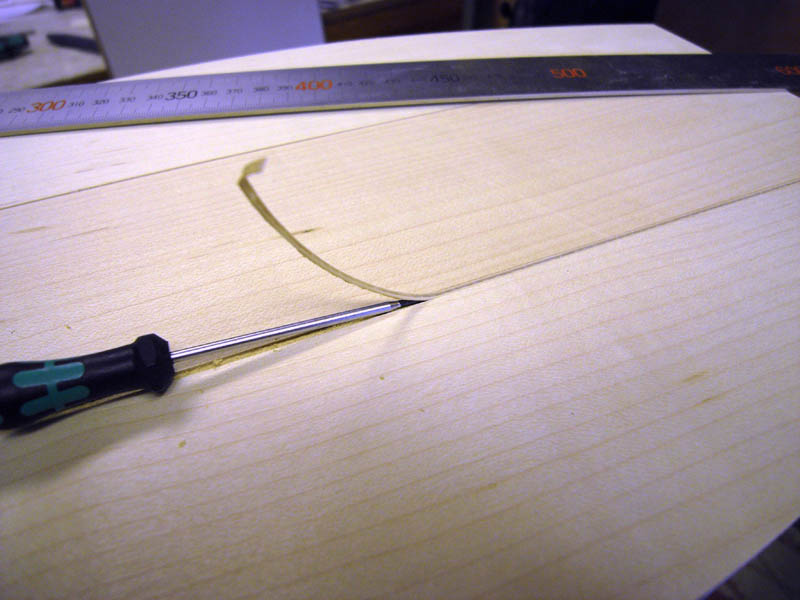
Width of slots:
1,8-2mm , after cutting both sides, clean with a
sharp narrow tool, I used a fine screwdriver!
|
Yes, you need a lot
of sharp blades. Change often!!!! Otherwise the
veneer will split.
|
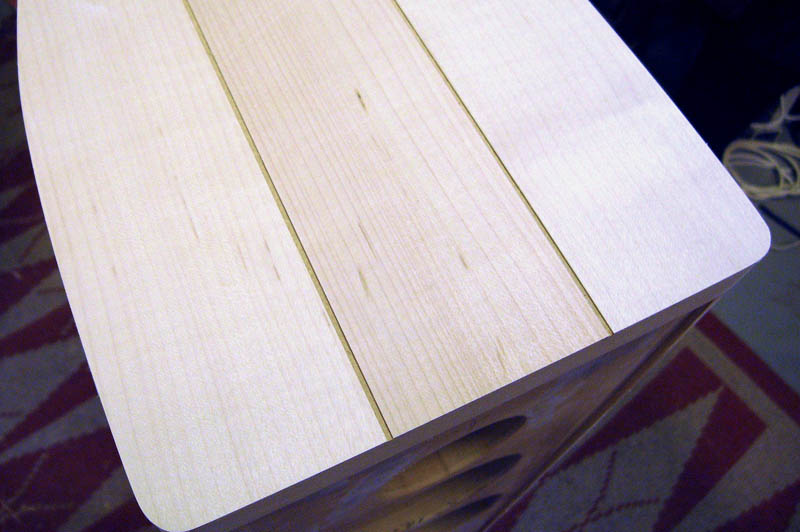
| Ready for
blacklines! 28 slots/cabinet x 2sides x 2cabinets
Makes totally 112 cuts, puhh….Use a very
bendable steel rule (I took an old saw-blade from
my sliding saw) and be very steady at your hand.
Again, Take your time! |
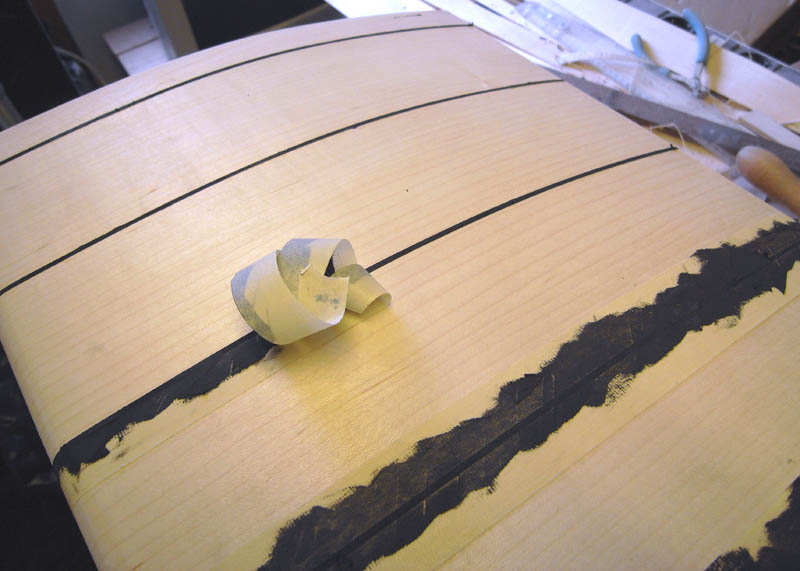
| Black
lines made by a mix of Plastic Padding and carbon
black (kimrök) Before the sandpaper -use a sharp
blade to reduce/plane the overflow material. If
you go direct with sandpaper there will be a lot
of black powder filling up the structure of the
veneer. I used a electric hand eccentric
sandpaper machine with internal
“vacuumcleaner ” (Bosch PEX400 or
similar) Please be careful, thickness only
0,5mm.. |
| Quite
nice, or? Next moment, painting with mordant
(bets). |
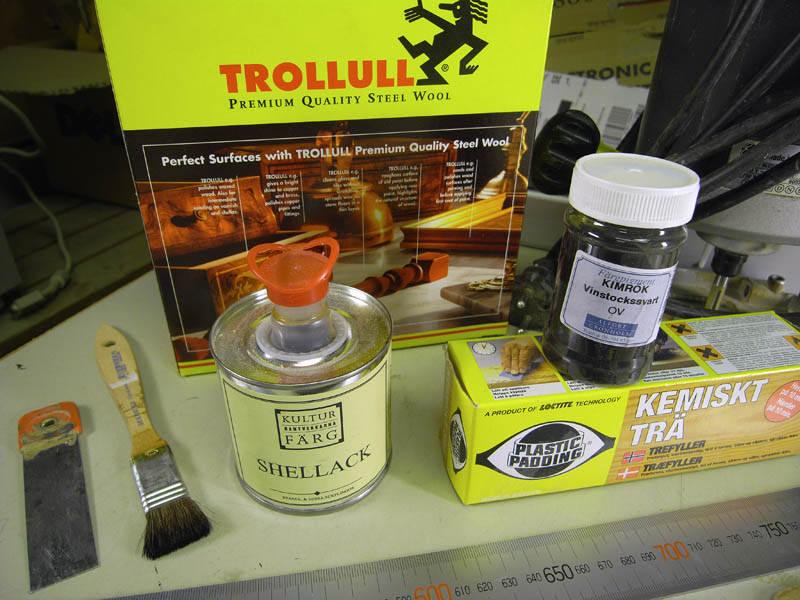
| After the
mordant get dried, the surface become very dull
and structure of the veneer got quite diffuse. To
regenerate, polish with steel wool, and the
structure will return again! Finally, I treated
with 5 layers of shellac (steel wool after every
layer). The surface becomes very glossy, but
personally I prefer to have it a little duller so
decided to polish with steel wool. |
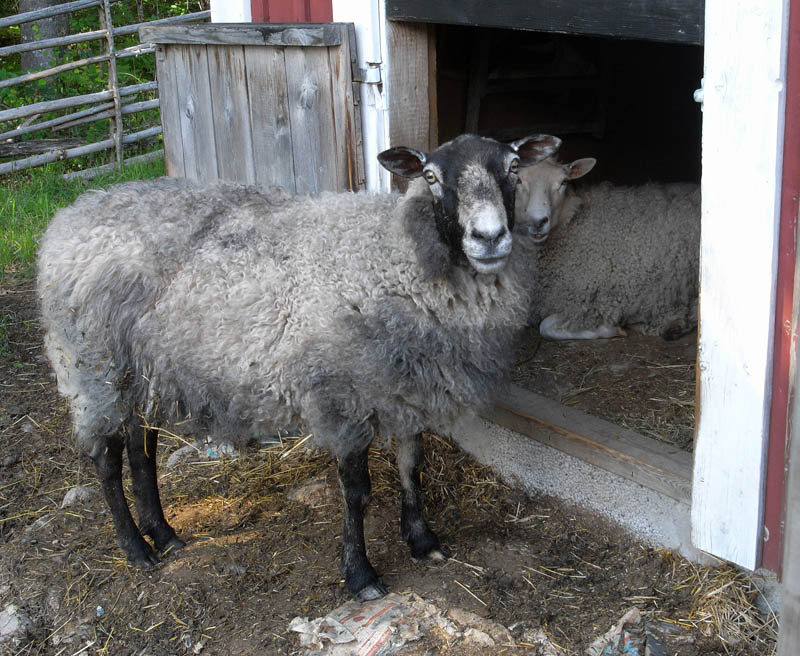
| Damping:
Pure natural material from Nedre Lundby!!! |
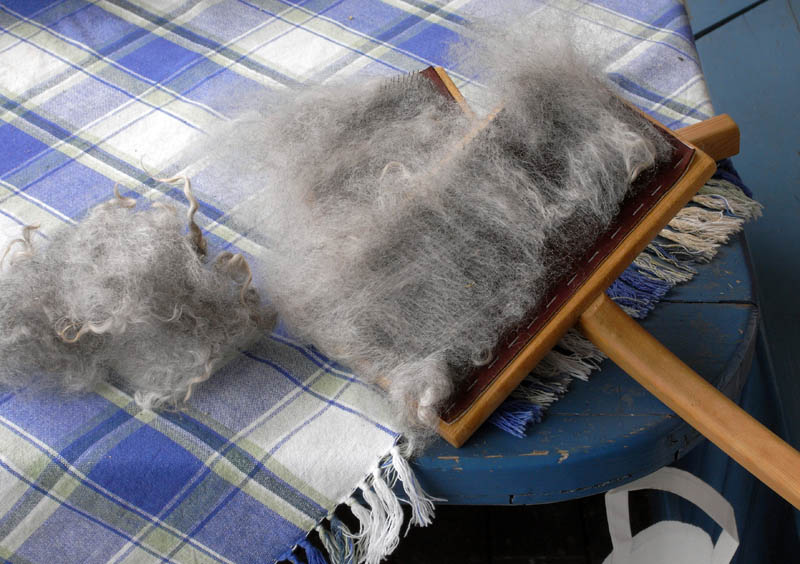
After
washing with soap water, then ready to tear the
wool.
|
|