Lenco L75, 2017
Copyright 2017 © Troels Gravesen
Renovating Lenco L75 decks is a pleasant
reoccurring event! I keep an eye on second hand markets and once and
awhile decks of reasonable price pop up. I stock a pair before going
into action. This time two decks, both found in mint condition. They
will both be announced for sale once finished at my
sales
page.
The two decks below are already sold, but one 12" deck available at
sales
page.
There's little new here compared to previous reports except for the
drawing and final mounting of deck. This time I tried to record how I made the plinth and put down
dimensions on paper having had quite a few requests for a drawing. No
guarantee this will be spot on, but this is what made it for these two
decks. Making plinths by hand is time consuming but probably not more
than the time it would take to program a CNC set-up - unless you have to
make a whole lot of them.
Restoring a Lenco deck is equally time consuming, taking everything
apart including motor and bearing, cleaning, lubricating, etc. Next sanding
off the old paint and filling the holes where the old arm and lift was
placed. Giving them a Mercedes metallic coating is quite expensive. I
paid 150 EUR for each deck. Both decks have a new high-quality idler
wheel from Italy and final touch is Soundcare spikes for the plinth. The tone-arm
mounting plate will fit 9"
and 10" arms.

This is how the two decks started.
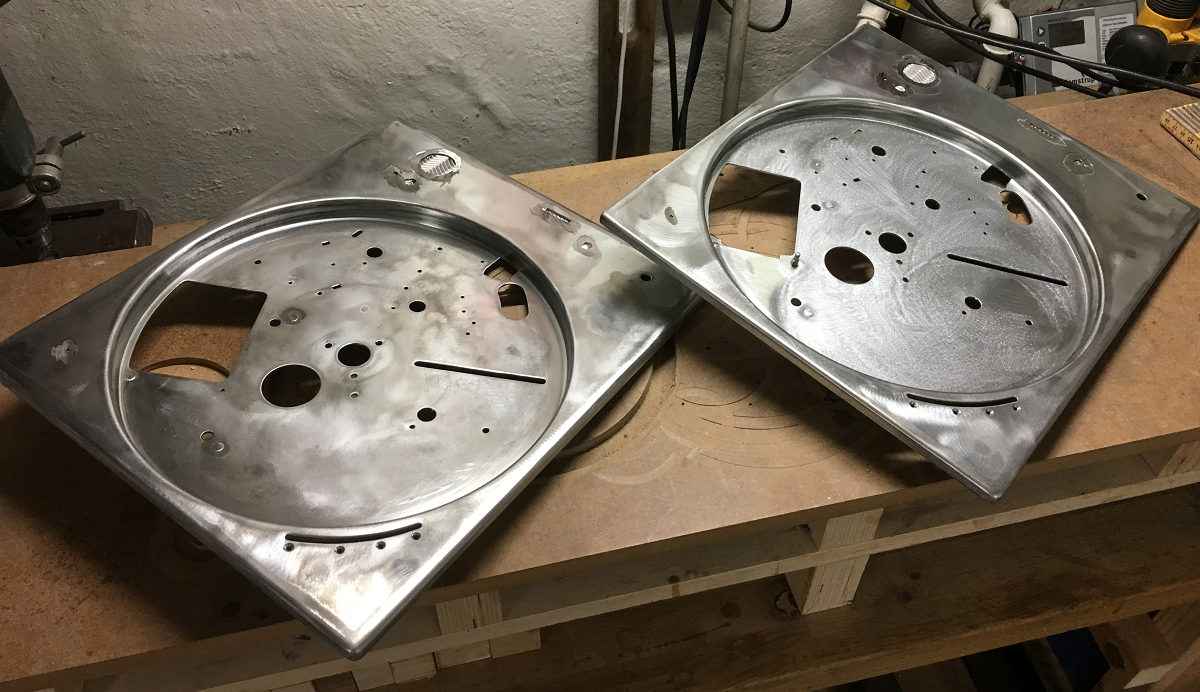
Next, two decks stripped
to the bare metal. Support aluminum glued behind holes. Ready for
filler. Check for details
here.
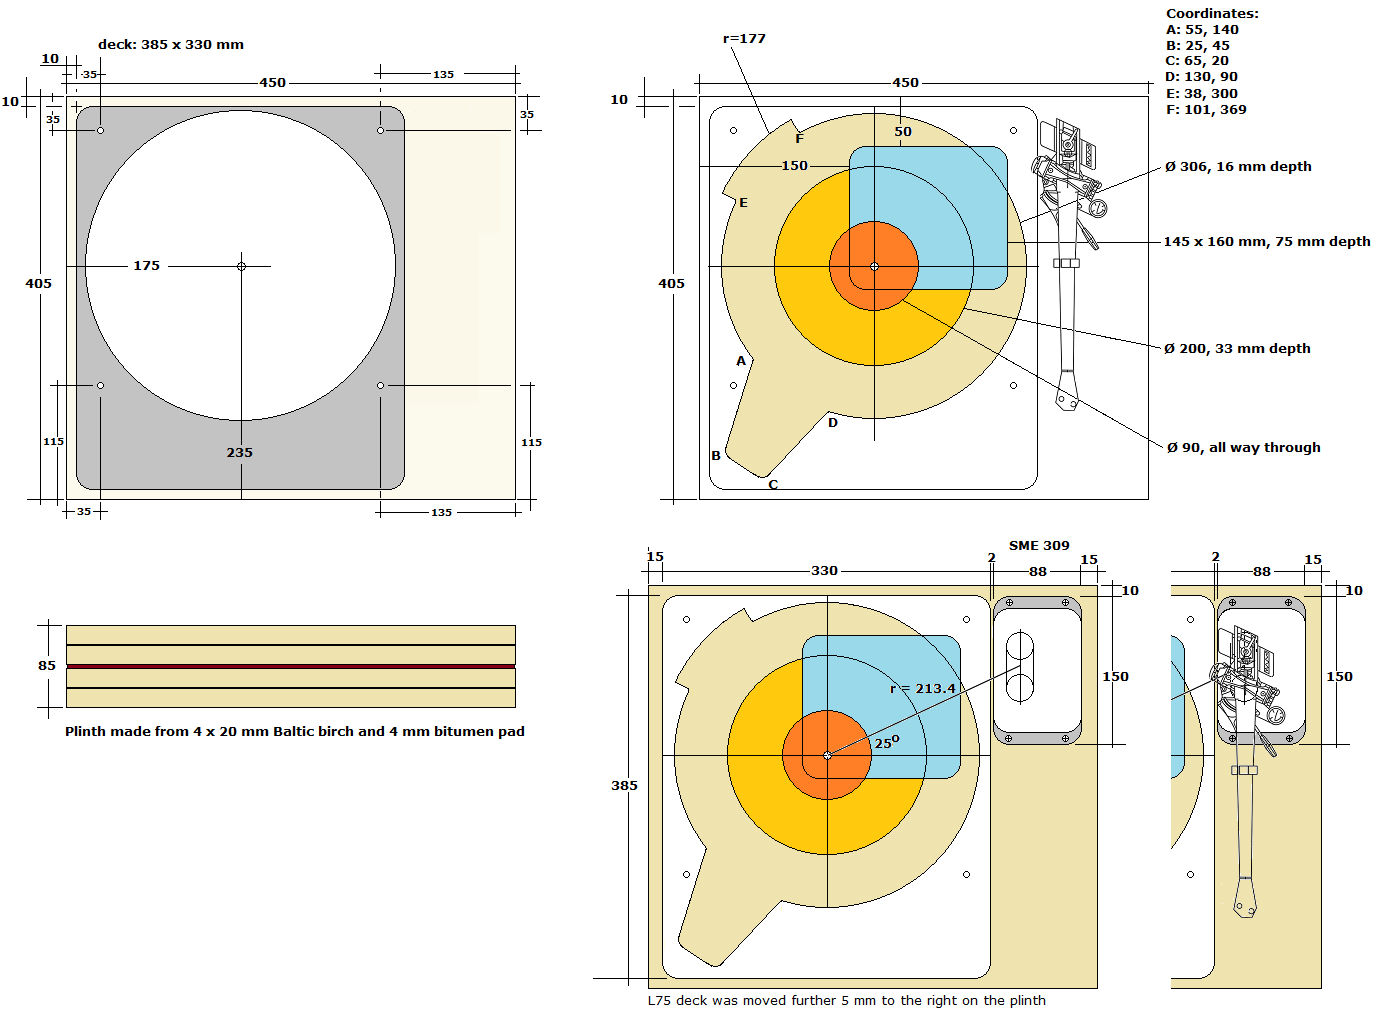
Click drawing above and images below to view large
To fit a 12" tone-arm, extend width to 500 mm and arm-board accordingly.
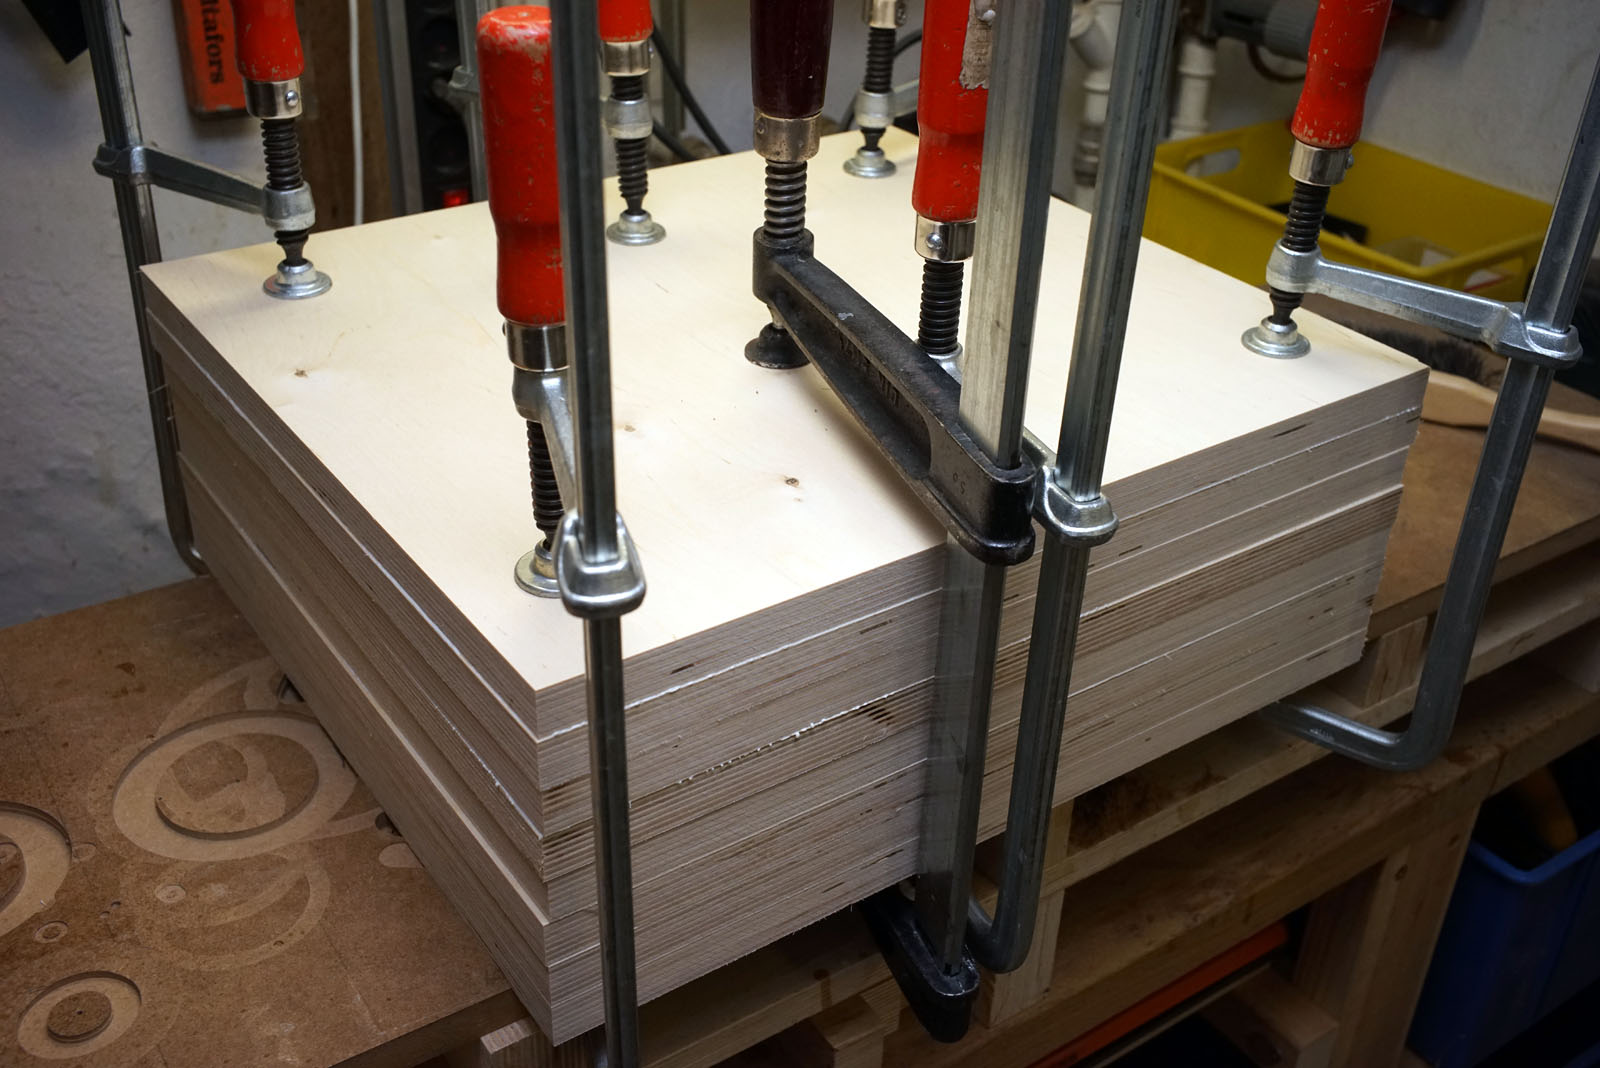

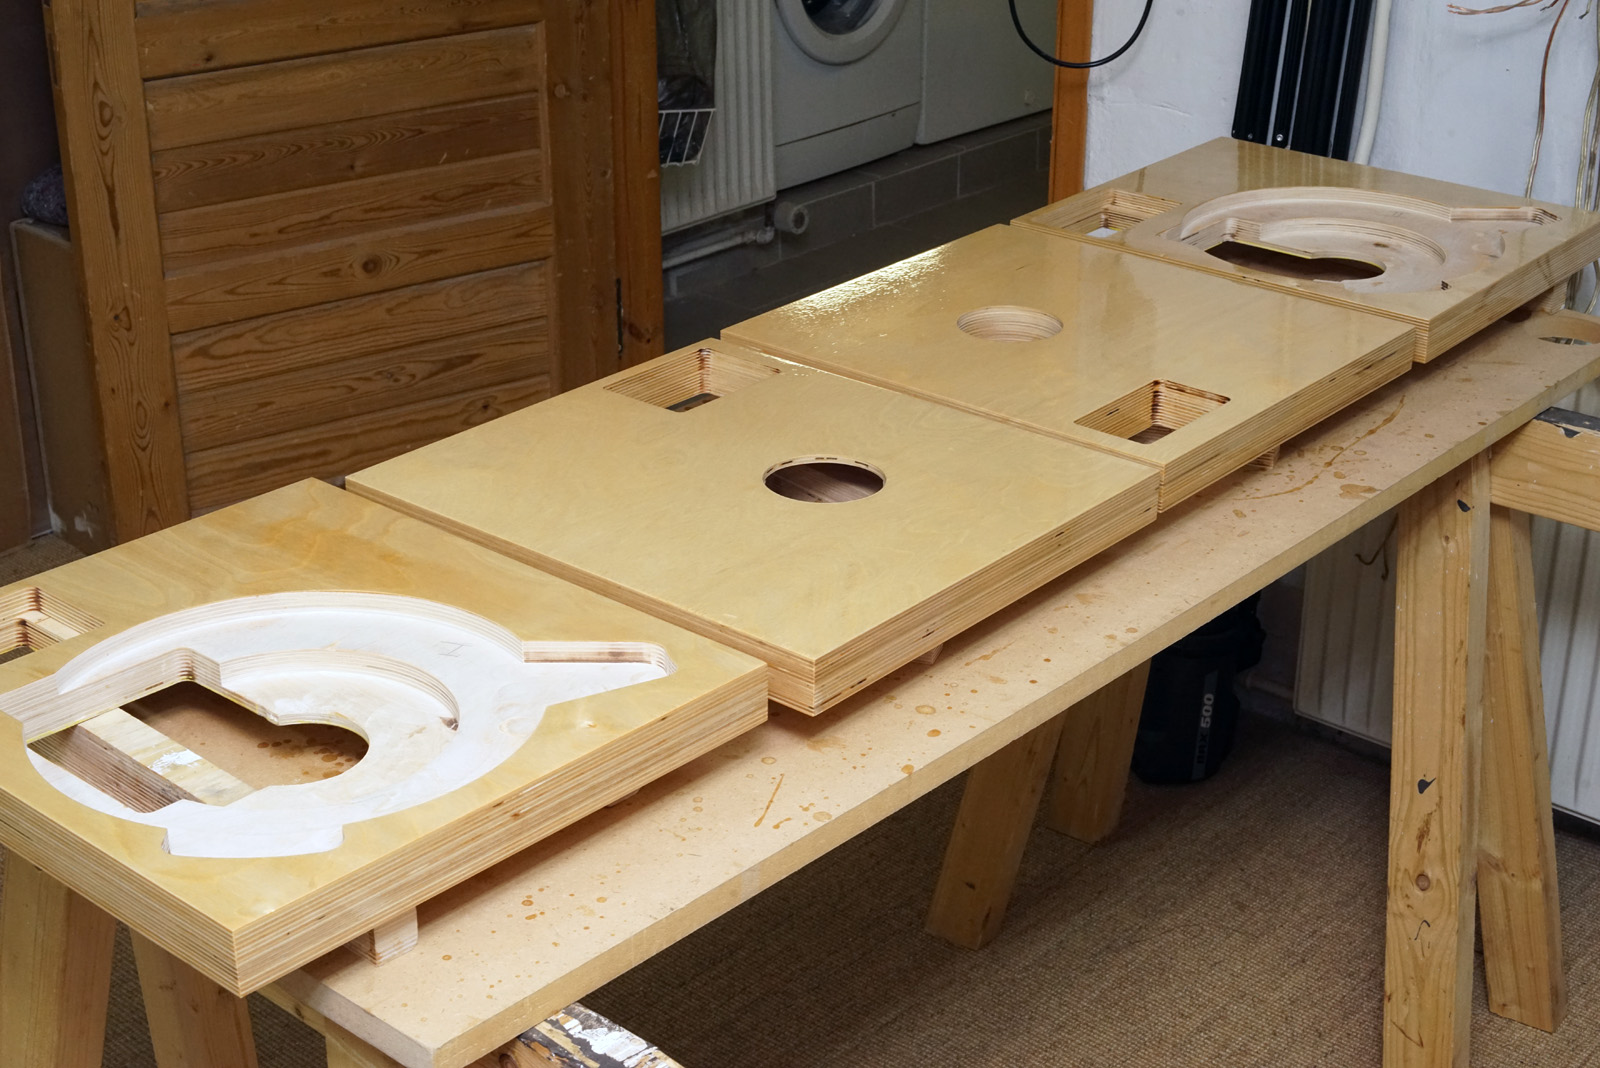
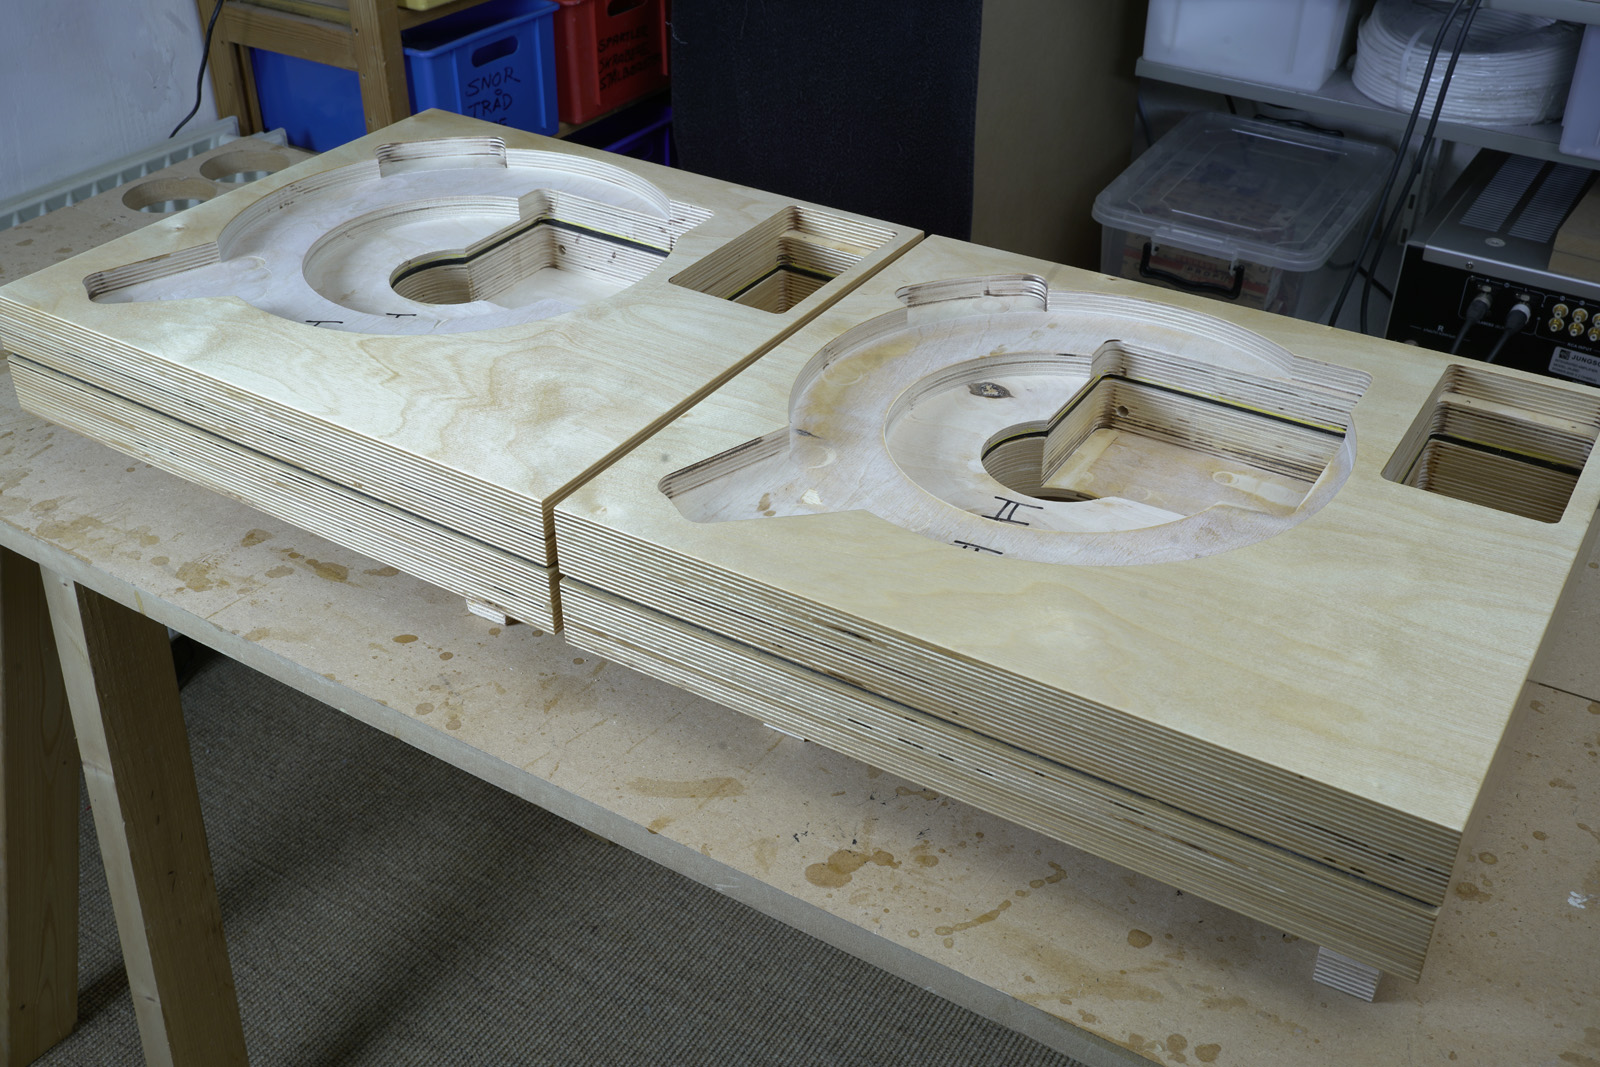
Plinths this time were made from 4 x 20 mm Baltic bitch with 4 mm
bitumen pads in-between 2 x 40 mm laminates.

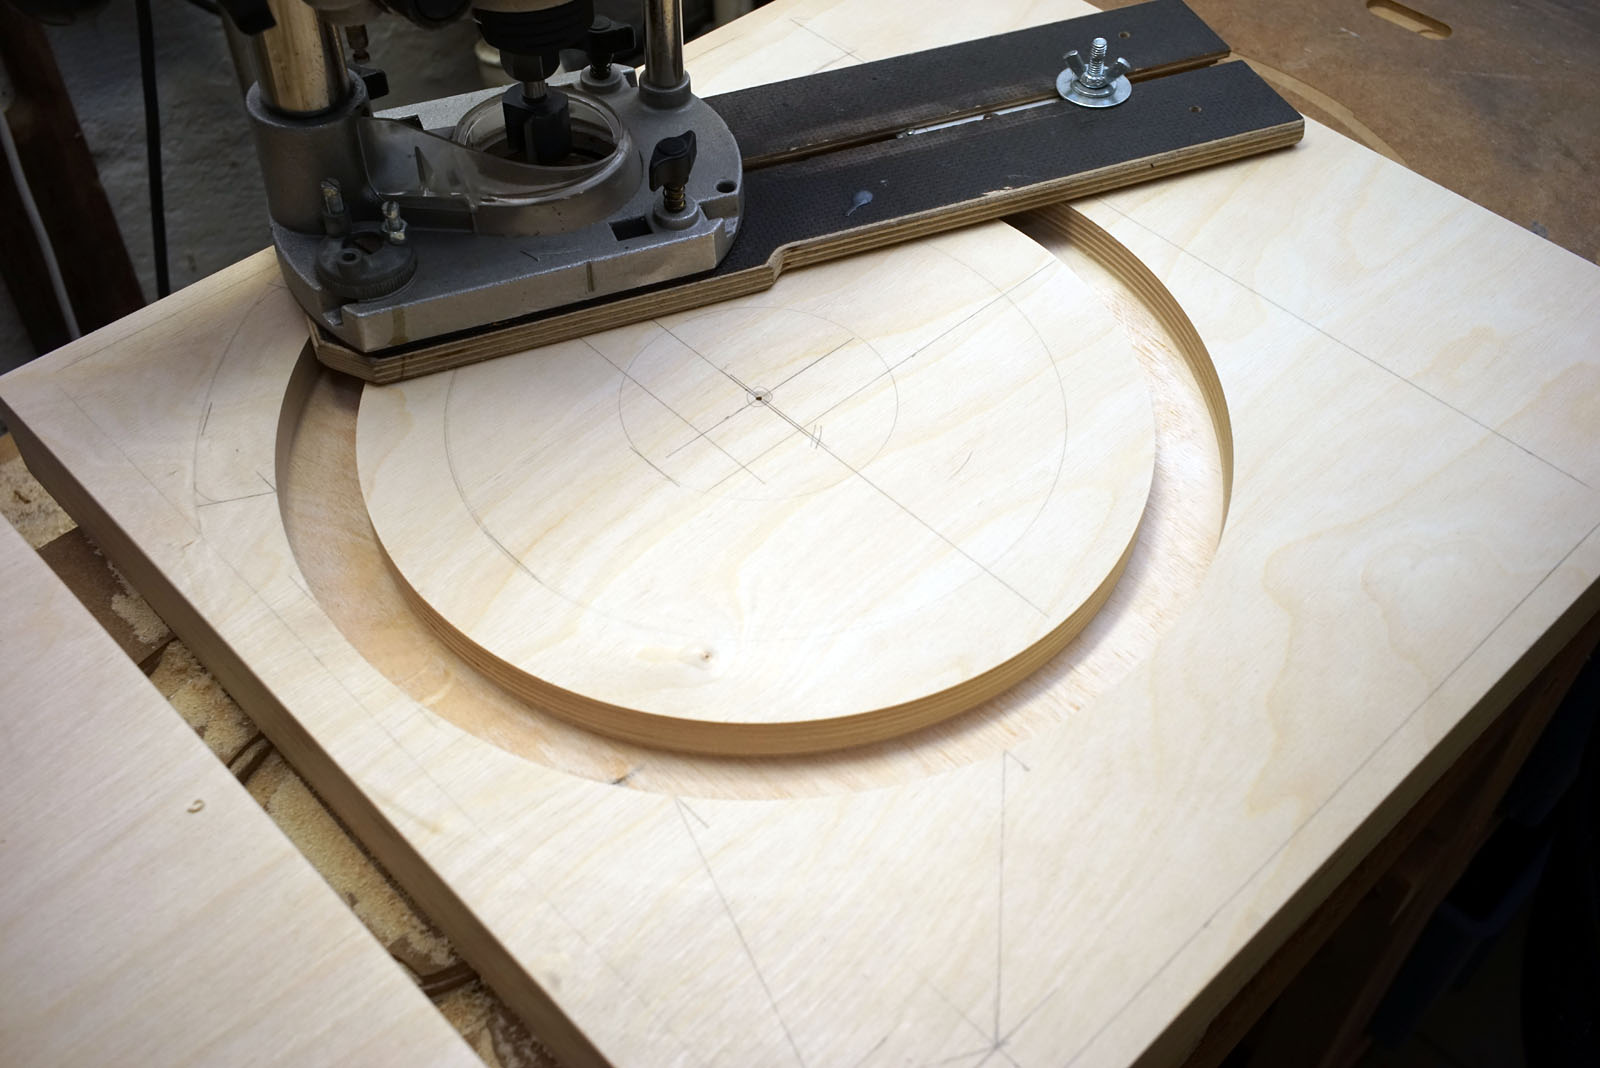
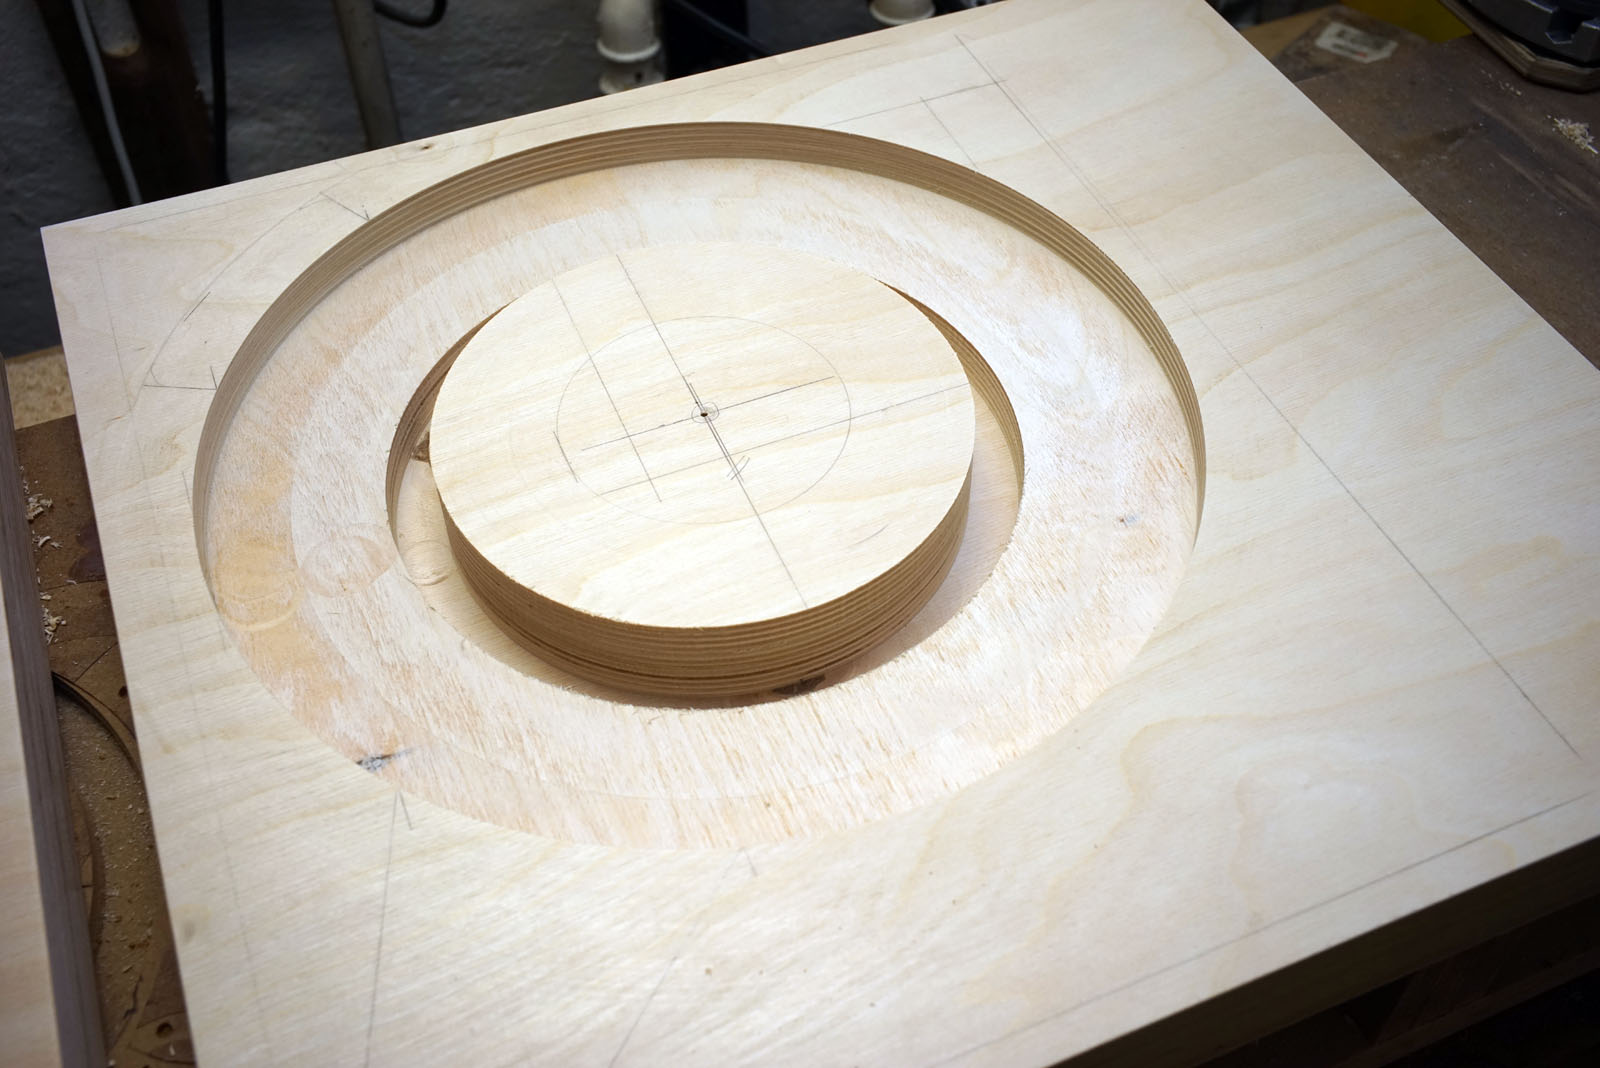
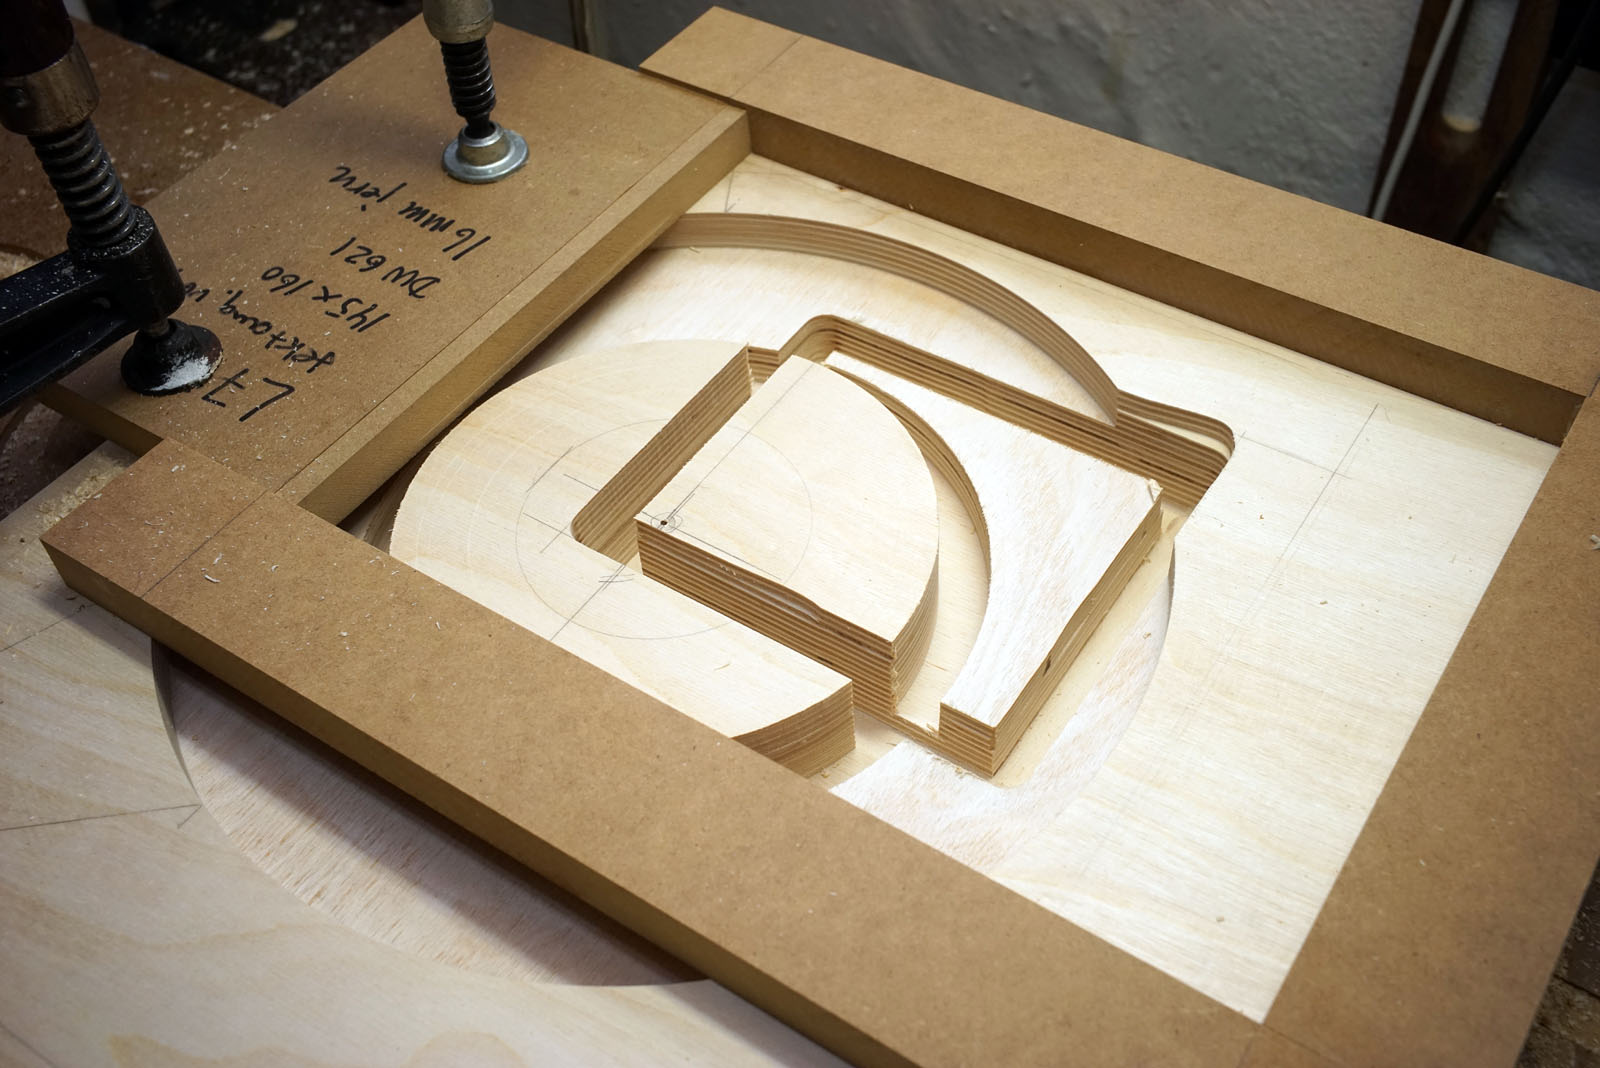
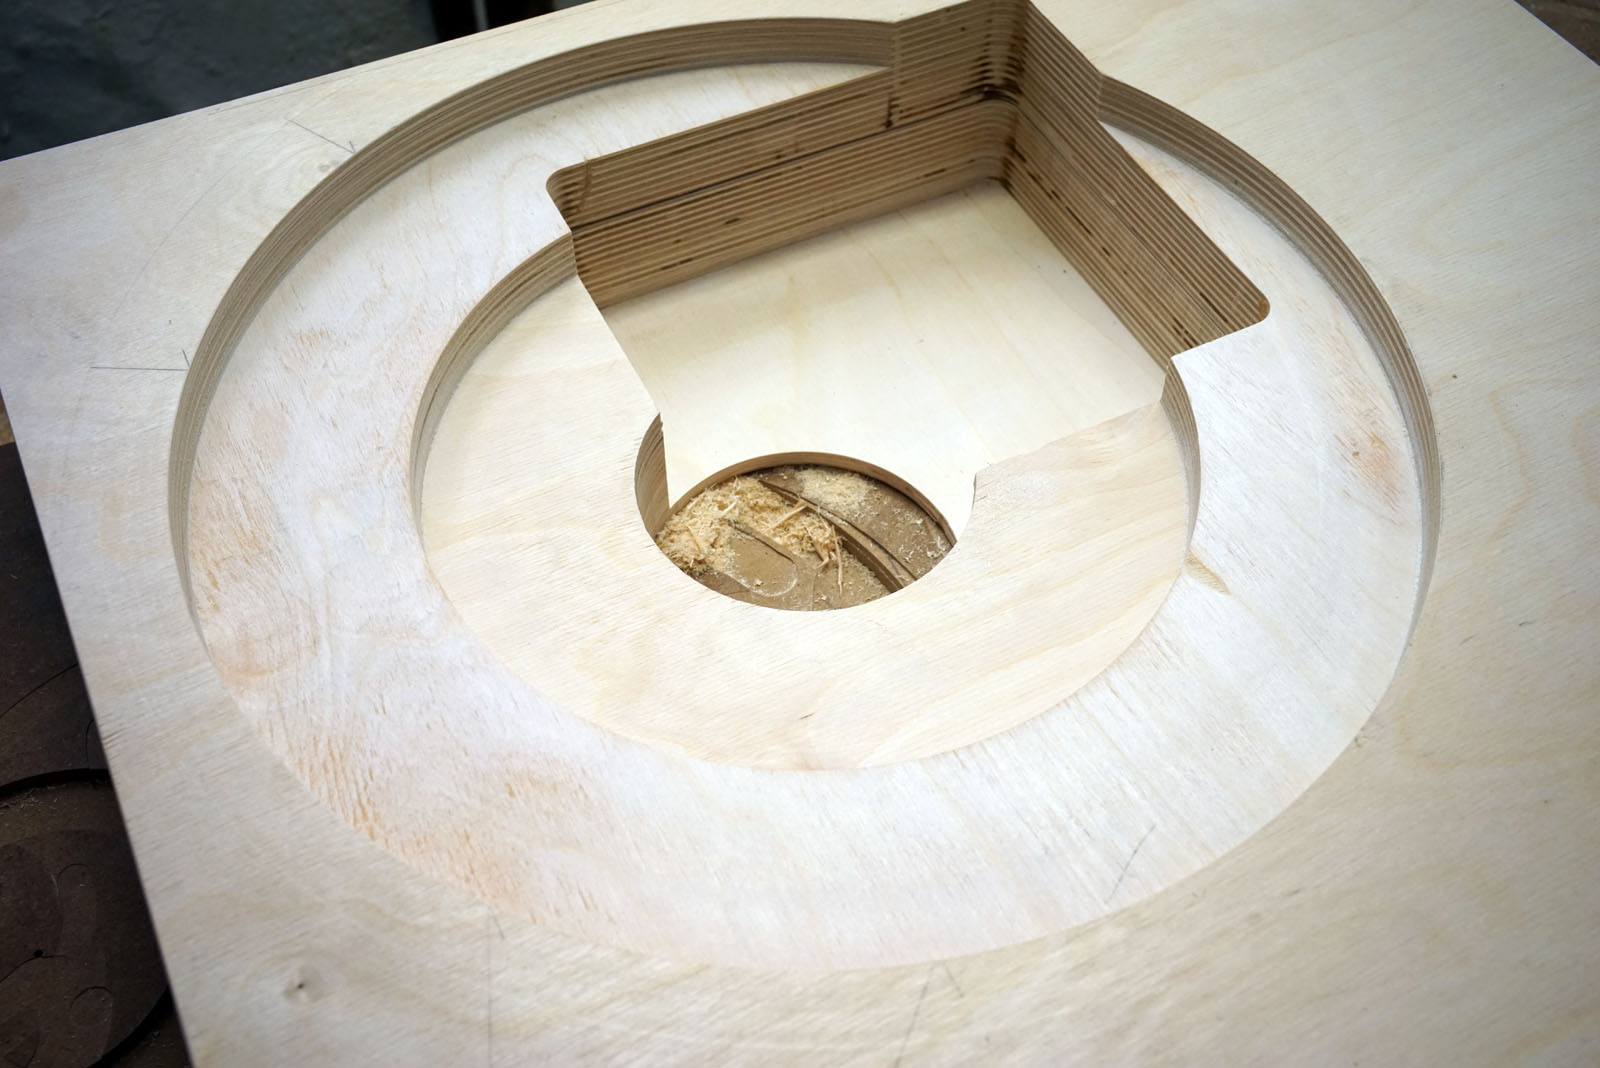
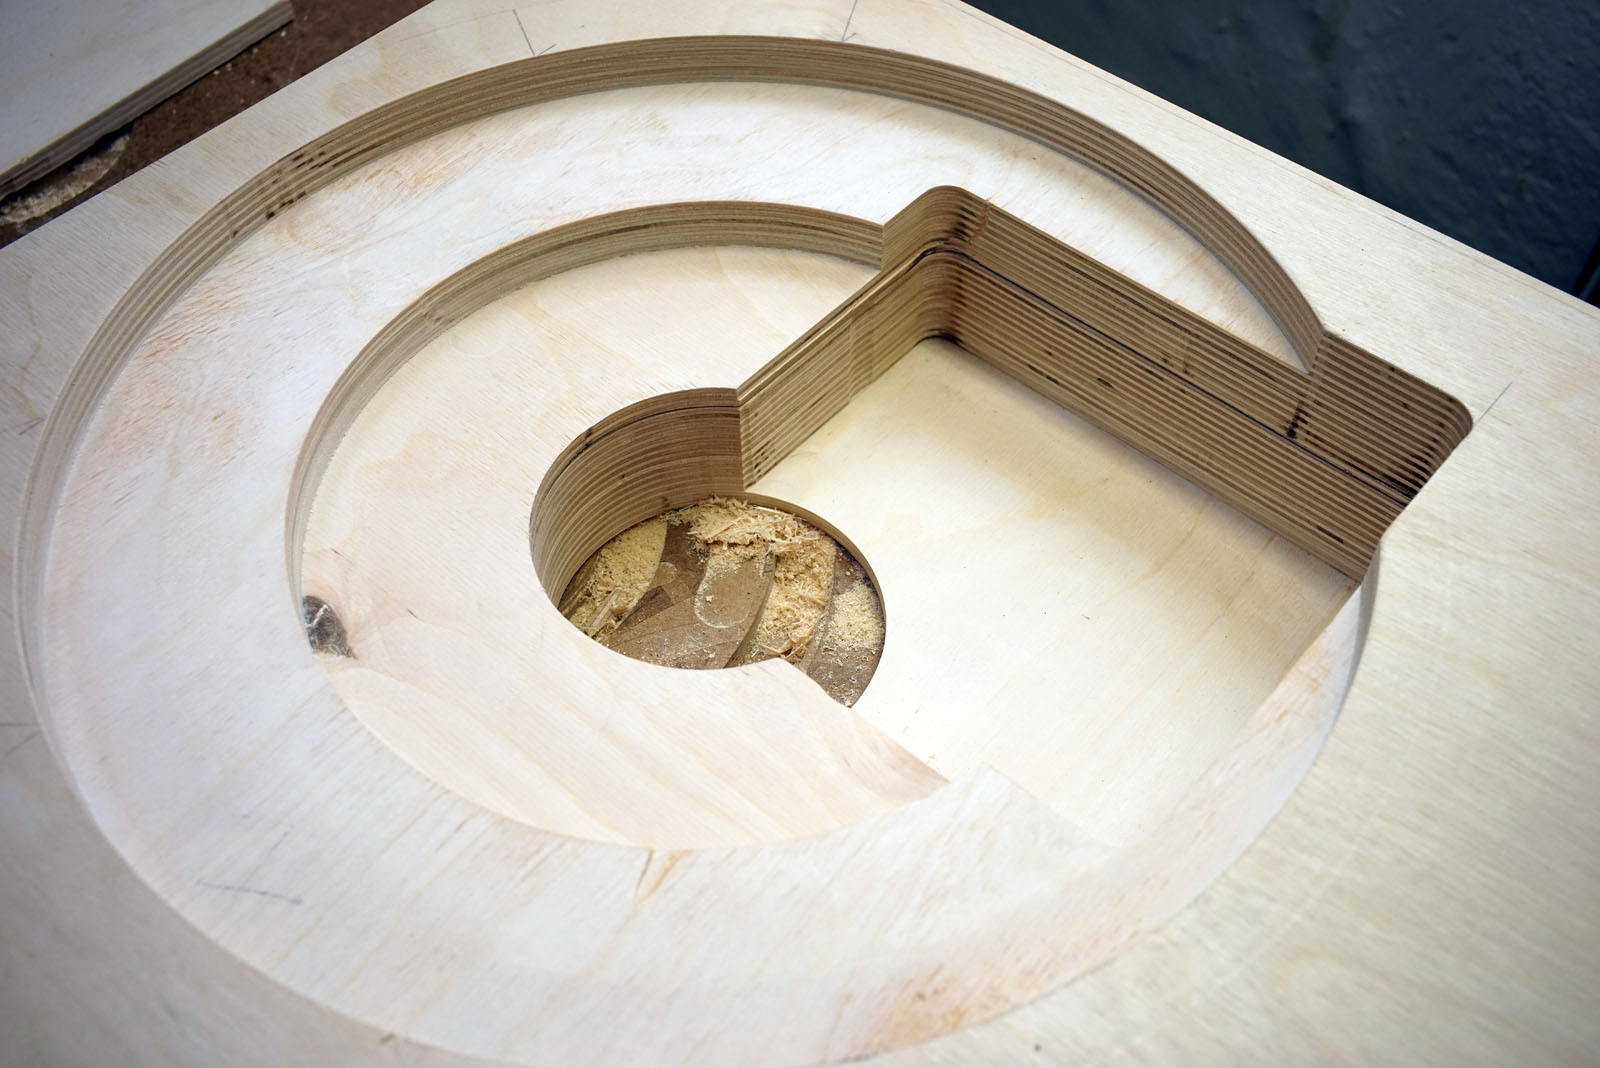
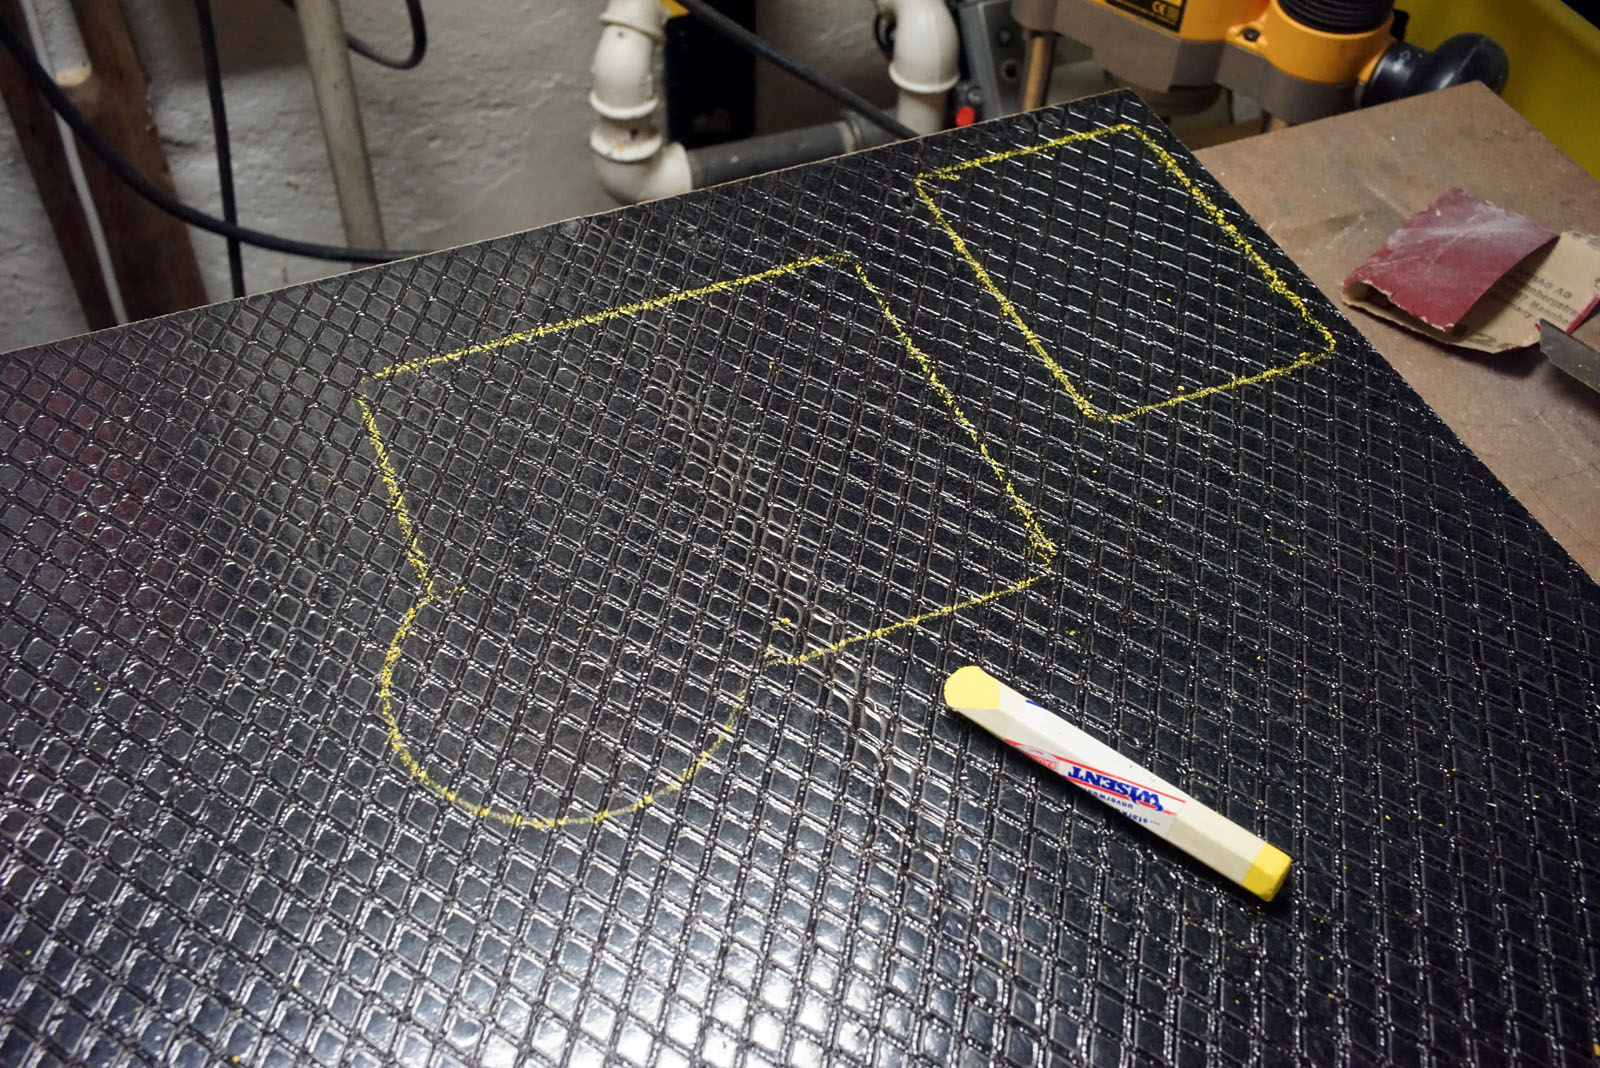
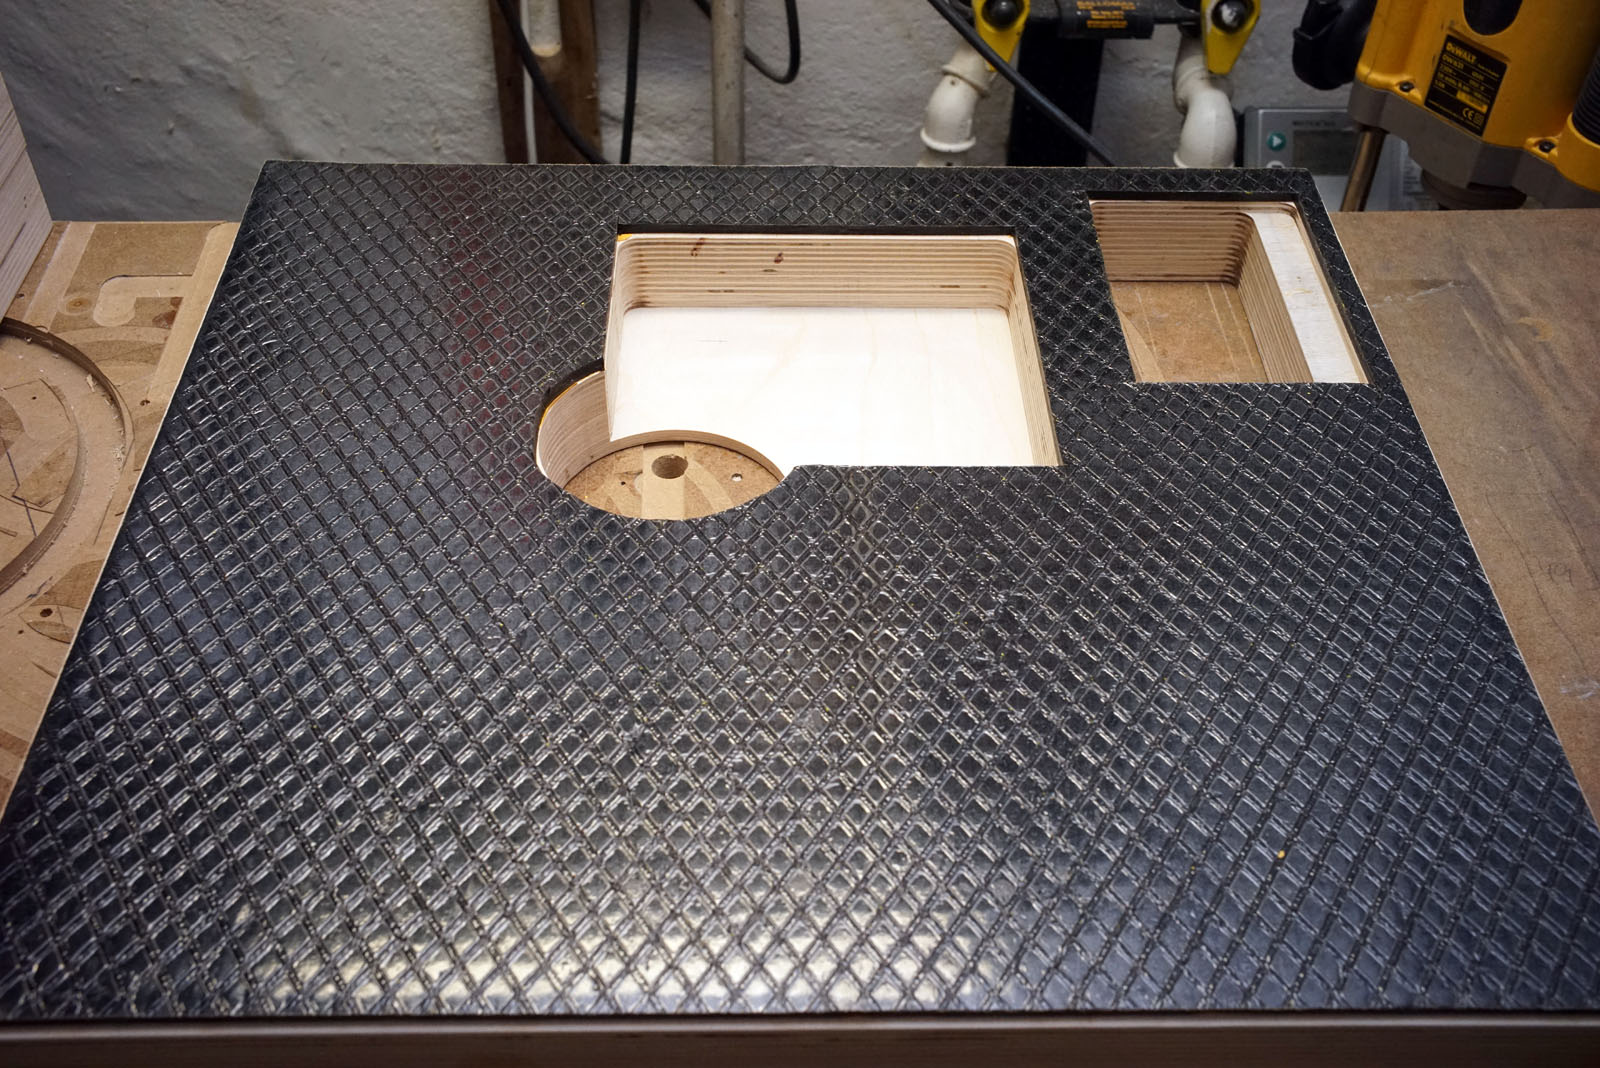
I made two frames for routing the various rectangular holes, motor and
arm base.
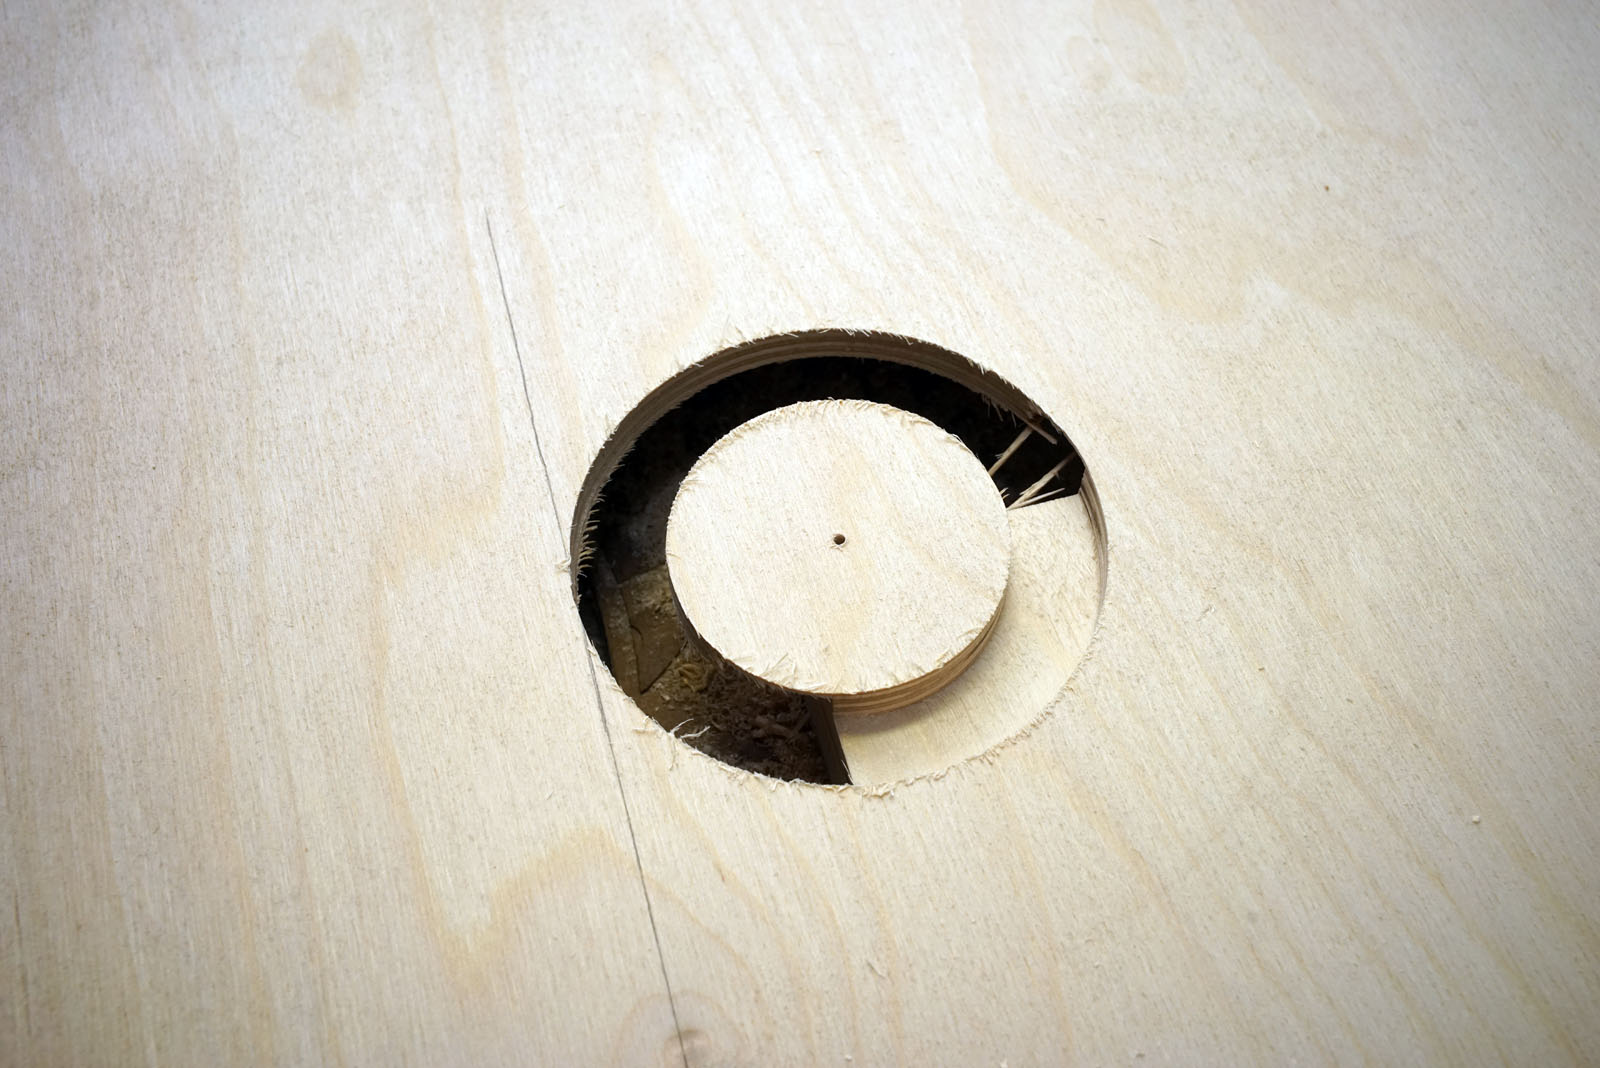


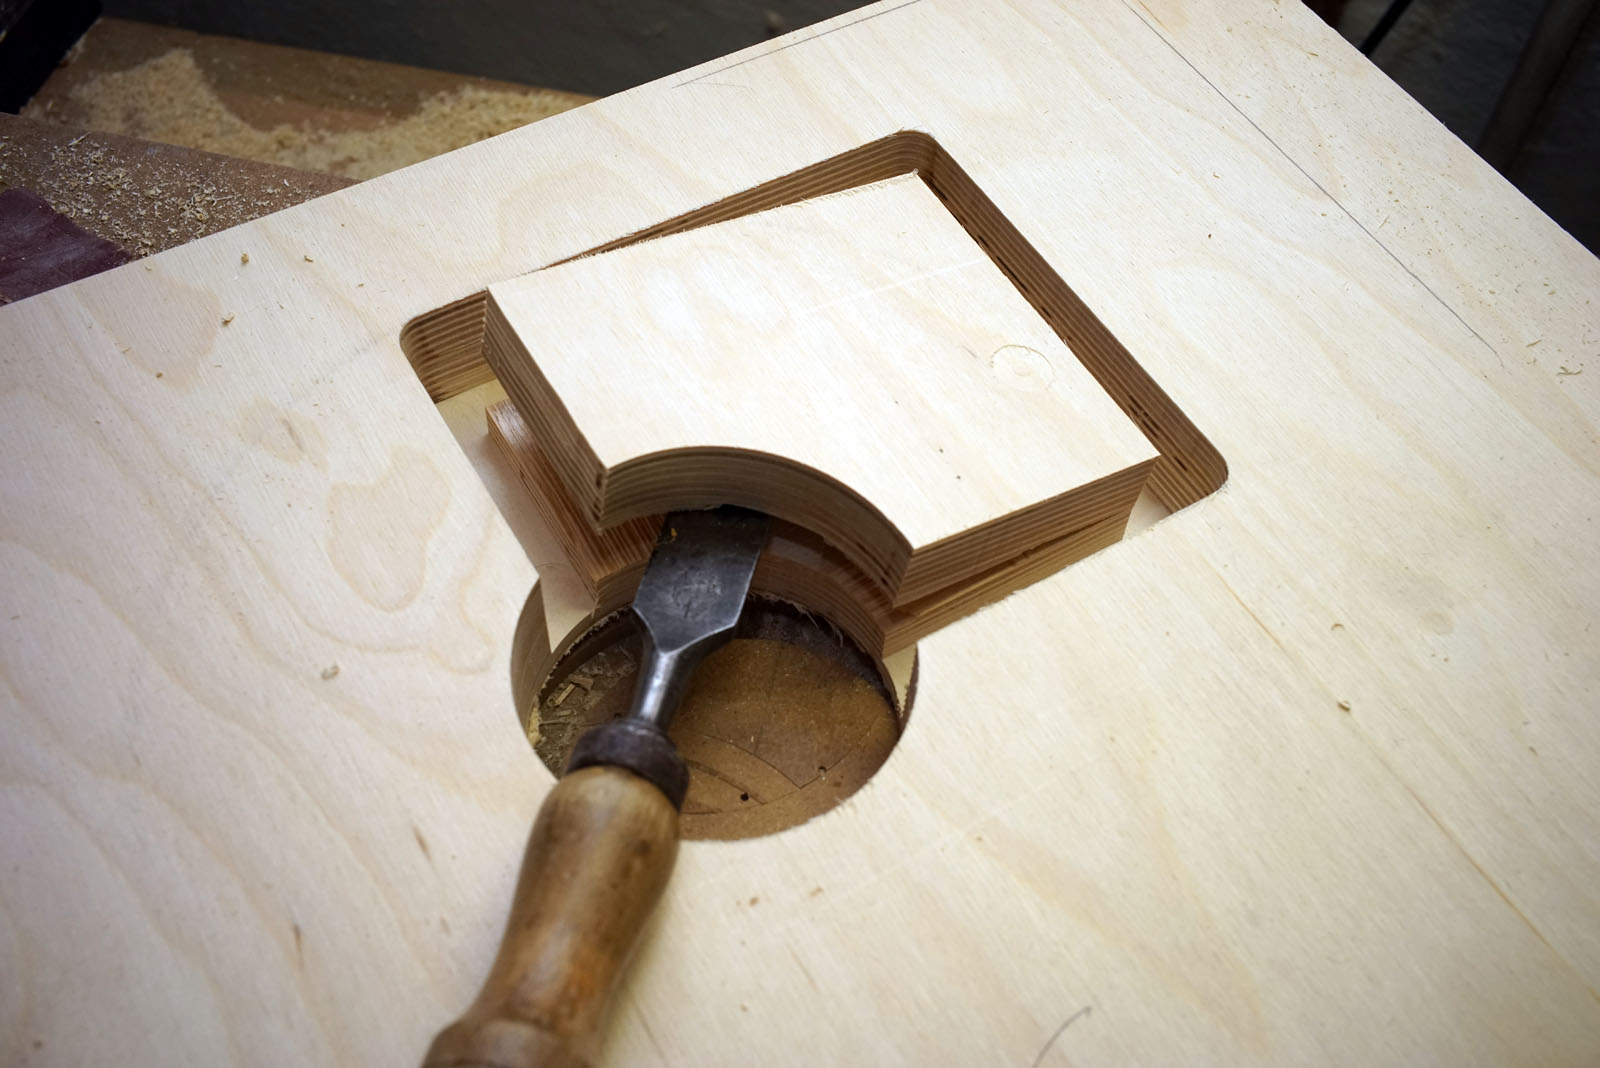
A chisel comes handy removing most the material here.

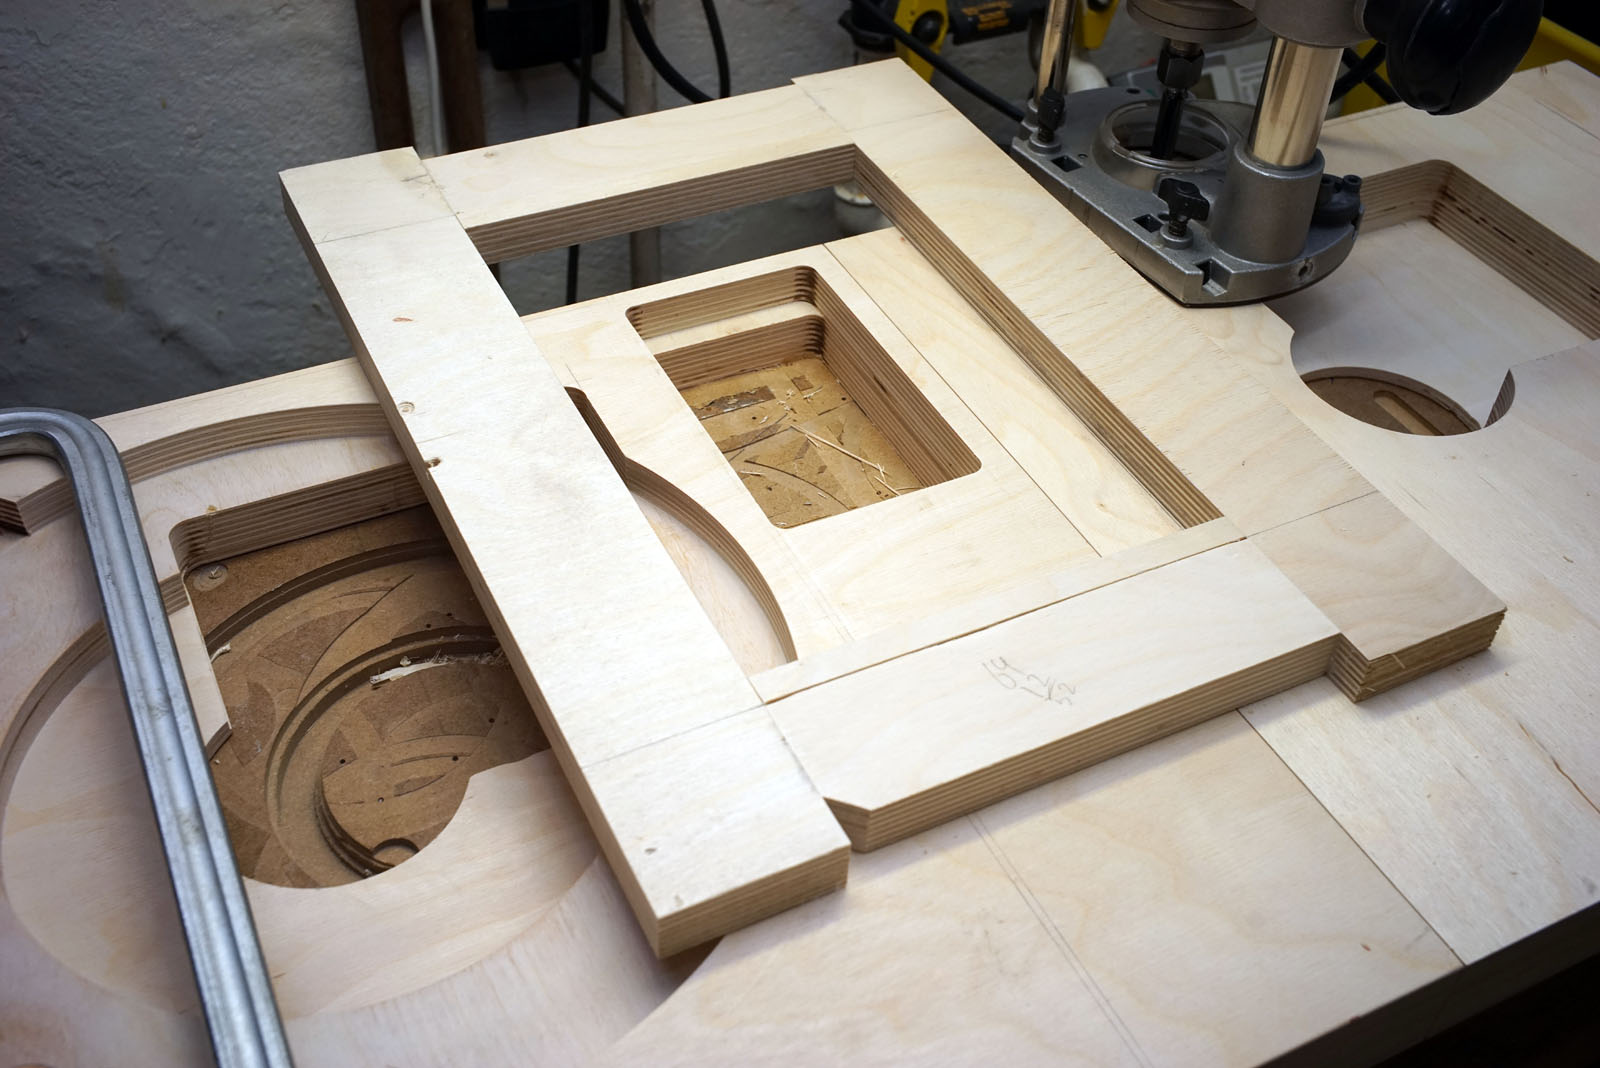
Upper right: Routing for the arm mounting plate.
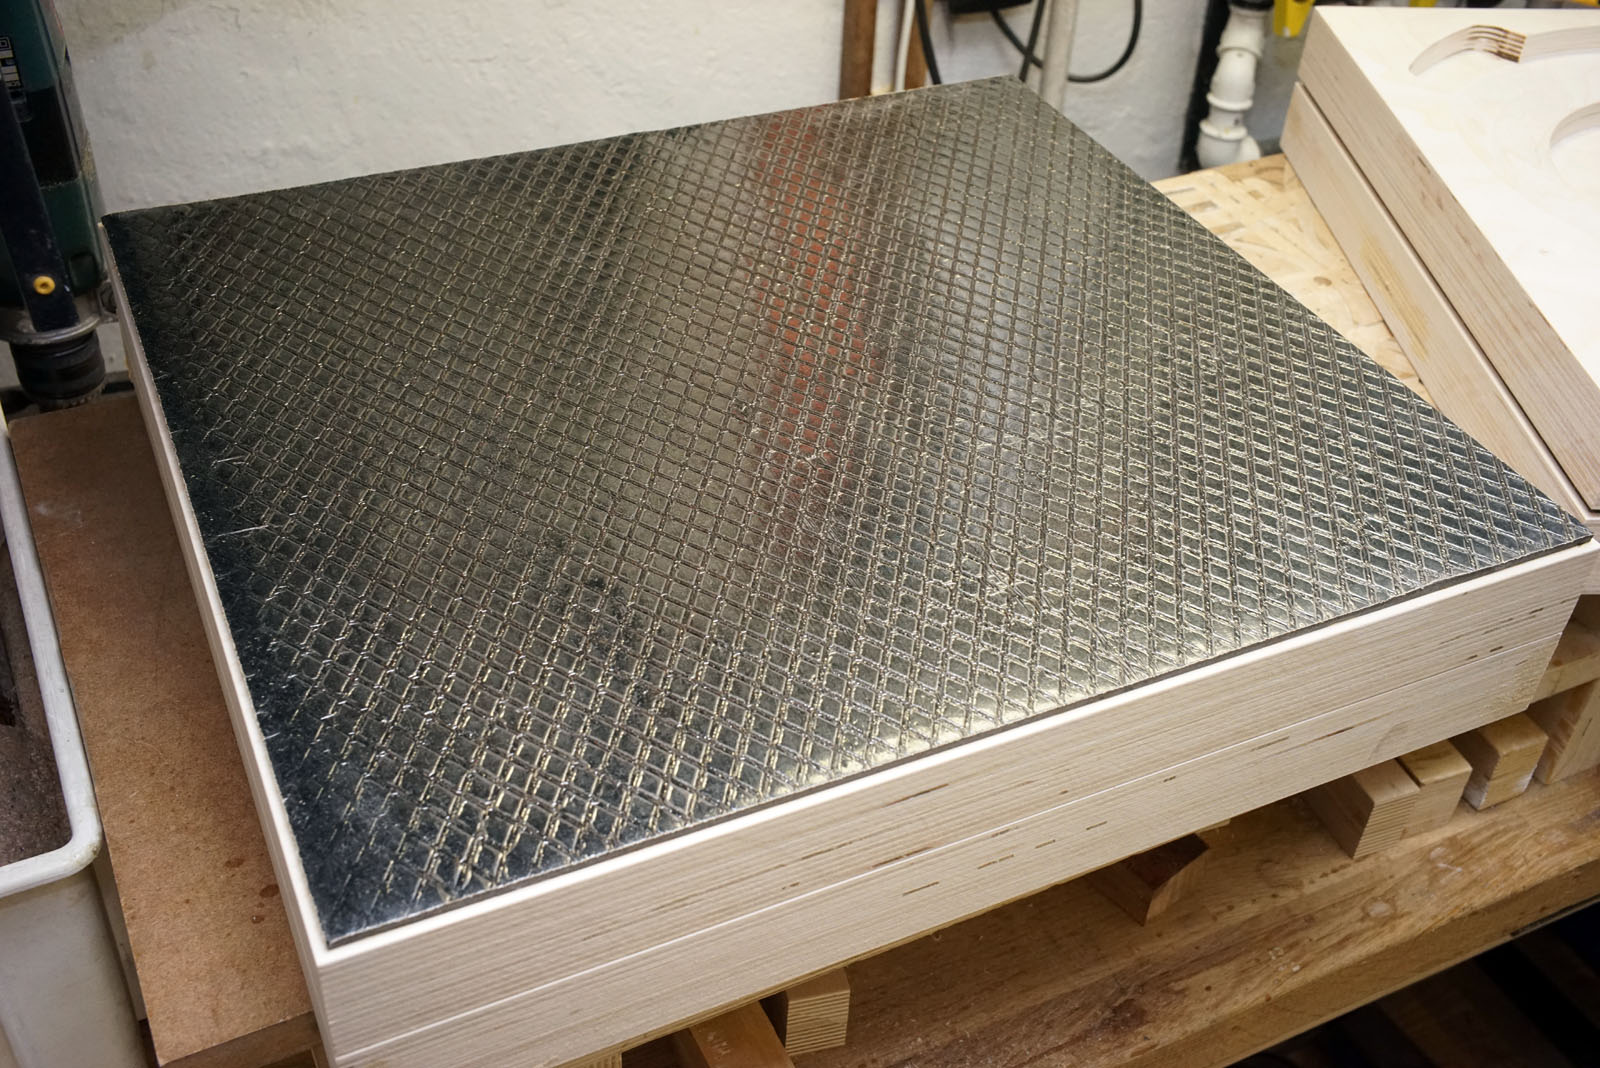

Doing the bitumen layer between laminates. Leave some 2½-3 mm to the
edge.
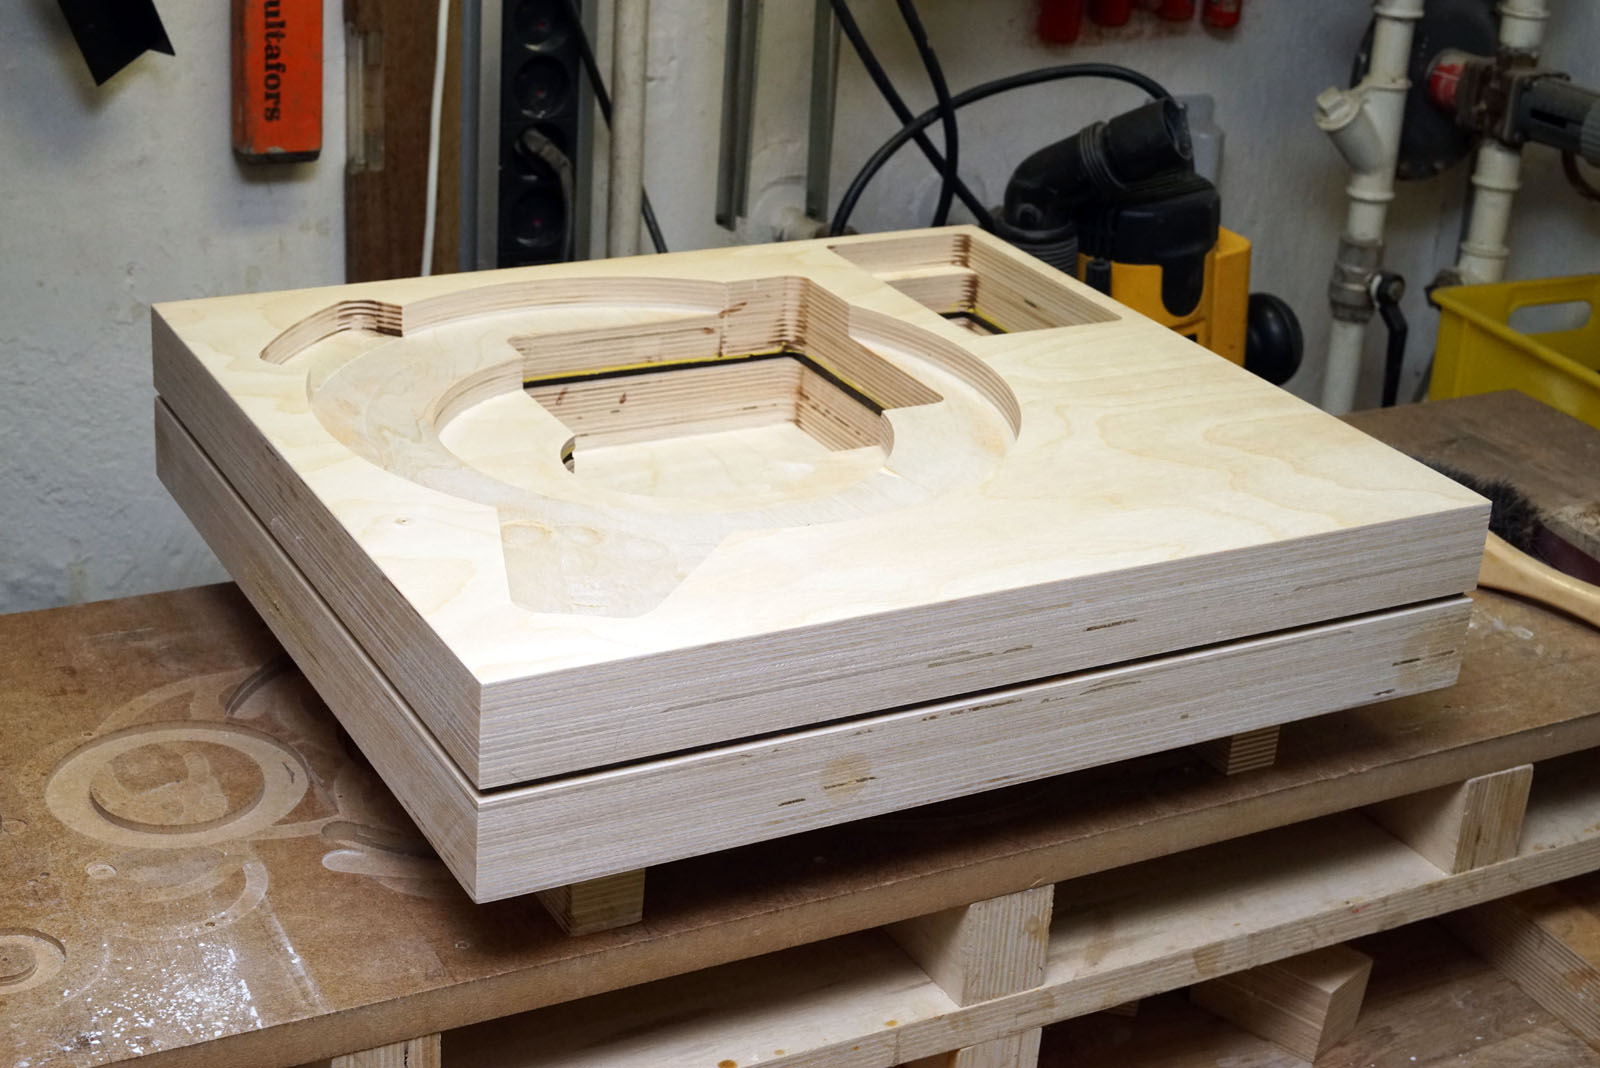
Left: Ready for sanding. Right: First coat lacquer, semi-gloss
synthetic.
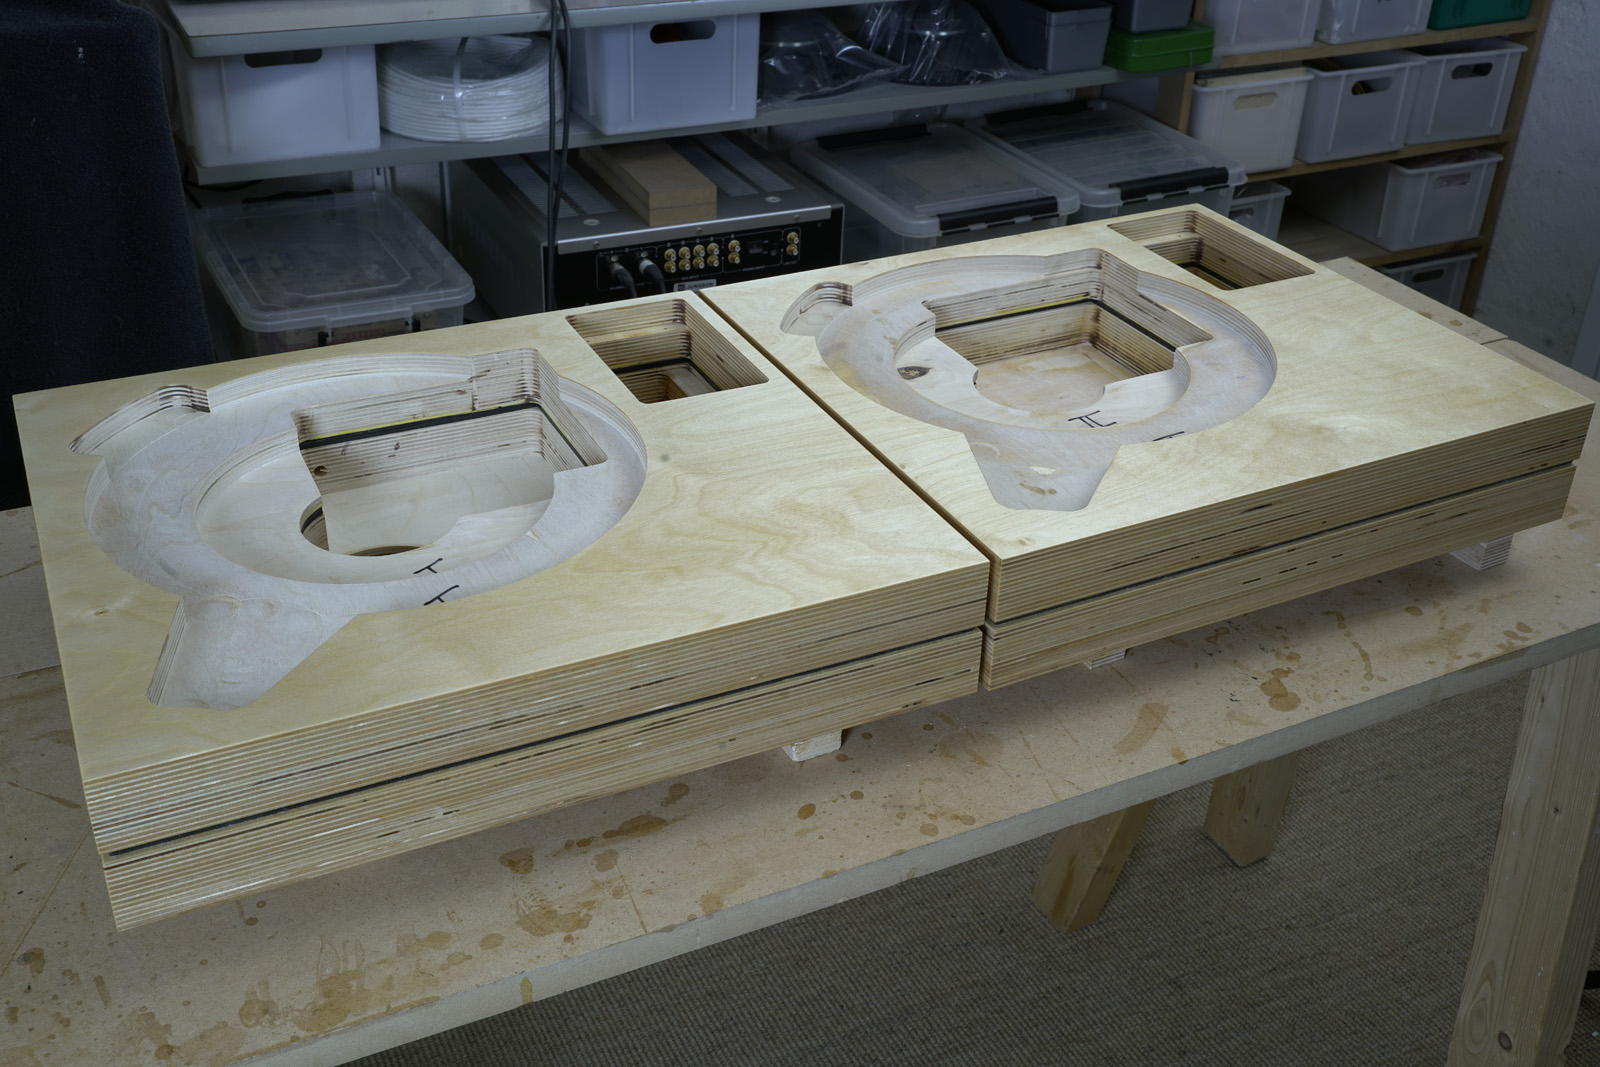
Ready for decks.
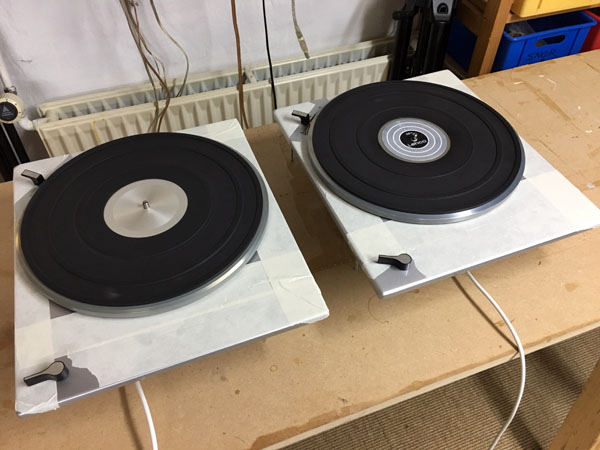
Decks back from painter and covered with painter's tape. The decks were
run for 48 hours to settle the new idler wheel.
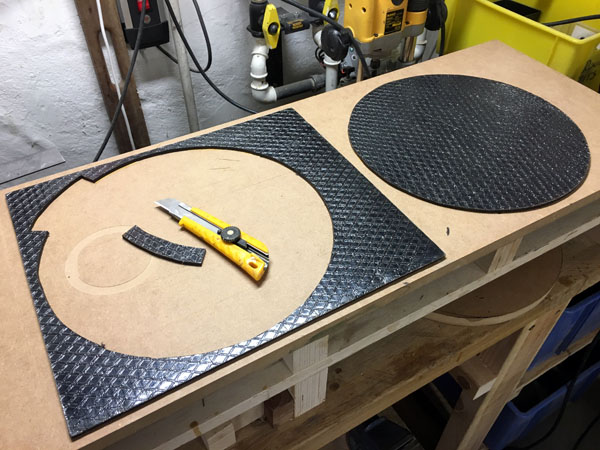
Time for bitumen work.
It's a real pain cutting the large hole in the basic damping sheet - but
the bitumen helps enormously damping the metal top plate.
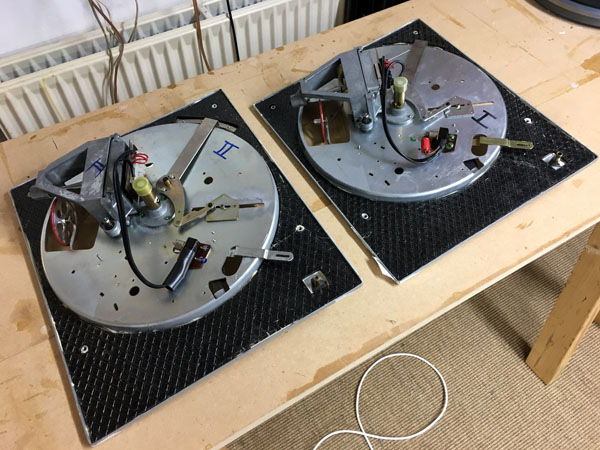
Left: The finished decks. Ready for the plinths. Right: Bitumen support
pads for the deck.

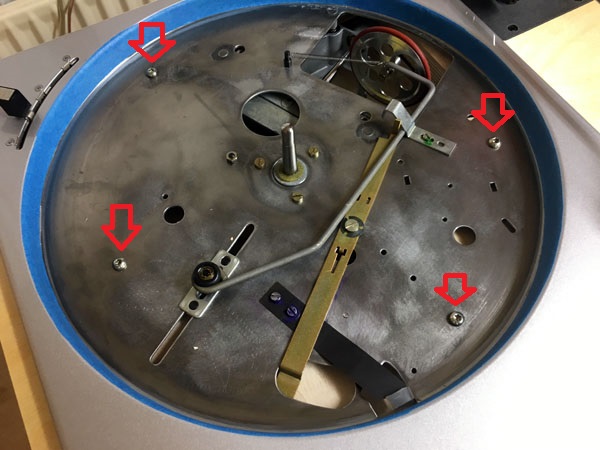
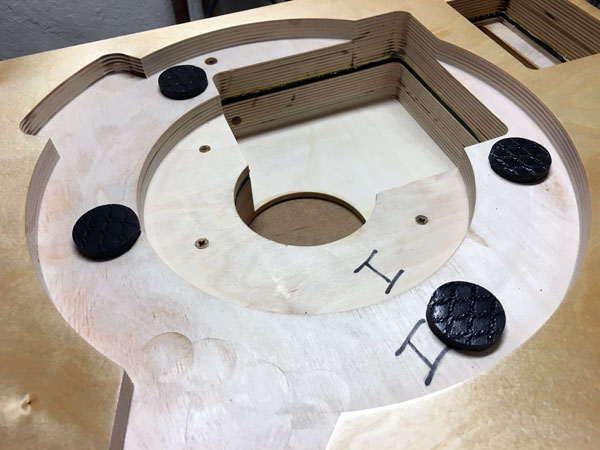
Rather than using the four threads inherent to the top plate for mounting, I decided to mount the deck by four screws going through the trough holding the bearing. The bottom plate is placed on four bitumen blocks adjusted in height so that only modest pressure from the mounting screws holds the deck to the plinth. I believe this is superior in terms of damping compared to having the bearing hanging in a possibly vibrating pan so to speak.
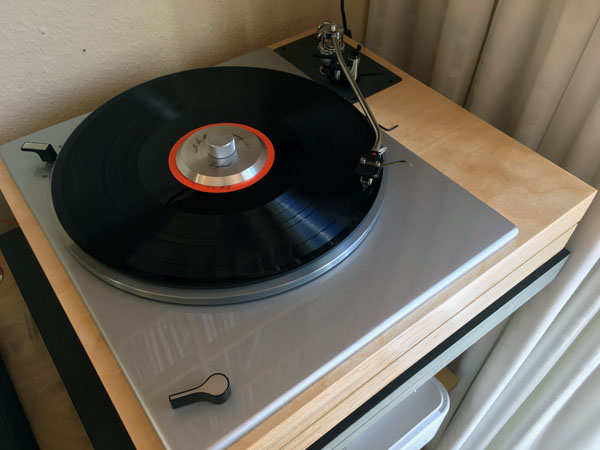
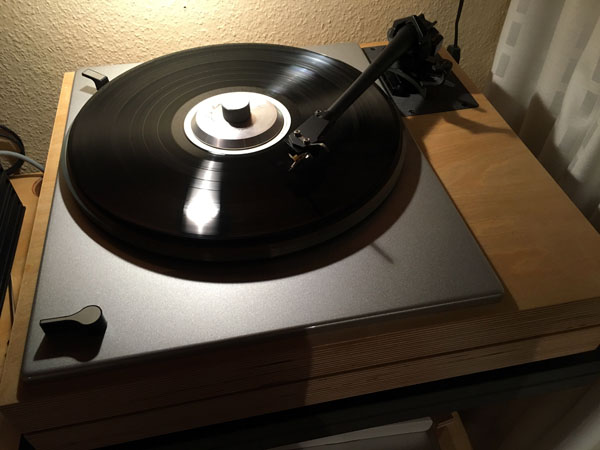
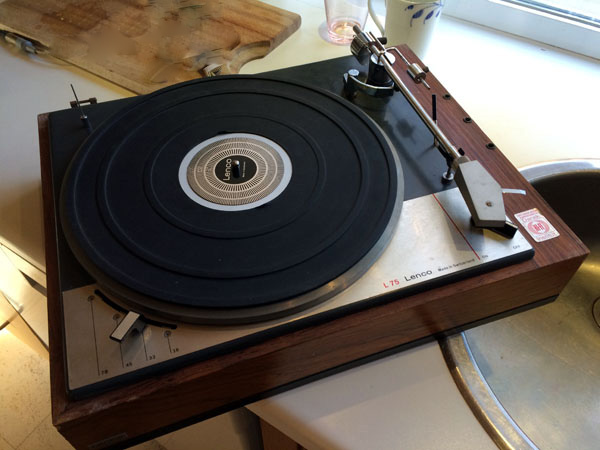
Left: The finished #1 deck, L75/Moerch DP6 Precision/vdh Canari.
To the right, deck #2: L75/SME309 GD/vdh Colibri .
I'd say both of these deliver some superior sound!
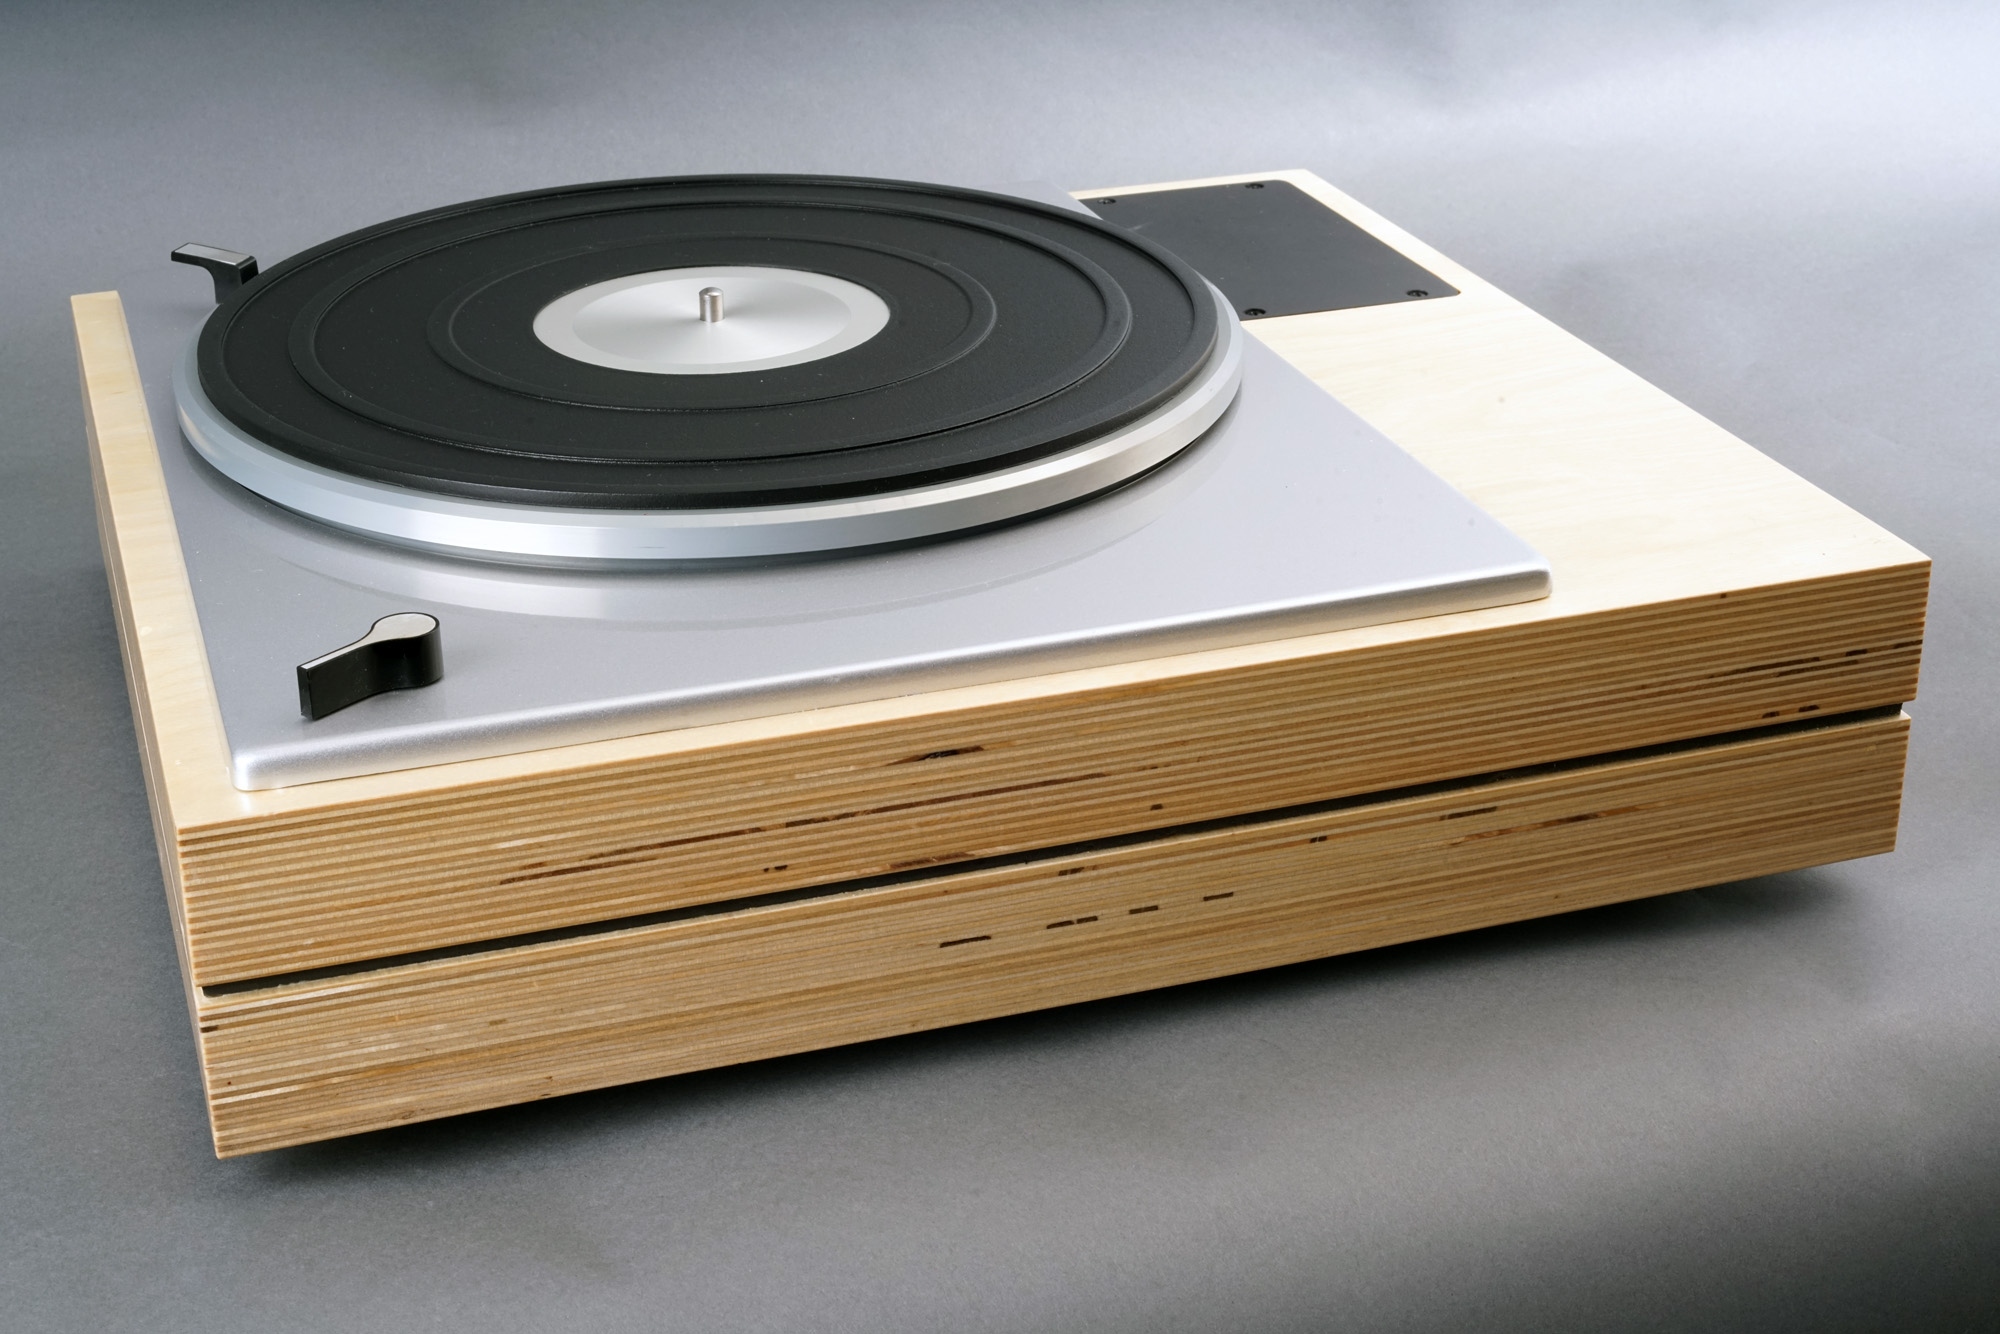
The final deck(s). They look the same.
Click image to view large.